Assembly Tutorial:https://youtu.be/xKHZ3CIr074
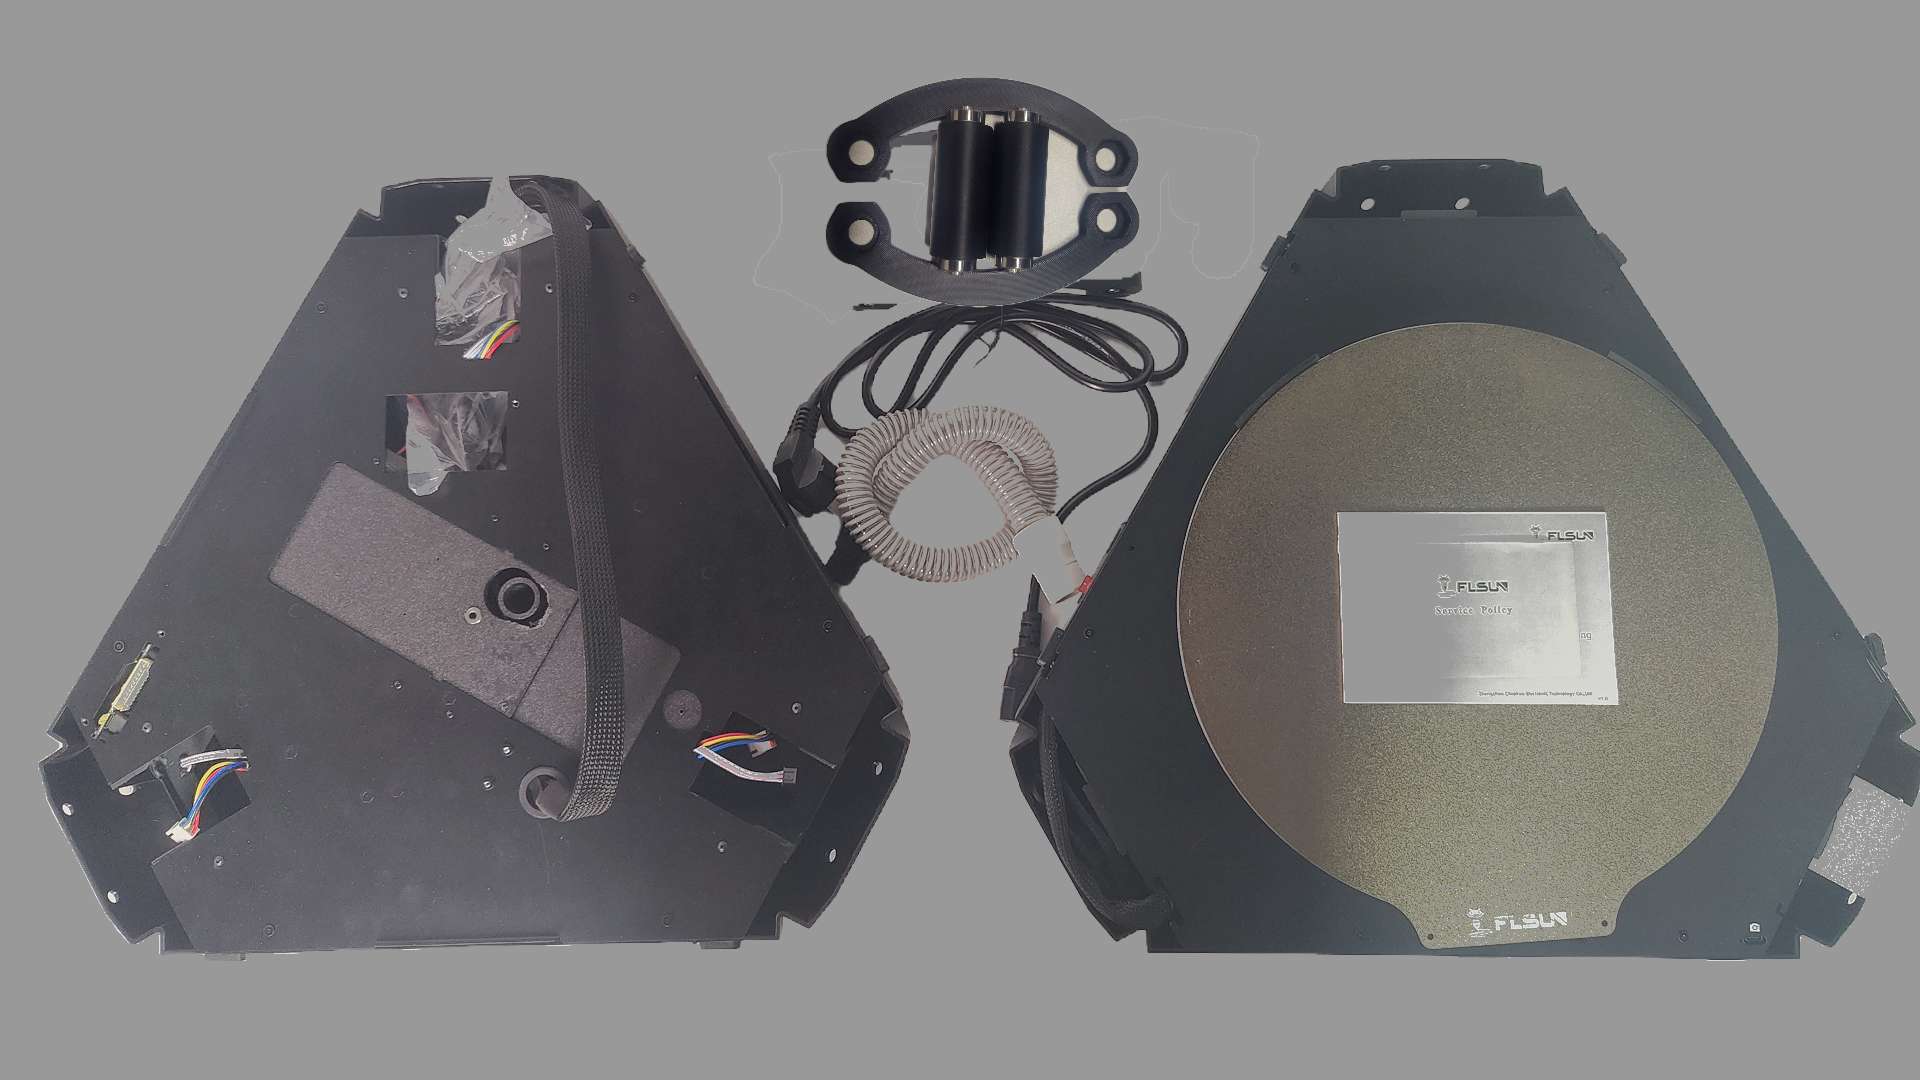
- Unbox and check all accessories.
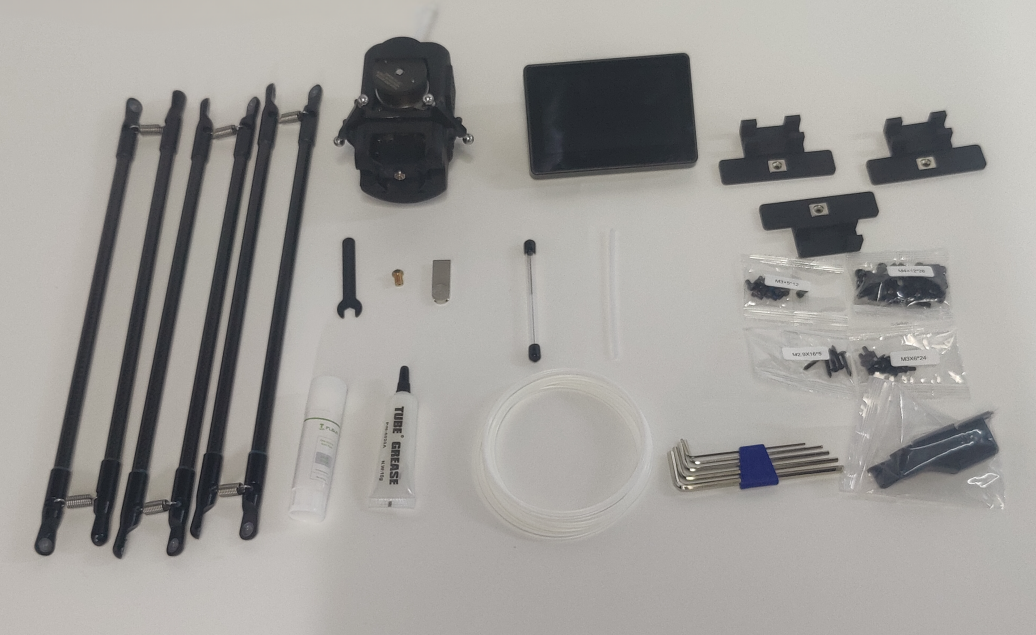
- Assemble the Filament Holder

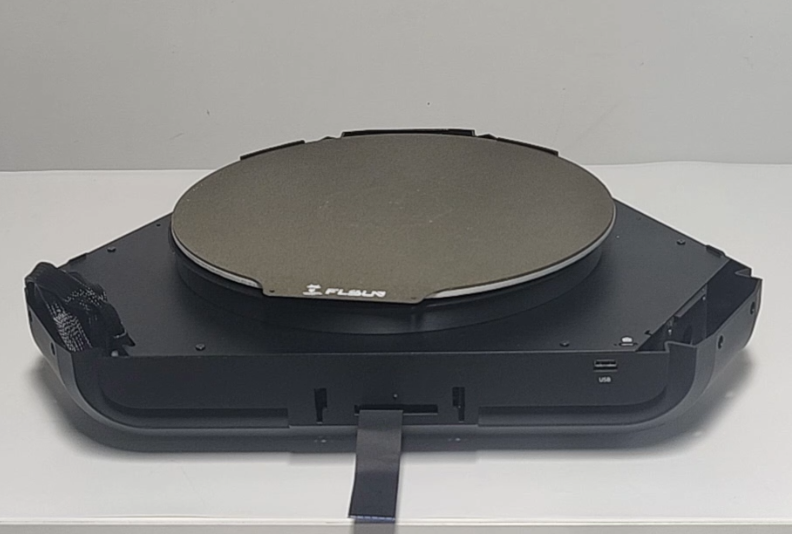
- Place the bottom case on a stable table.
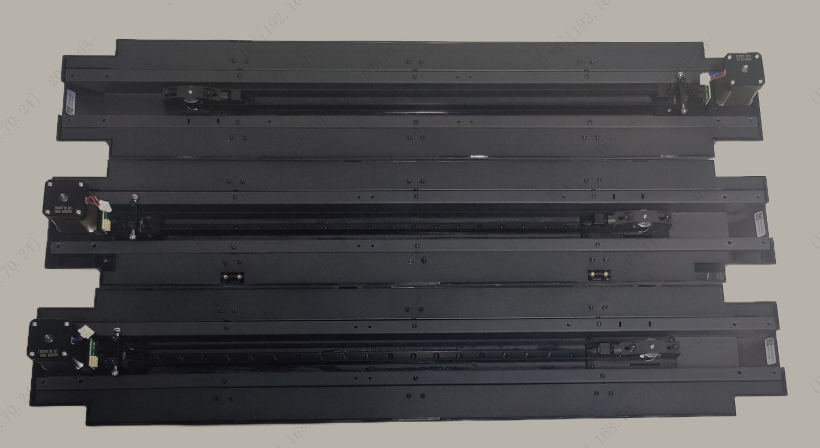
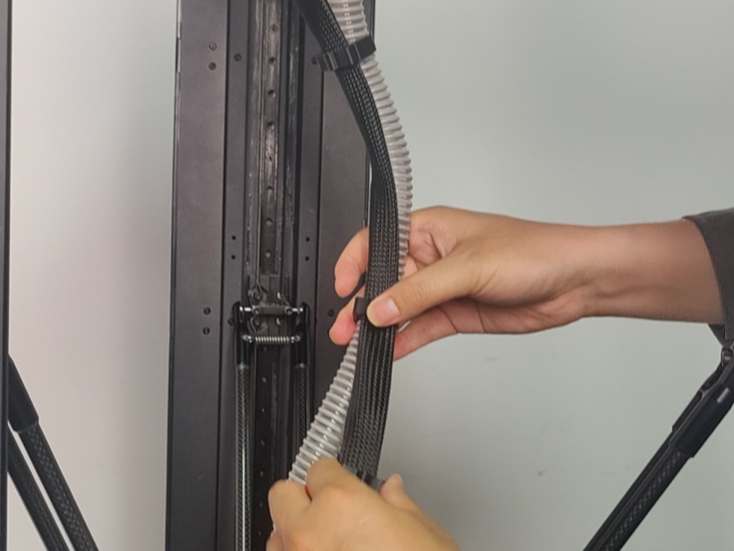
- Install the X column first. Note that the X column must be installed with the main Type-C cable, distinguishing it from the Y and Z columns.
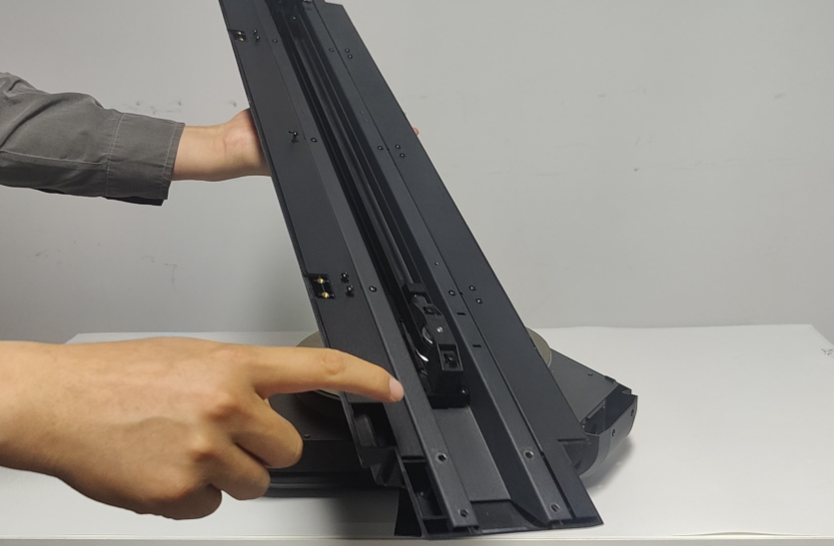
- Pull out the main Type-C cable and install the X column.
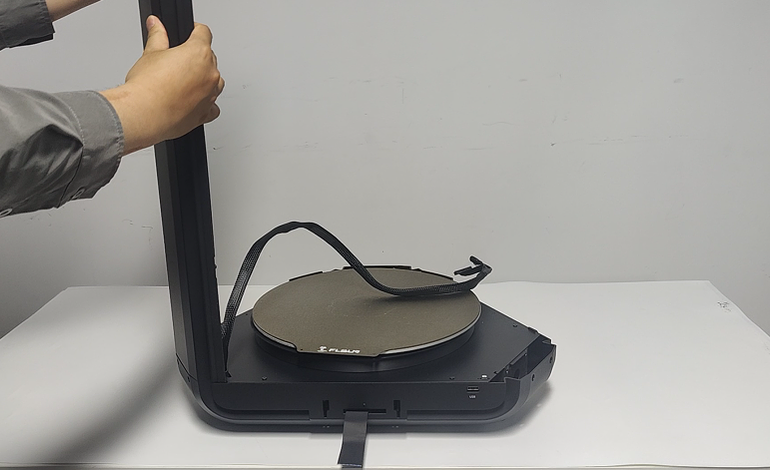
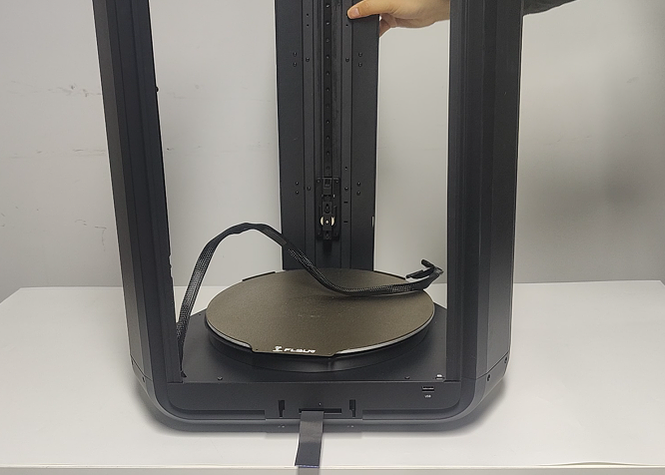
- Install the Y and Z columns. The Y and Z columns are identical and do not need to be distinguished.
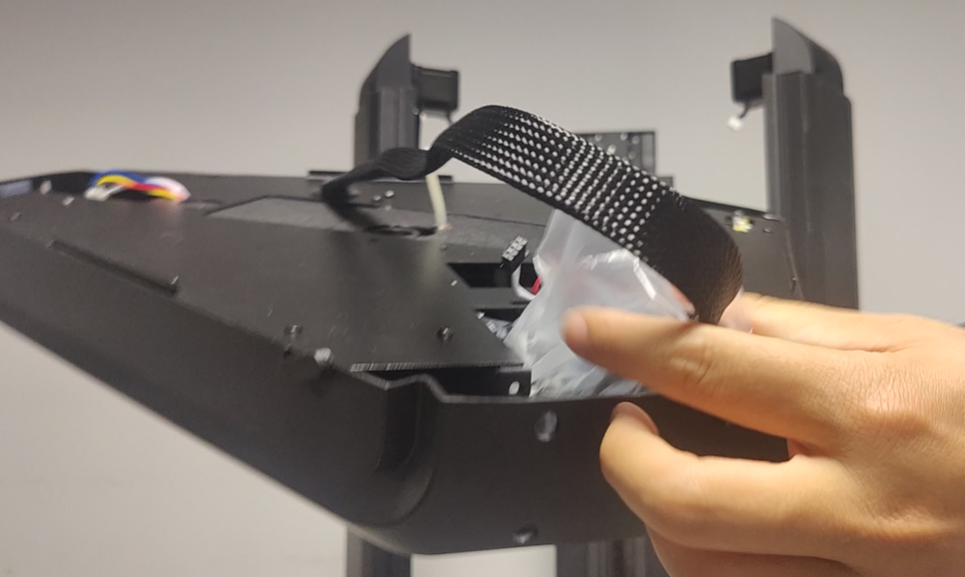
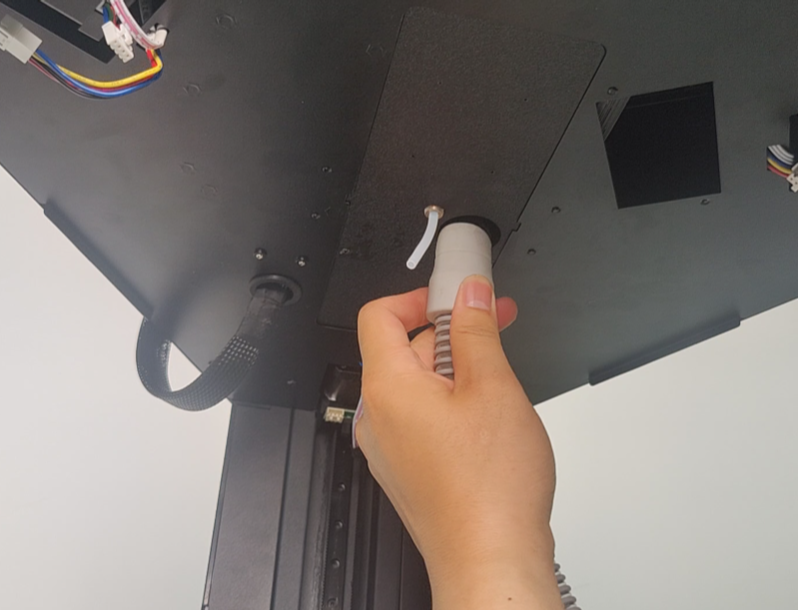
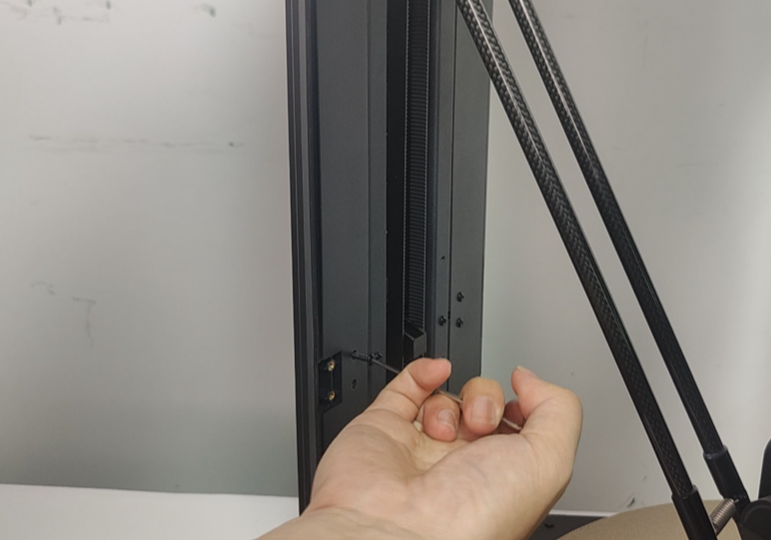
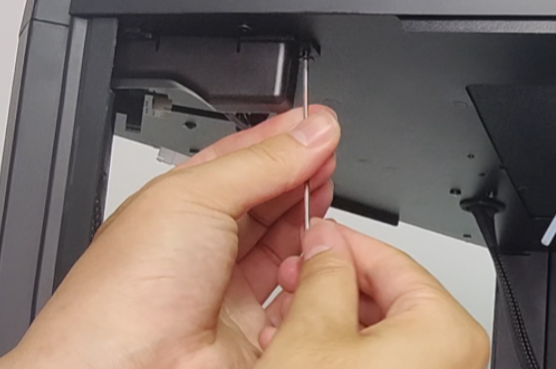
- Take out the top case and pull out the effector cable.
- Install the top case, making sure the logo is facing the front.

- Use M4*12 screws to secure the three columns.
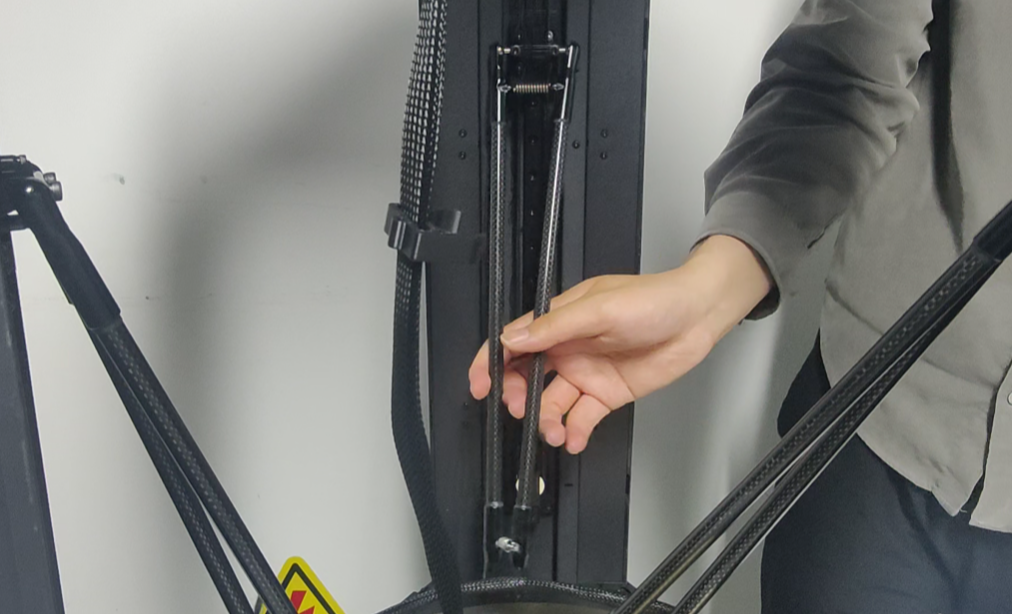
- Remove the clips from the three timing belts.

- Install the three sets of parallel arms.
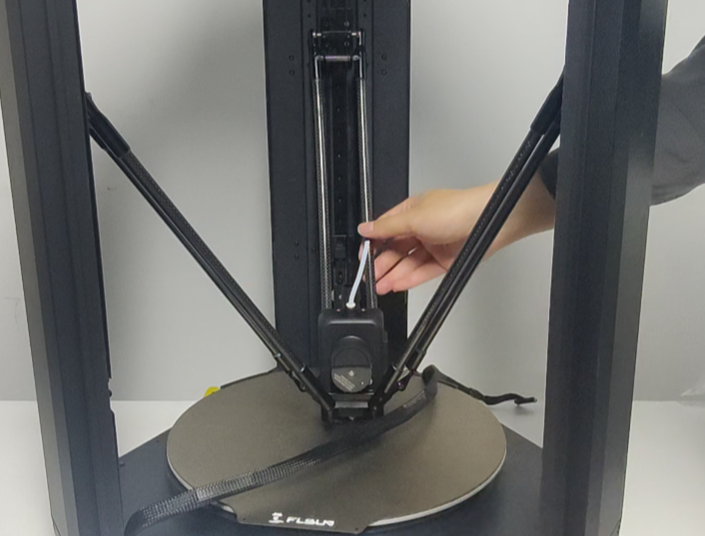
- Mount the effector onto the parallel arms, with the motor facing the front.
- Install the air duct.
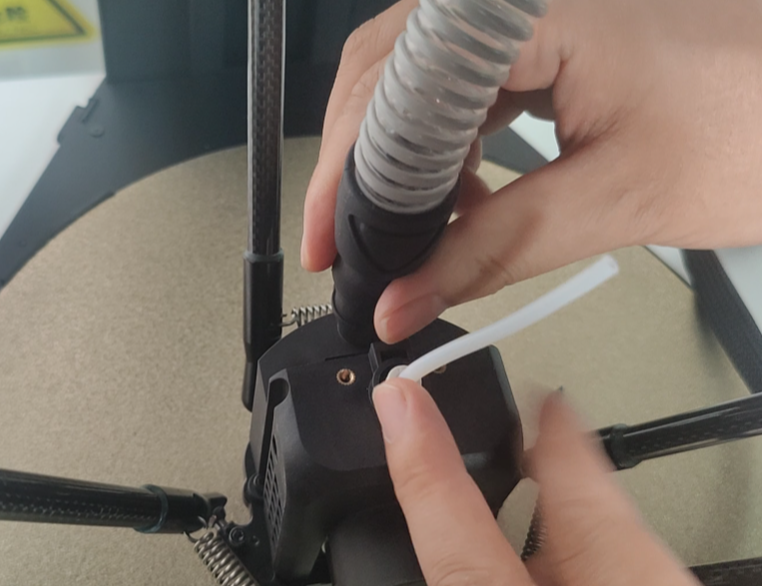
- Connect the effector cable by inserting it into the port and ensuring it is fully inserted.
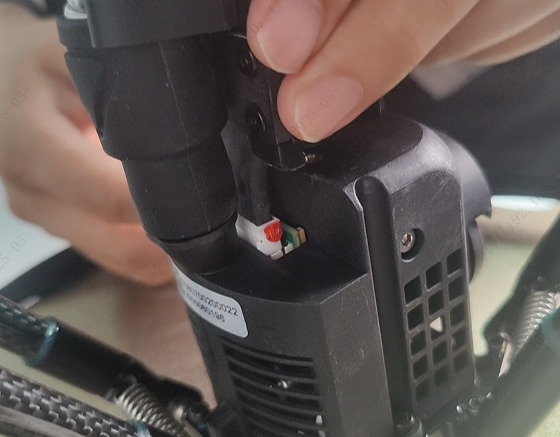
- Use M3*8 screws to fix the effector cable clip.
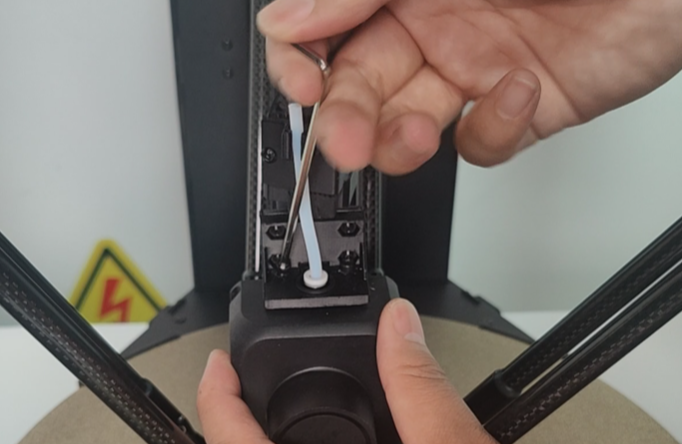
- Secure the effector cable and air duct together.
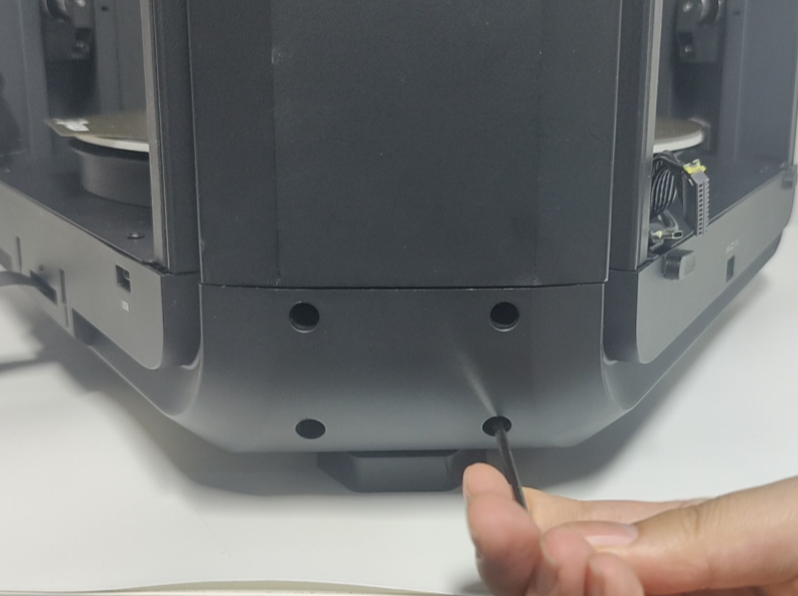
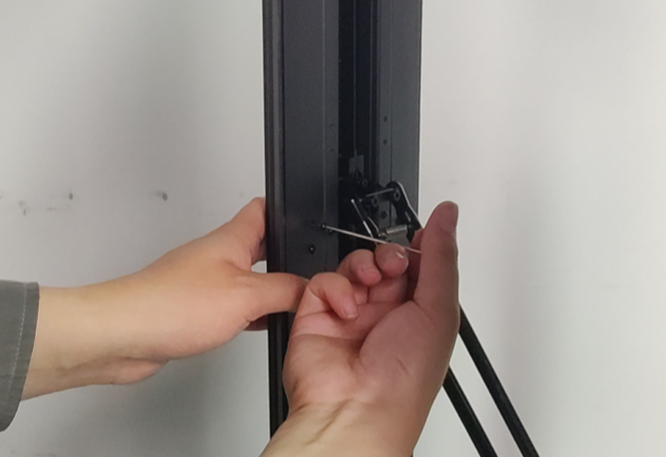
- Remove the three screws securing the cover plate.
- Remove the cover plate.
- Insert the main cable and Type-C cable into the upper adapter board.

- Install the cable holder.
- Use two M3*6 screws to secure it.
- Organize the main Type-C cable.

- Reinstall the cover plate.
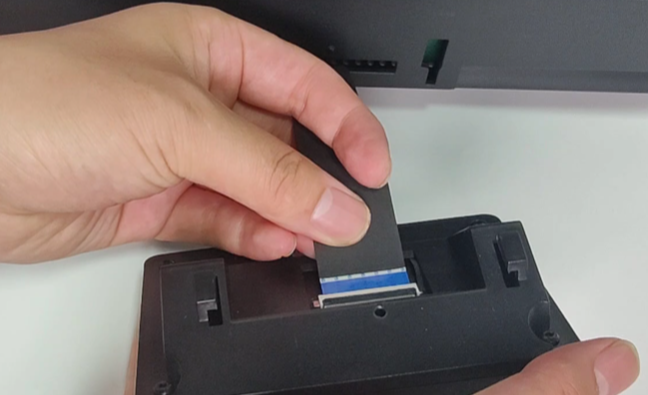
- Take out the video adapter cable and install the screen.
- Gently lift the black latch upward.
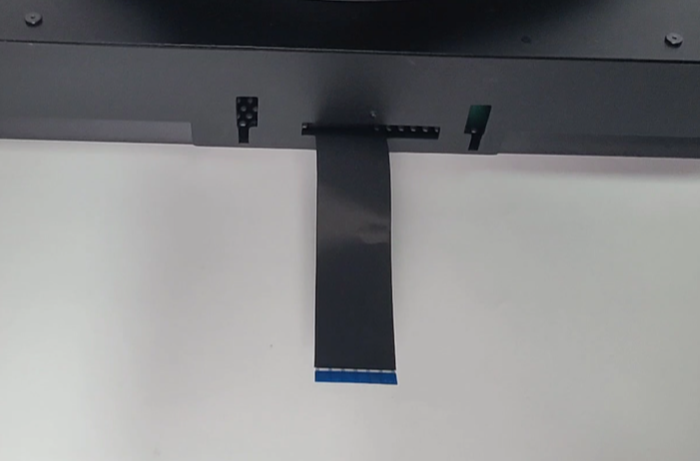
- Align the ribbon cable with the port and insert it, making sure it is not slanted.
- Press down the black latch to lock the ribbon cable in place.
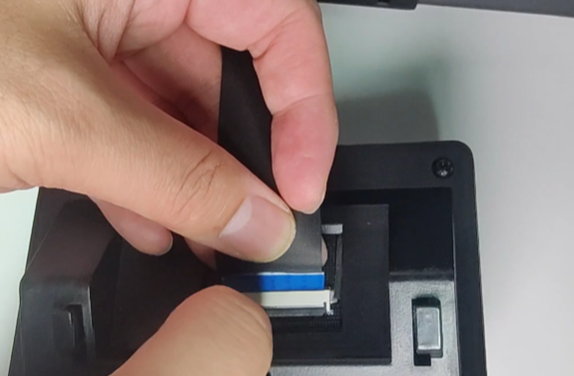
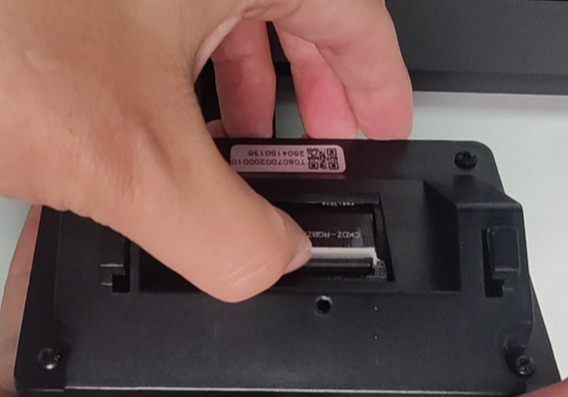
- Insert the screen into the slot and press down to secure it.

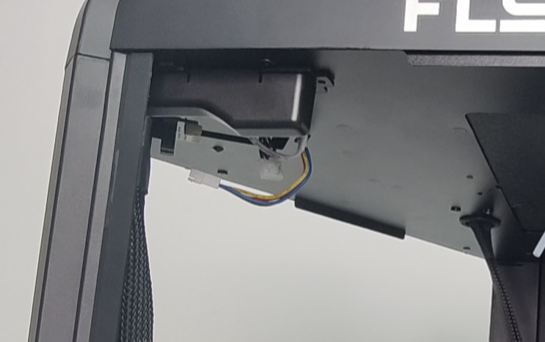
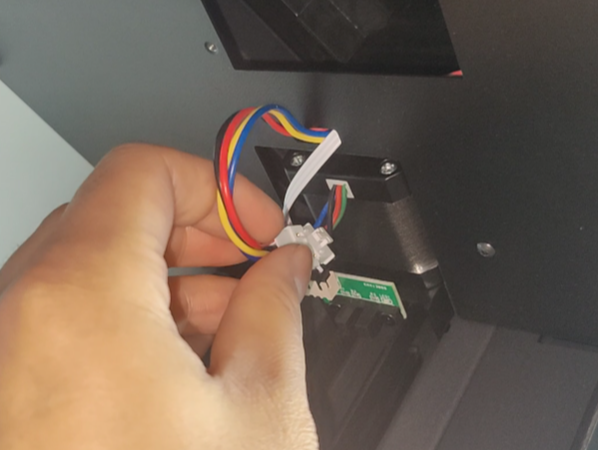
- Connect the motor cables and limit switch cables.
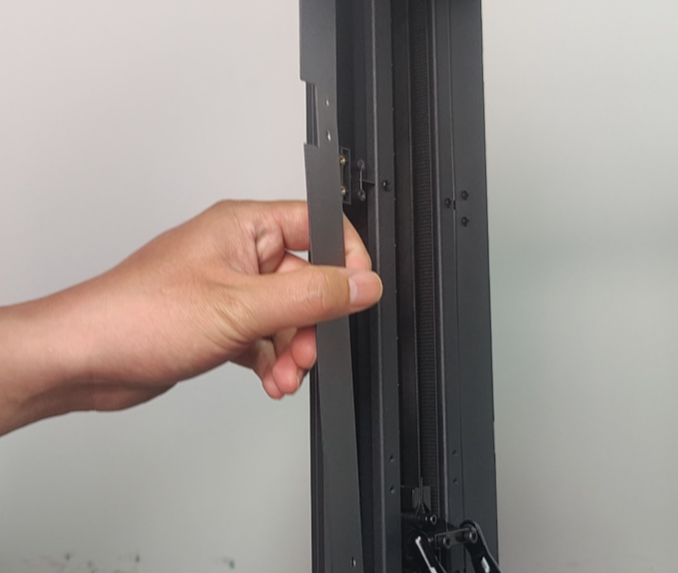
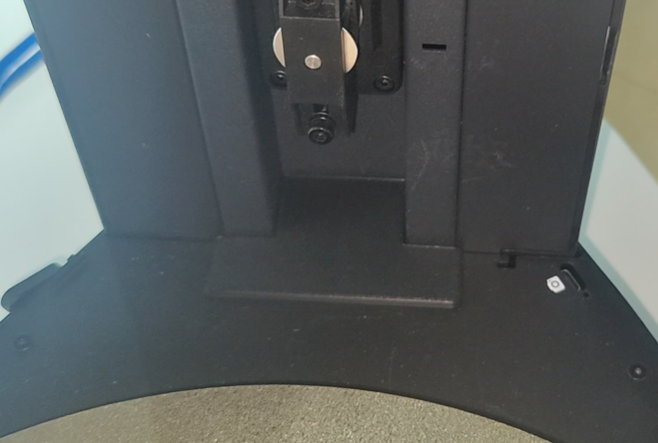
- Install the protective covers for the three columns.
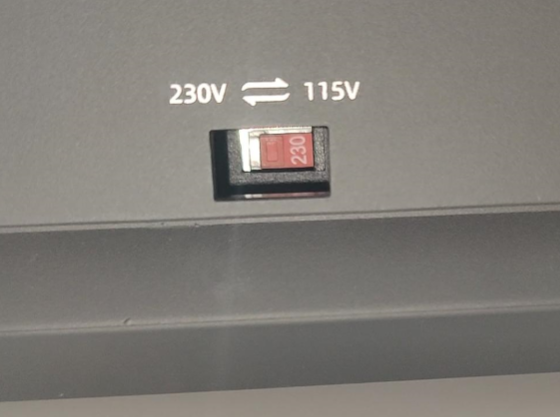
- The default machine voltage is 230V. If it does not match the local voltage, please adjust accordingly.