¶ I. Hot end kit
The hot end kit consists of a hose, a heating block, and a nozzle.
¶ II. When to replace
¶ 1. Hot end leaking, severe blockage
¶ 2. Hot end deformation
¶ III. Tools used
H1.5 Allen wrench
H2.0 Allen wrench
H2.5 Allen wrench
New hot end kit
¶ IV. Replacement steps
Note: If there is consumables in the effector, please heat and exit the consumables before replacement, and then perform the disassembly operation; the disassembly operation needs to be performed when the machine is powered off.
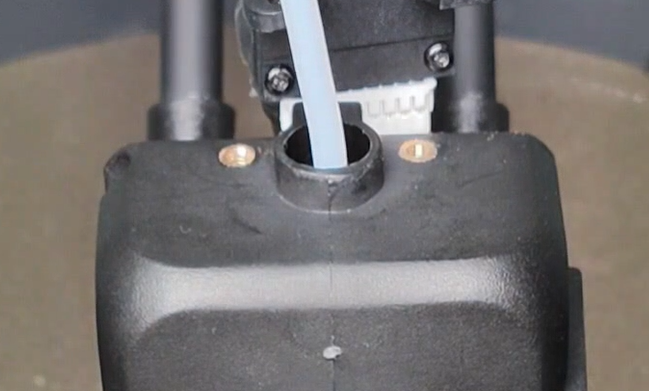
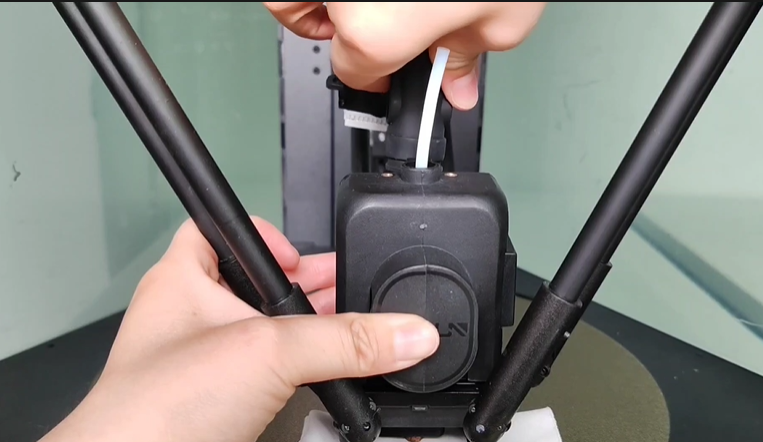
¶ 1. Use the H2.0 Allen wrench in the accessory box to remove the two screws that fix the effector line card and remove the effector line.

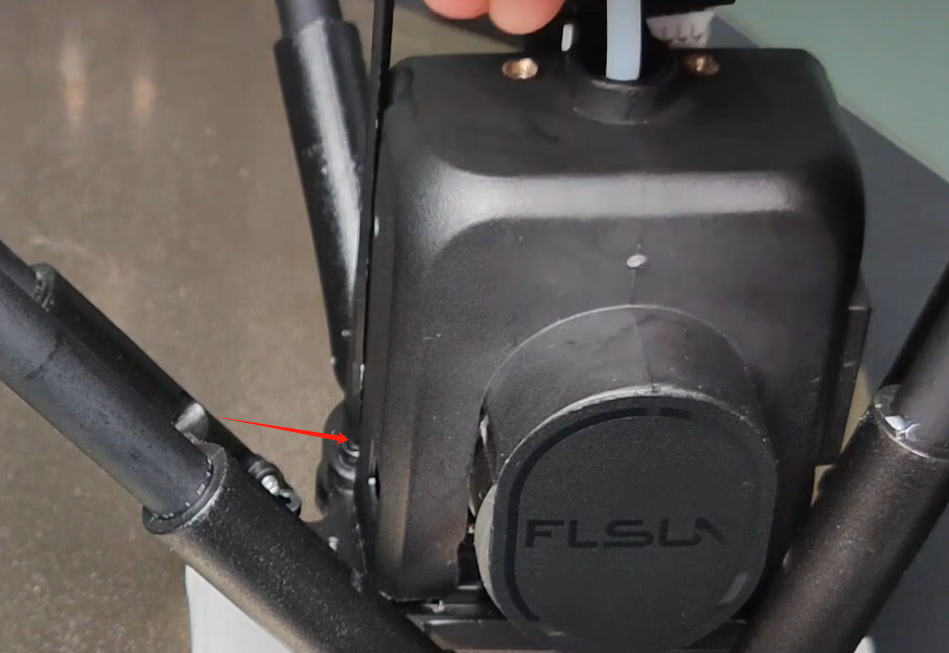
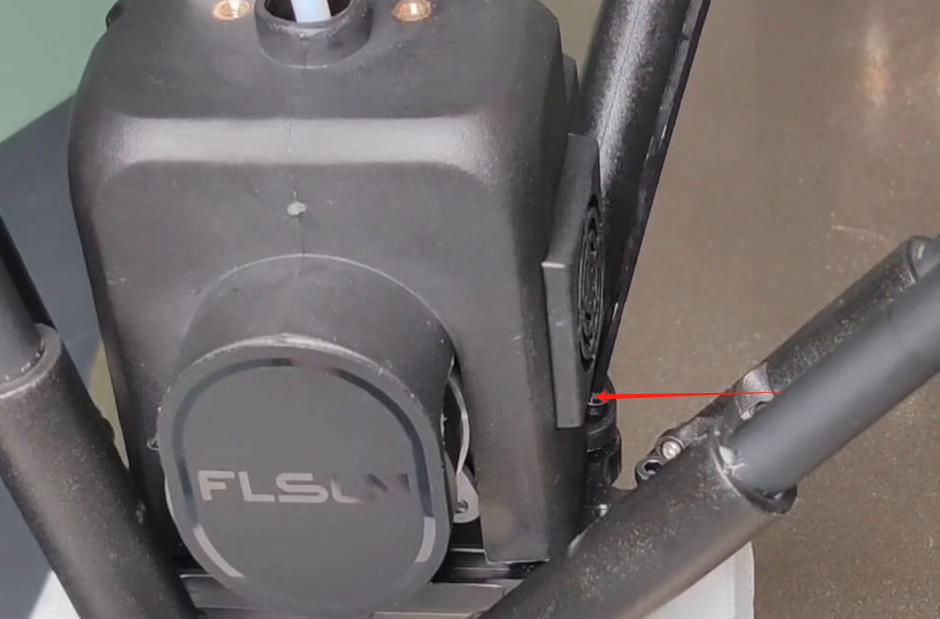
¶ 2. Use the H2.5 wrench to remove the two screws that fix the effector fan cover.
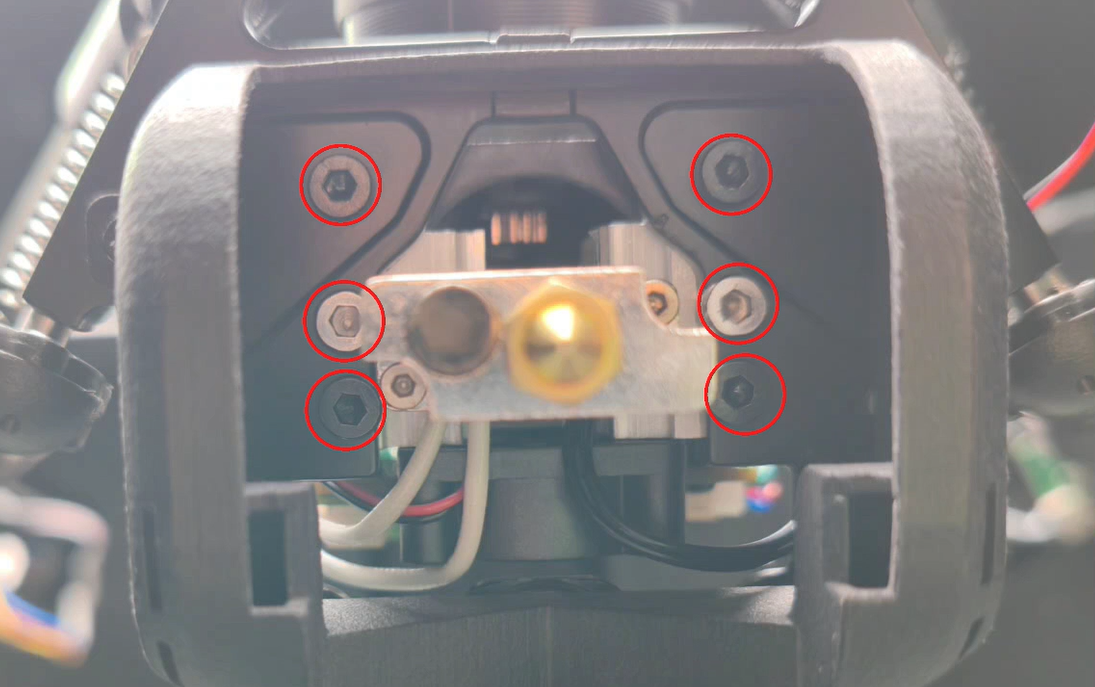
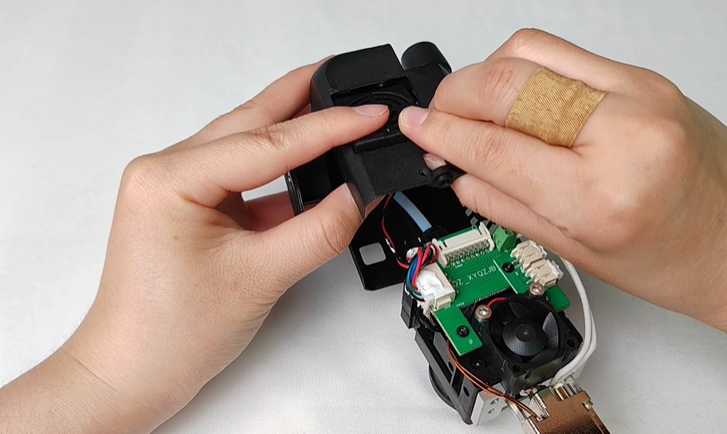
¶ 3. Use the H2.0 Allen wrench in the accessory box to remove the 6 screws that fix the hot end and extruder.
¶ 4. Carefully remove the silicone sleeve of the plastic rib tube, remove the nozzle, and take out the effector.

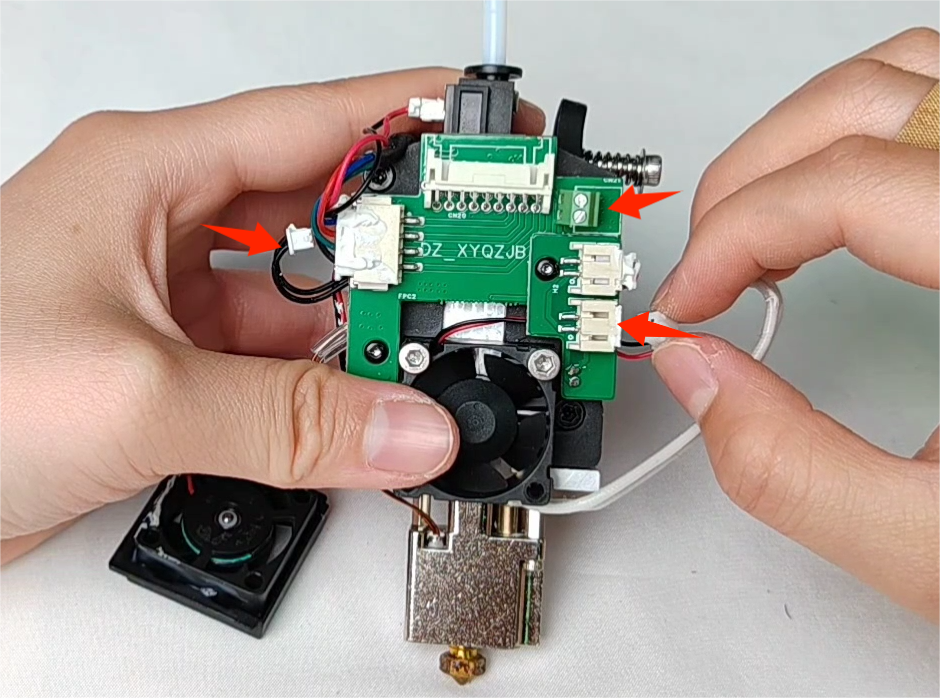
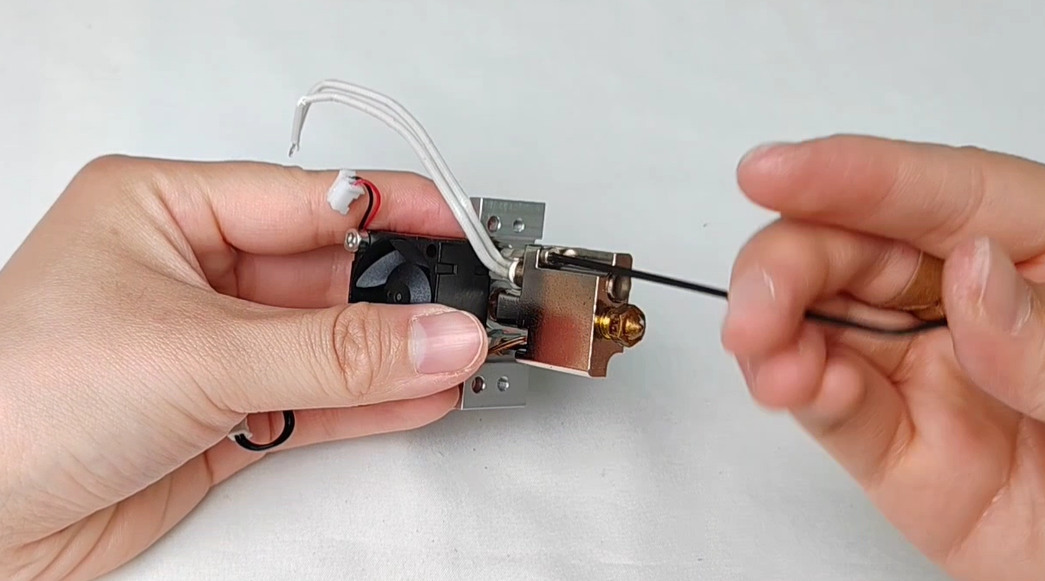
¶ 5. Take out the kit and remove the cooling fan fixed on the effector housing.
¶ 6. Use a flat screwdriver to remove the heating rod line; unplug the temperature sensor and fan terminal, and remove the entire hot end kit and fan.
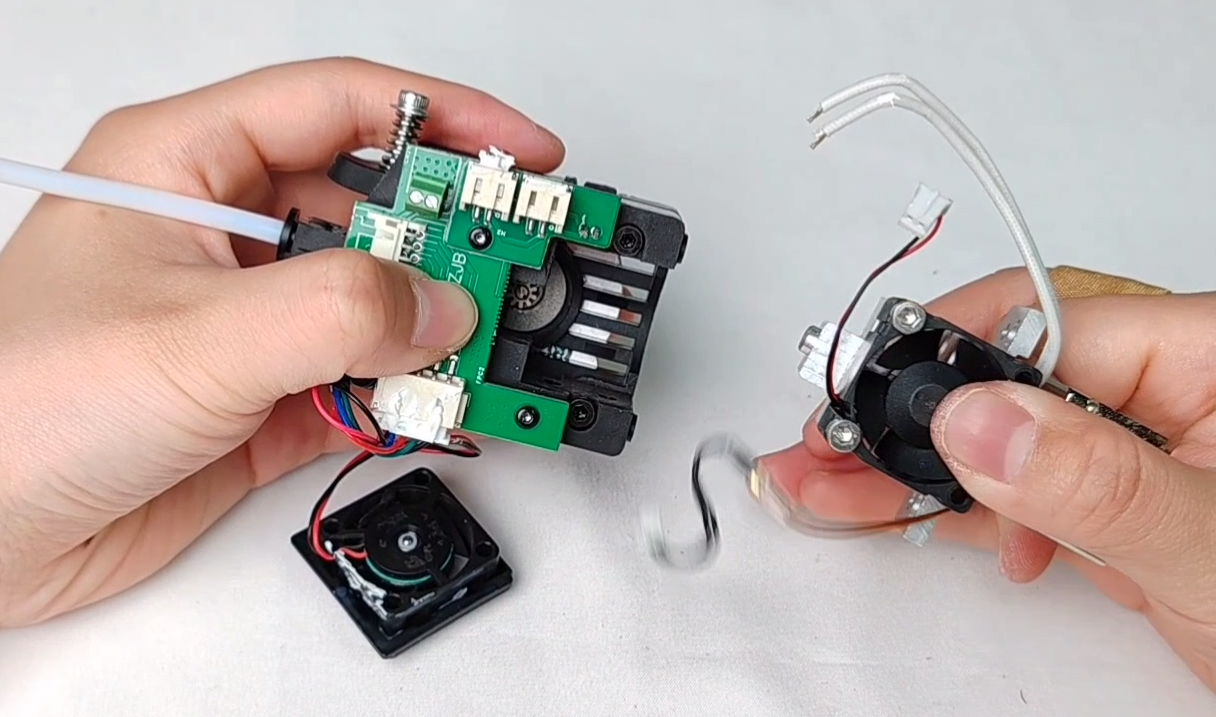
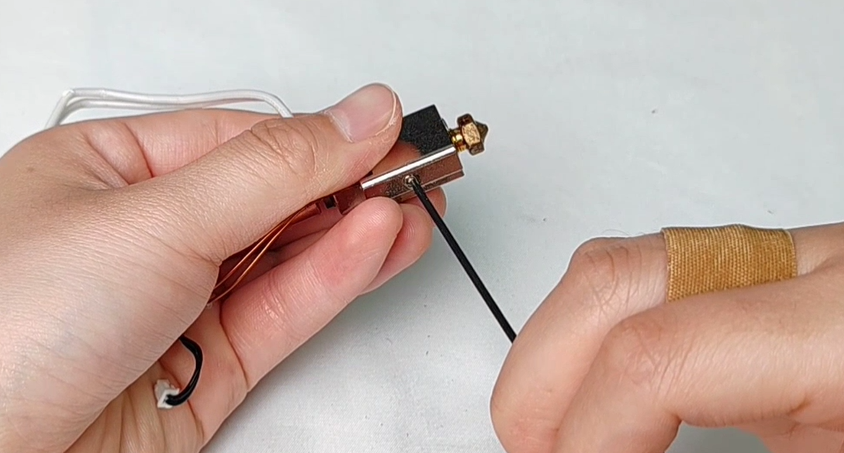
¶ 7. Use an H1.5 hexagonal wrench to remove the screws that fix the hot end kit and remove the hot end kit.
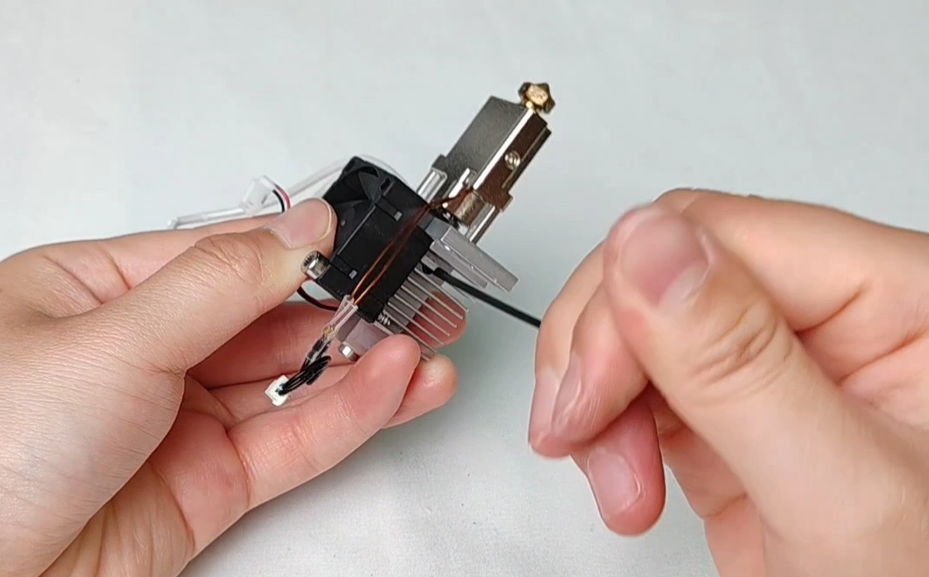
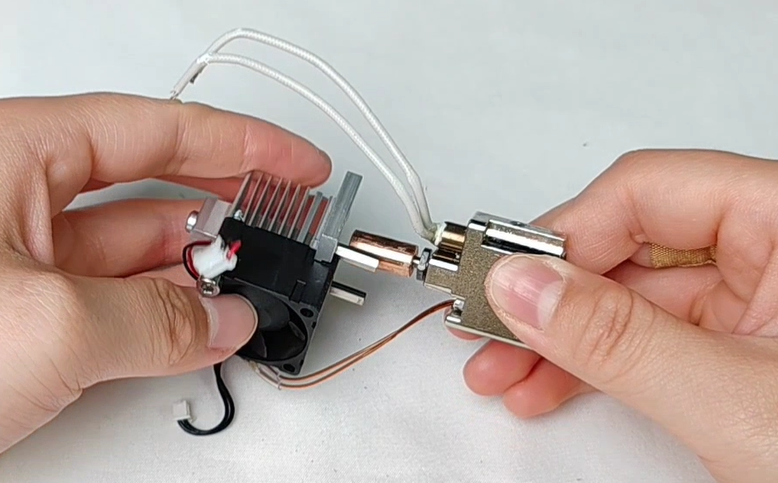
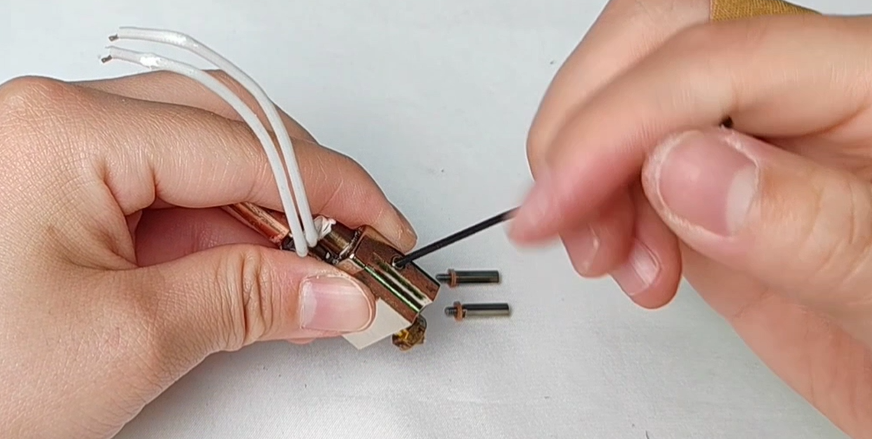
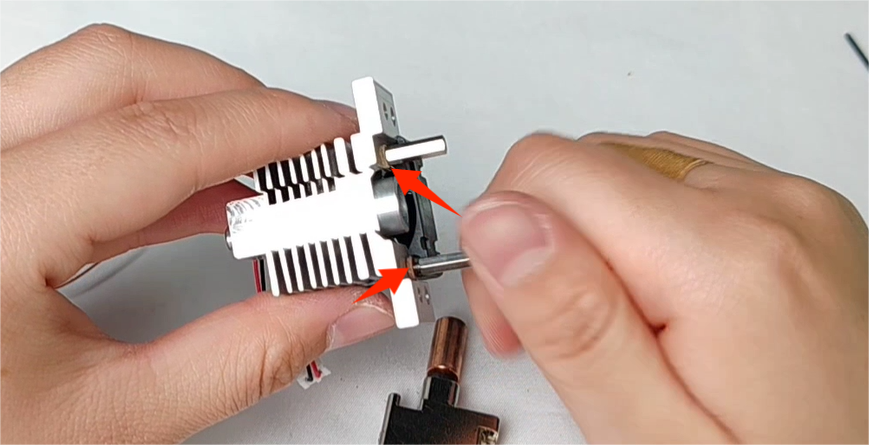
¶ 8. Remove the two hexagonal studs.
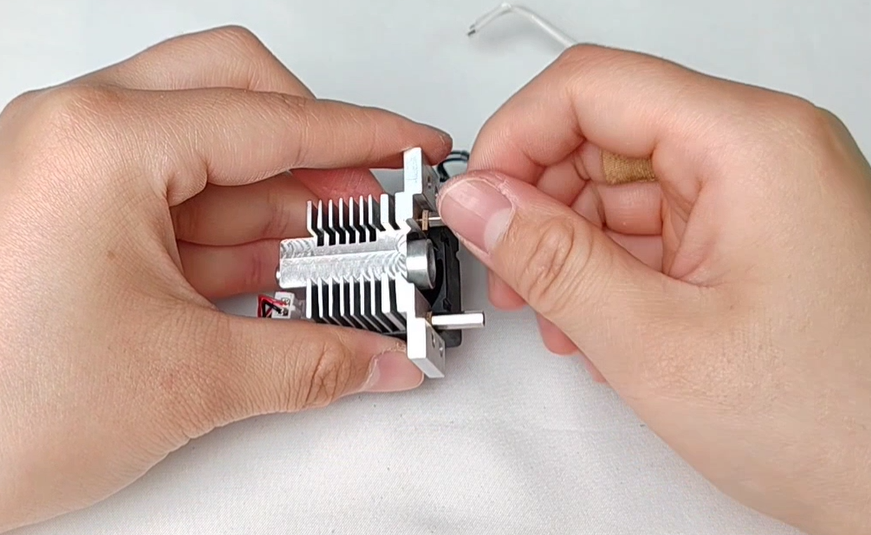
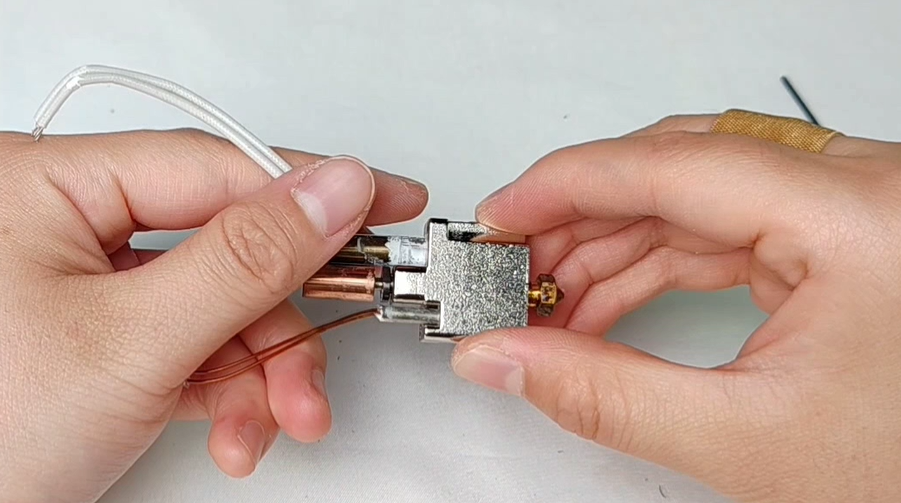
¶ 9. Loosen the screws that fix the temperature sensor and the heating rod, and remove the temperature sensor and the heating rod.
¶ 10. Install a new hot end kit.
Notes:
¶ (1) When installing the hexagonal studs, do not forget the yellow gasket.
¶ (2) Do not tighten the screws that fix the temperature sensor too much to avoid flattening the iron head and damaging the temperature sensor.

¶ (3) When installing the effector line, make sure that the effector line is inserted to the bottom.
