¶ I. MOS board
The power supply heats the hot bed through the MOS board and provides power to the lower function adapter board.
¶ II. When to replace
MOS board is damaged;
Flsun after-sales service team determines that the fault is caused by MOS board damage.
¶ III. Required tools and materials
H1.5 Allen wrench
H2.0 Allen wrench
H2.5 Allen wrench
Phillips screwdriver
New MOS board
¶ IV. Replacement steps:
Note: Before starting any disassembly and assembly, make sure the machine is powered off.
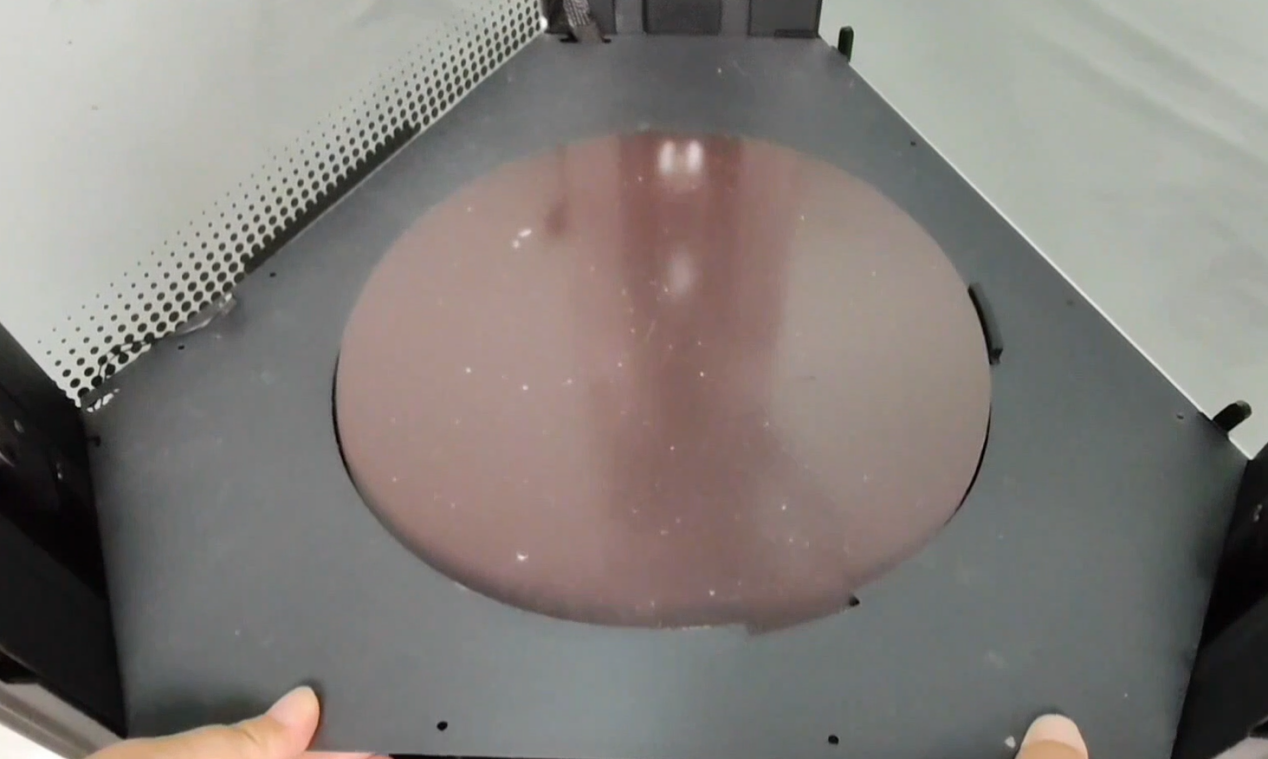
¶ 1. Use the H2.0 Allen wrench to remove the screws that fix the outer cover on the right side and remove the side panel.
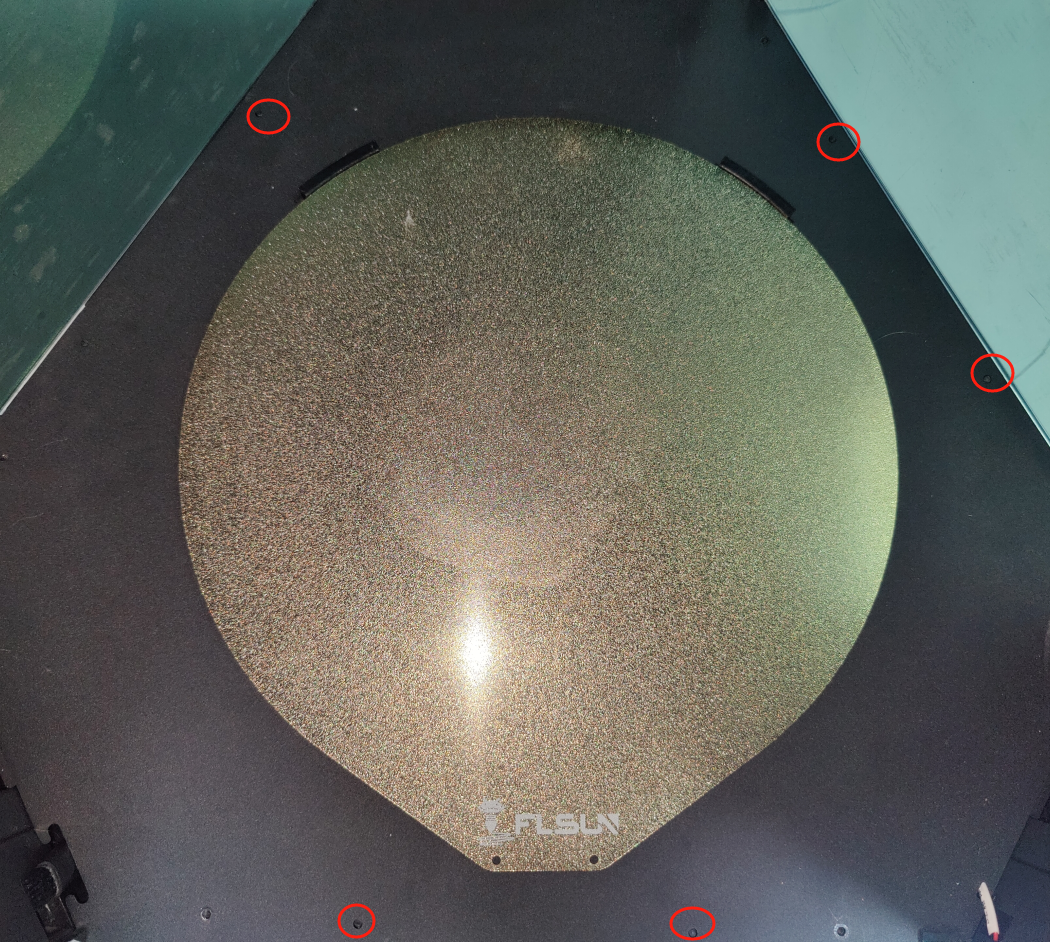
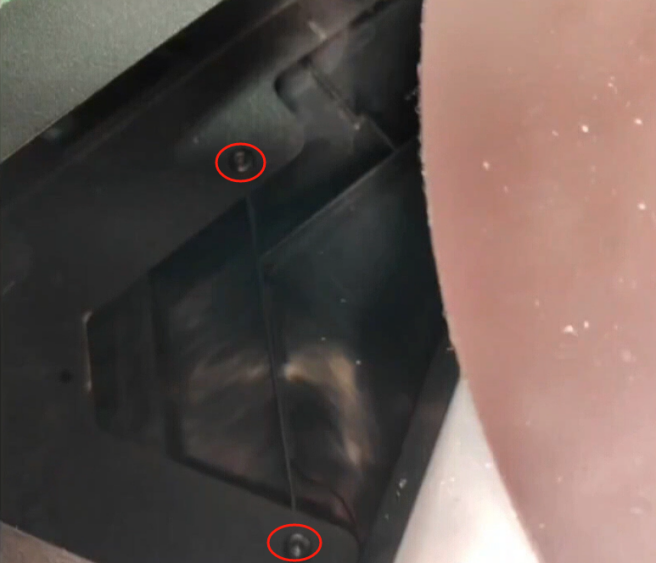
¶ 2. Use the H1.5 Allen wrench to remove the six screws of the lower cover.
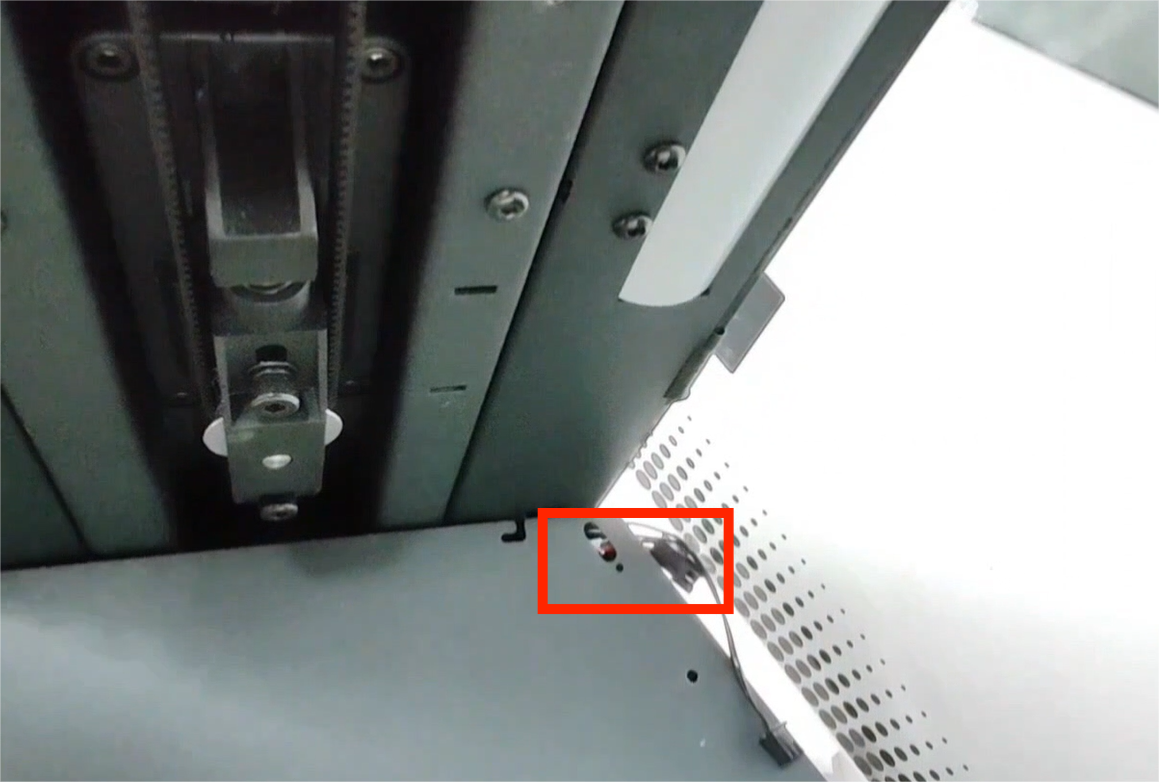
¶ 3. Remove the camera, disconnect the LED connection line, and move the LED line away to avoid damaging the wiring harness.
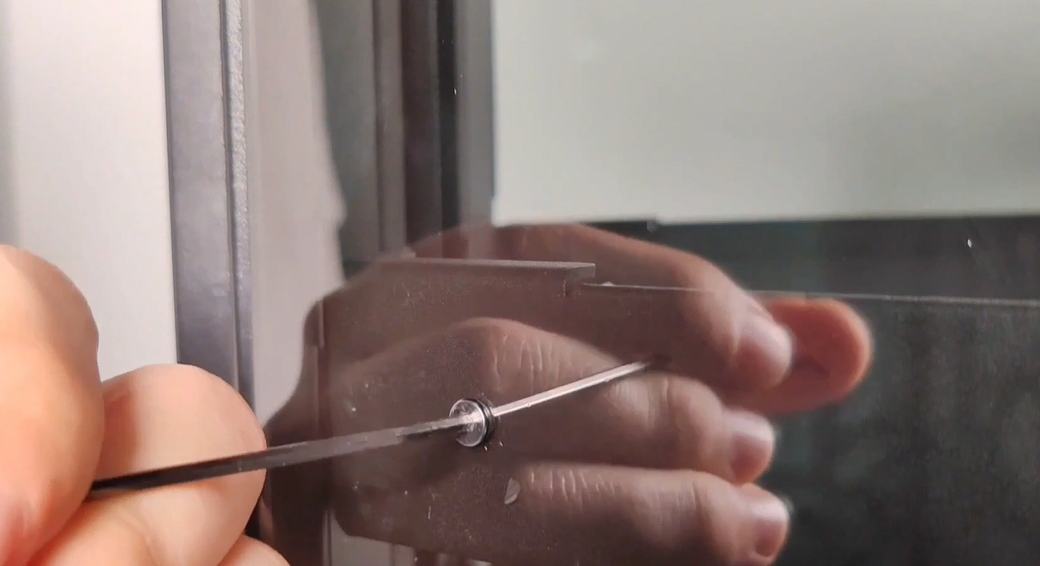
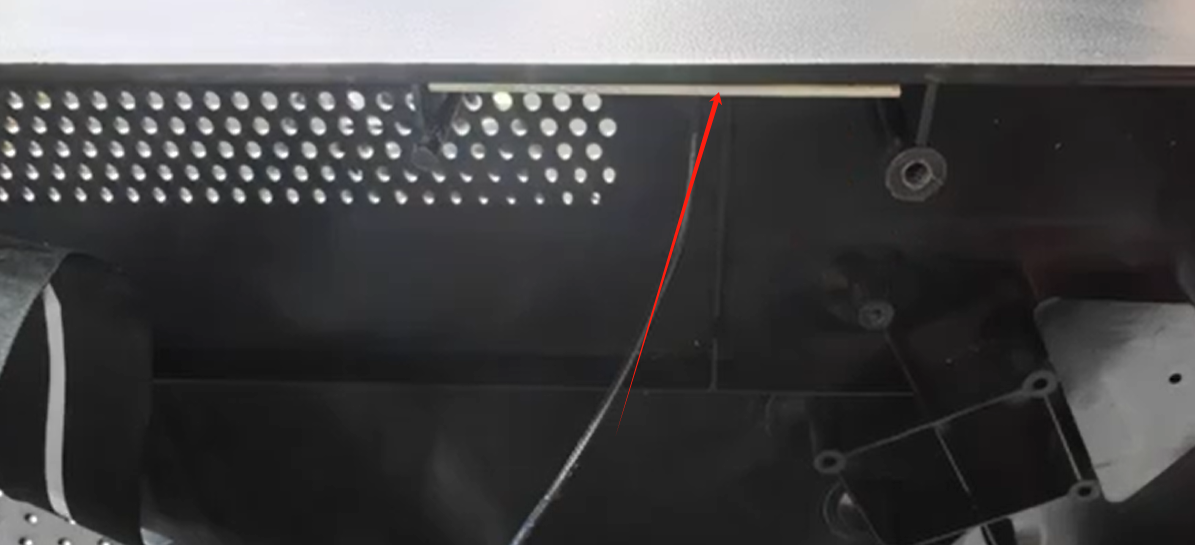
¶ 4. From the side door, gently remove the cover. Note that the main door must be closed, otherwise it will block the cover and cannot be removed.
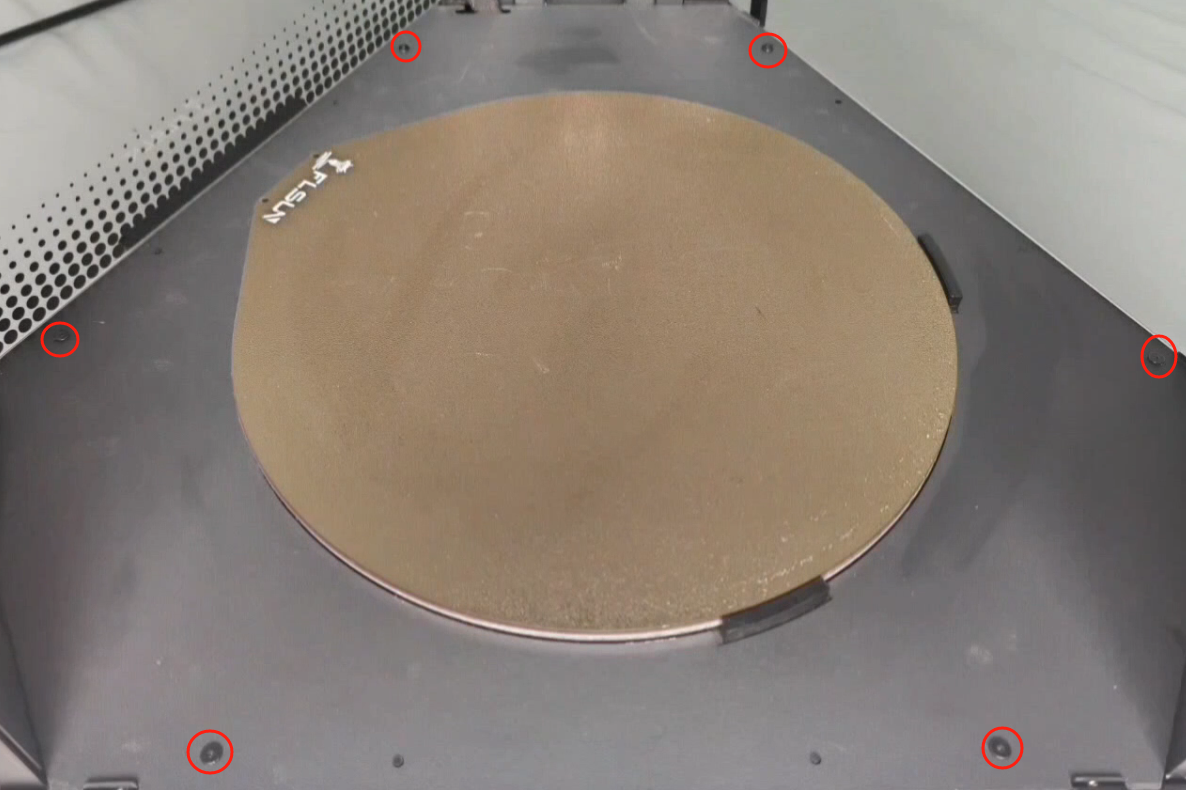
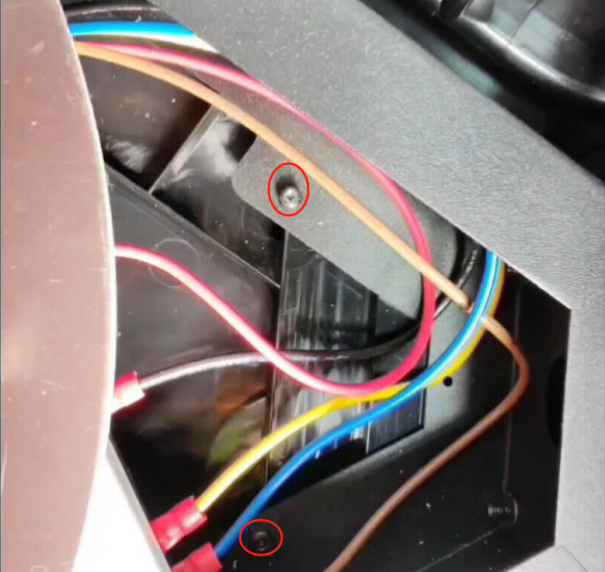
¶ 5. Use an H2.0 Allen wrench to remove the 6 screws that secure the lower shell and the lower case.
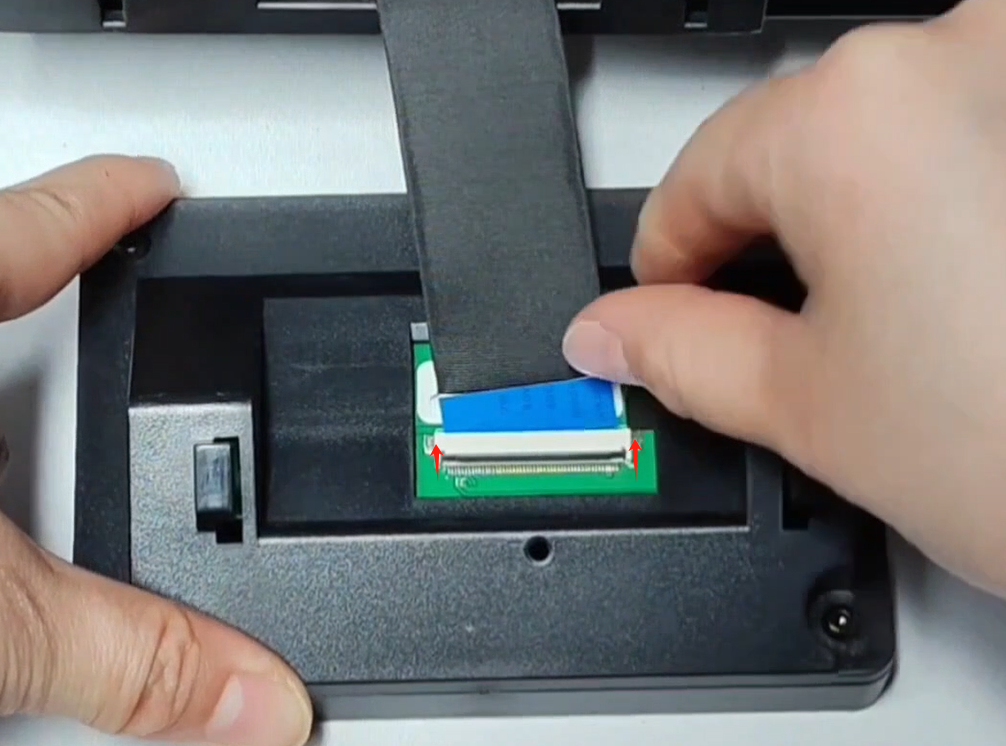
¶ 6. Gently pull the buckle upwards to remove the display.
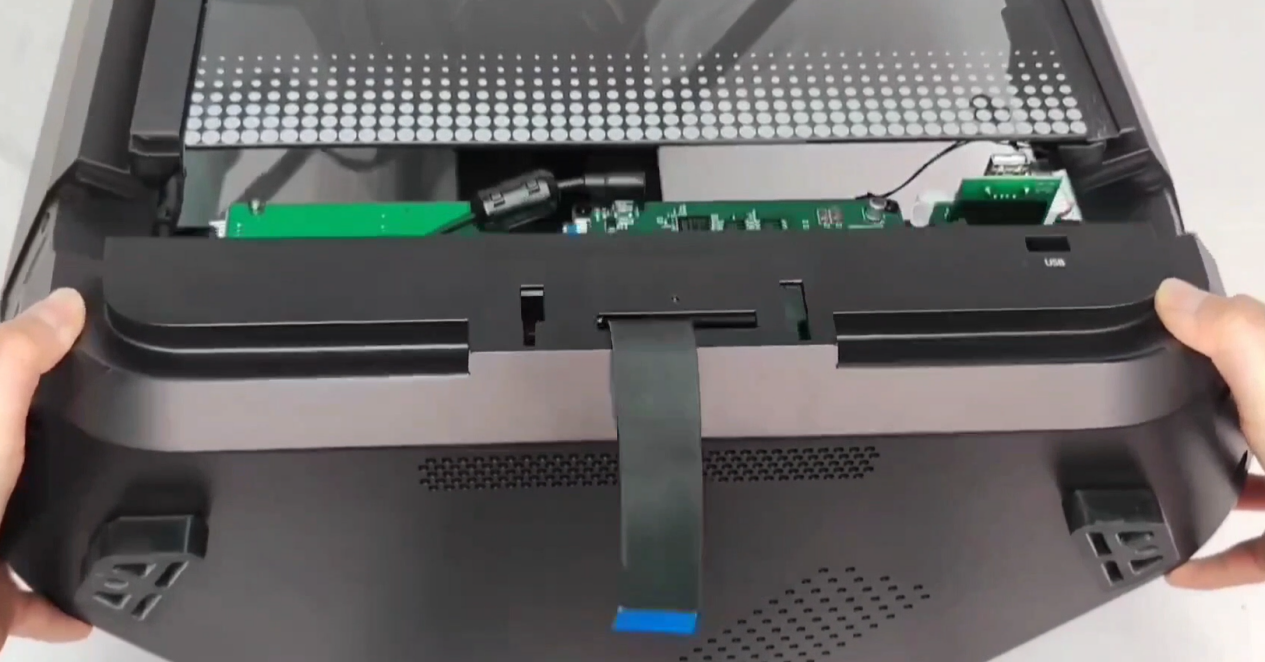
¶ 7. Remove the lower shell. Note: The WiFi module is fixed on the lower shell. Please remove the WiFi module from the lower shell.
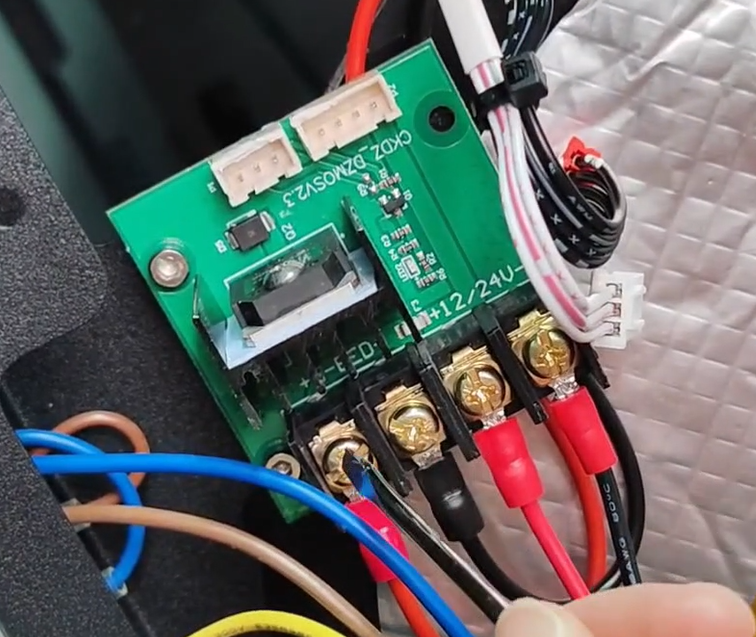
¶ 8. Unplug the adapter cable and the power cable of the lower adapter board.
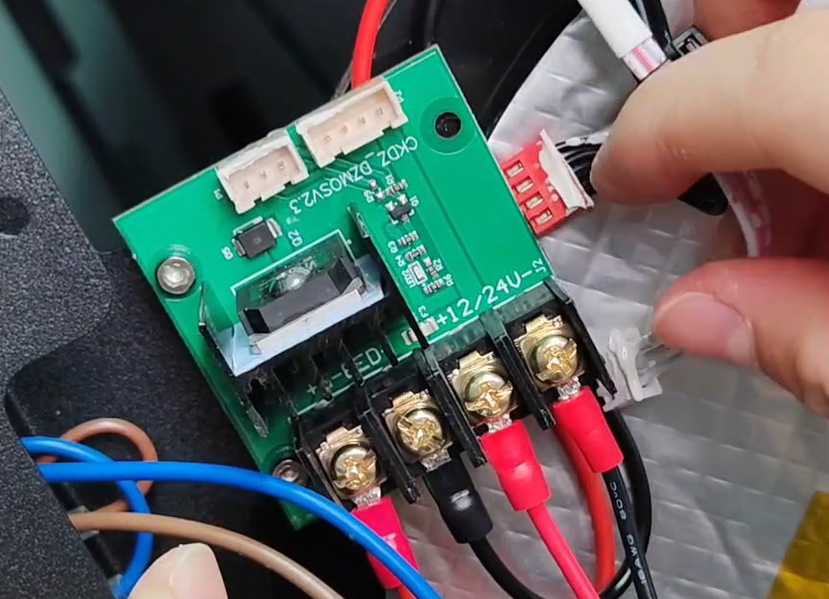
¶ 9. Use a cross screwdriver to loosen the screws that secure the power cable and the hot bed heating cable.
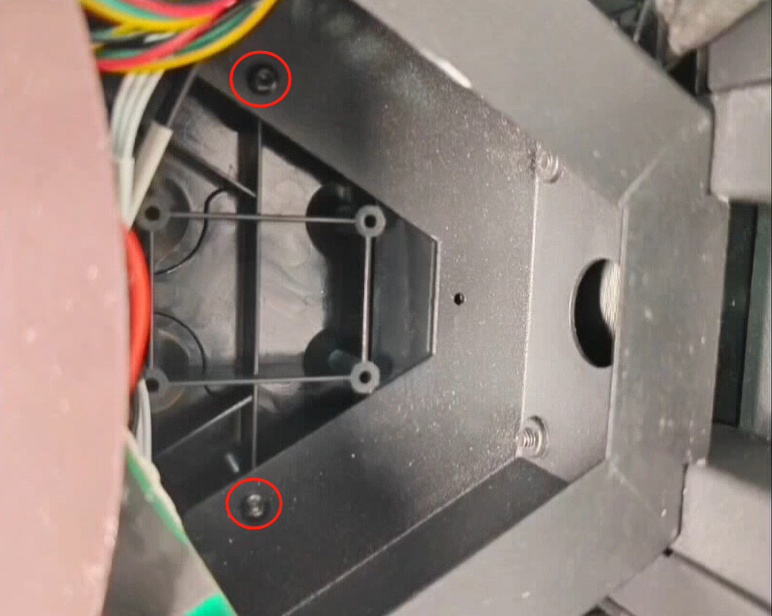
¶ 10. Use an H2.5 Allen wrench to remove the screws that secure the MOS board.
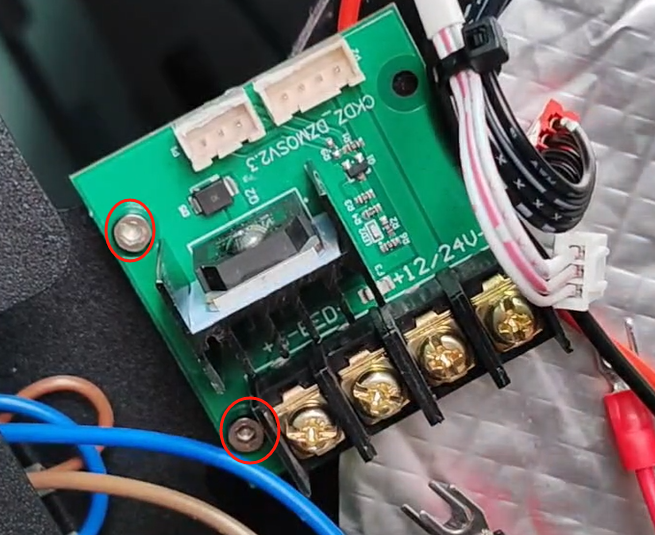
¶ 11. Replace the new MOS board.
Note: When installing the cover, align the holes.