¶ Unboxing video:
¶ Unboxing steps:
¶ 1. Unpack the S1 Pro machine carton;
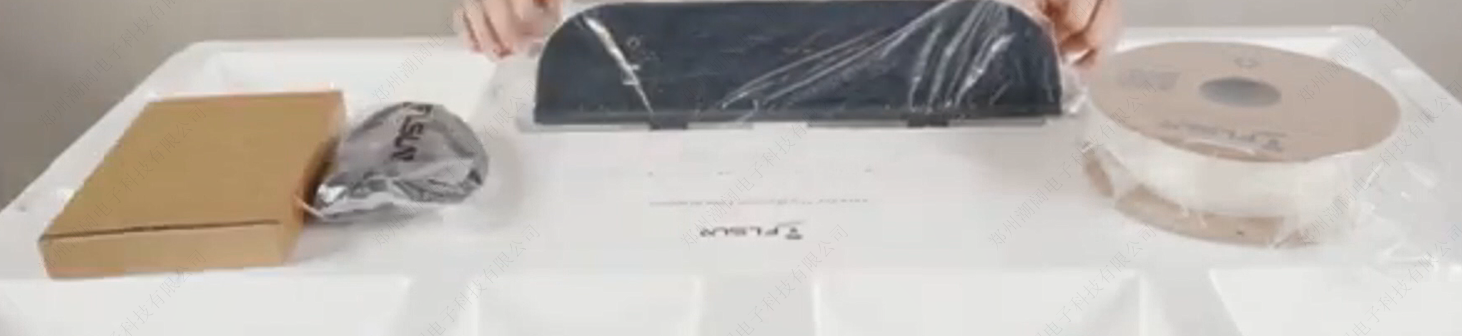
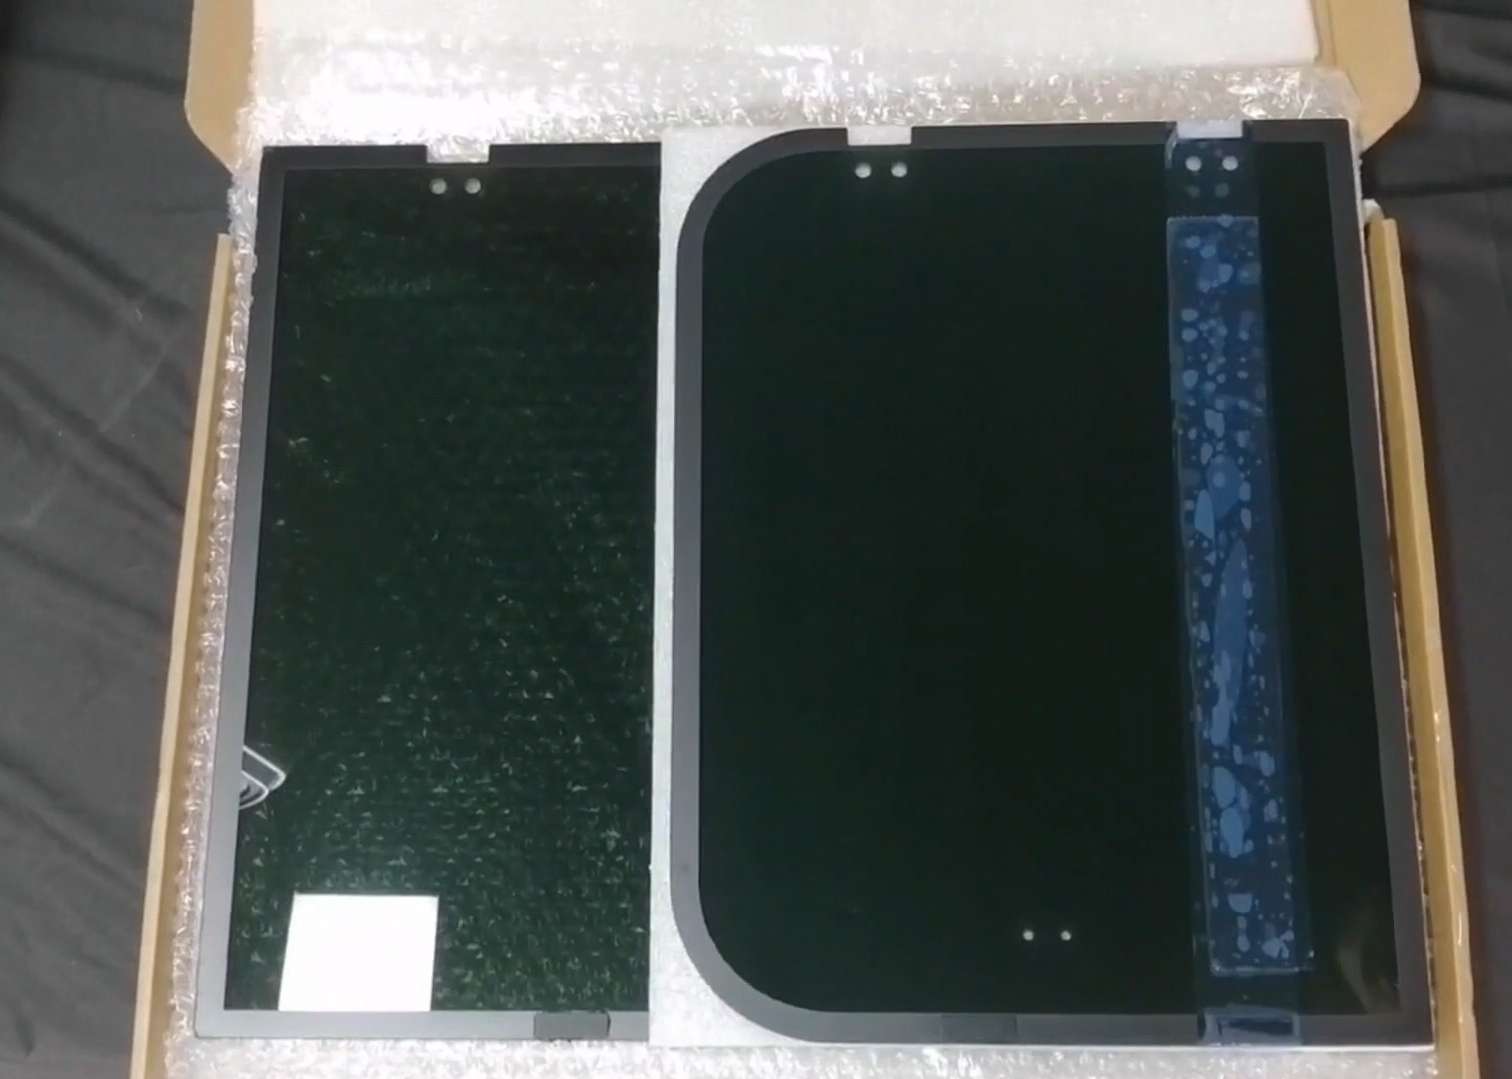
¶ 2. Take out the accessory box, consumables, power cord, screen module, service policy, and manual;
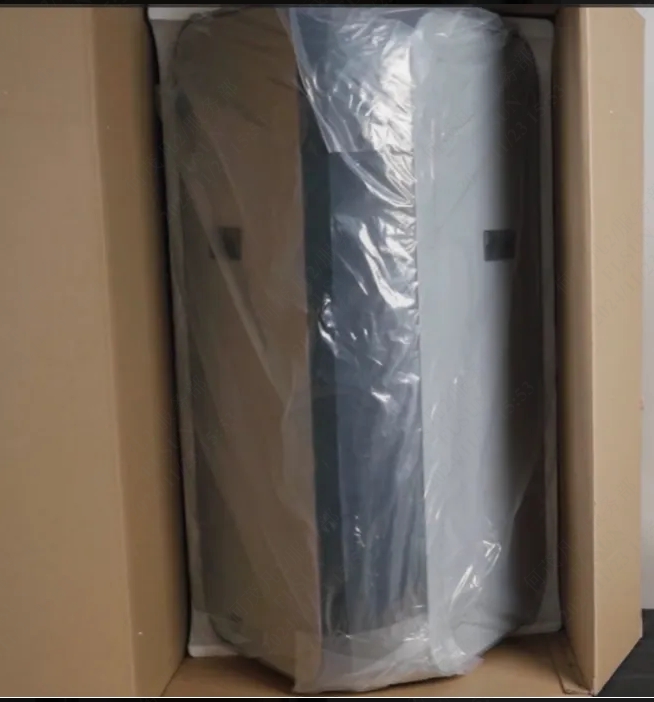
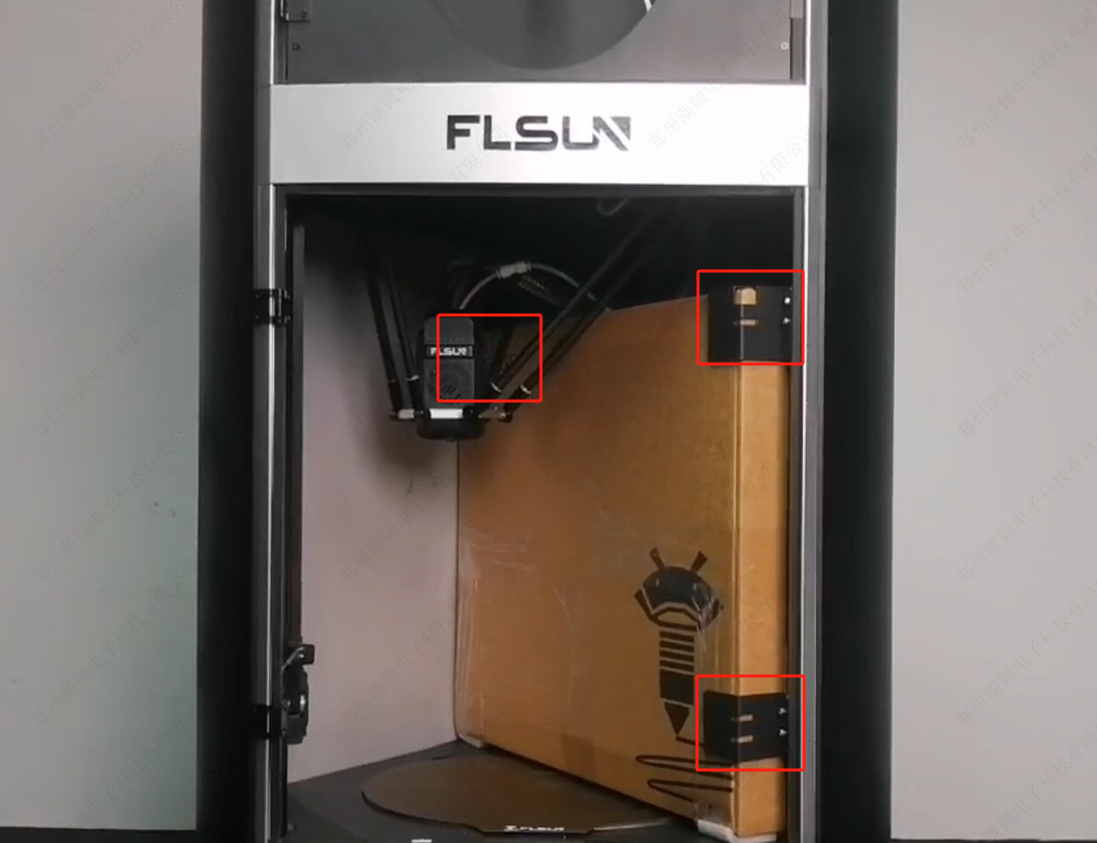
¶ 3. Use a wrench to remove the three metal fixings that fix the glass door packaging in turn, and unpack the glass door packaging box;
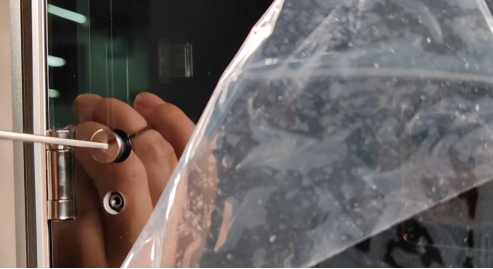
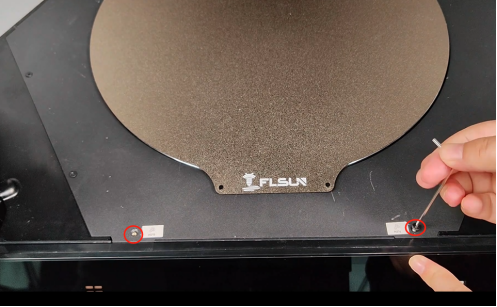
¶ 4. Take out the glass door from the protective bag, and use the H2.0 wrench and M3*6 screws (with T-shaped silicone pads) in the accessories to fix the glass door;
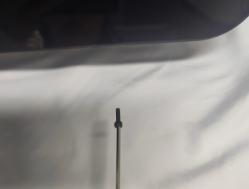
¶ 5. Install the screen module and insert the screen power cord and data cable into the screen module;
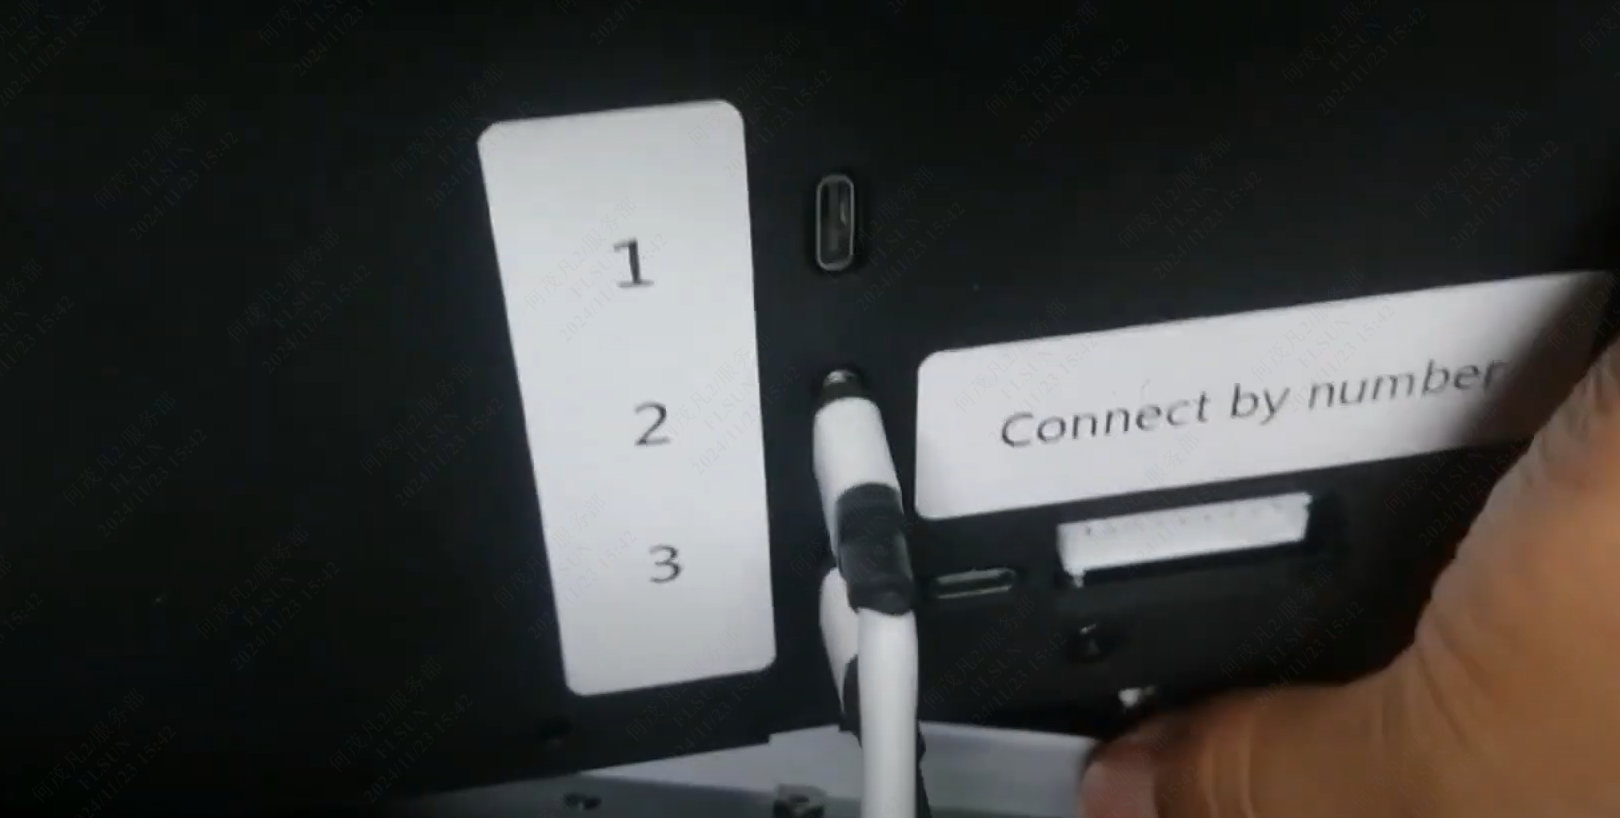
Note that the two data cables are inserted one by one according to the label numbers.
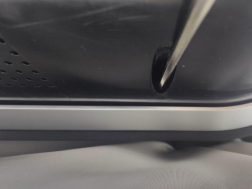
¶ 6. Use the H2.0 hex wrench to fix the upper part of the screen;
¶ 7. Use the H2.5 wrench to fix the lower part of the screen;
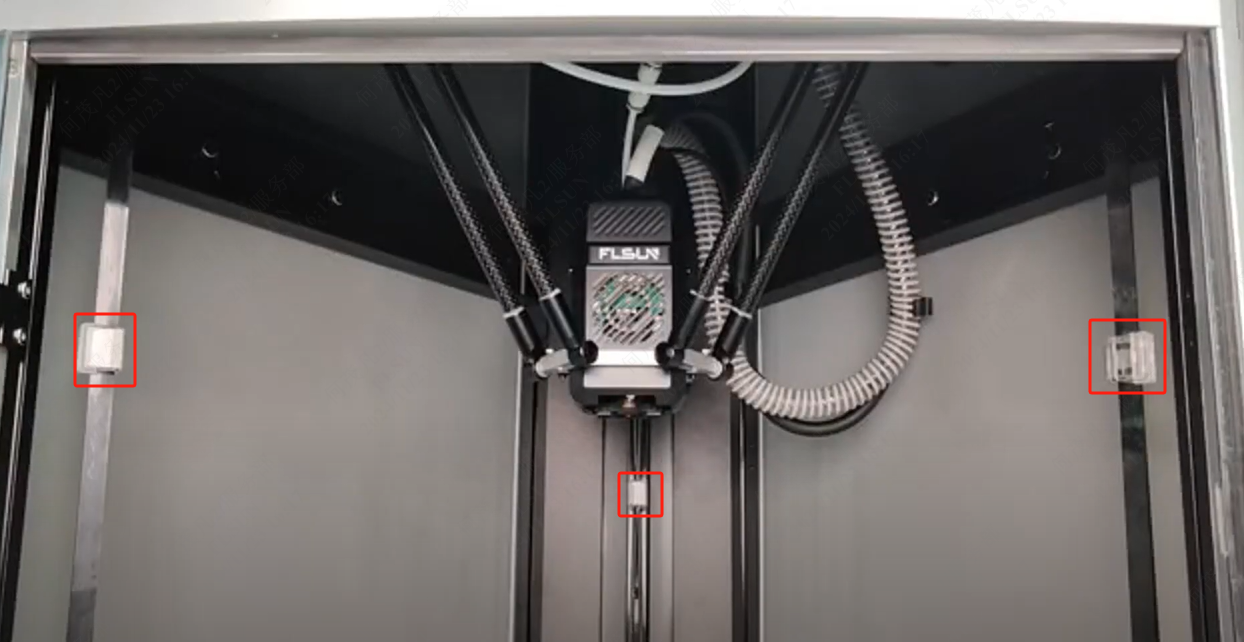
¶ 8. Remove the clips on the three belts and unlock the slider.