¶ Solve the S1 Pro blockage problem
¶ Problem Phenomenon:
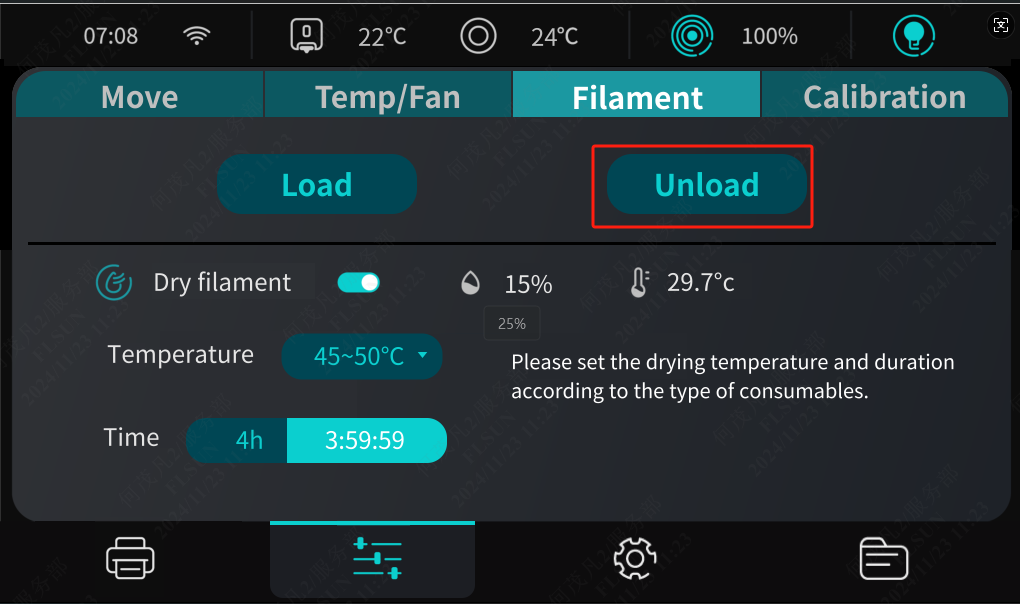
¶ 1. Click "Load", no filament is extruded.
¶ 2. The filament is suddenly not extruded during printing.
¶ Cause:
The nozzle or throat pipe is clogged, and the extruder is blocked by filament.
¶ Solution:
¶ Filament clogging inspection and operation video:
Note: The disassembly operation needs to be performed when the machine is powered off.
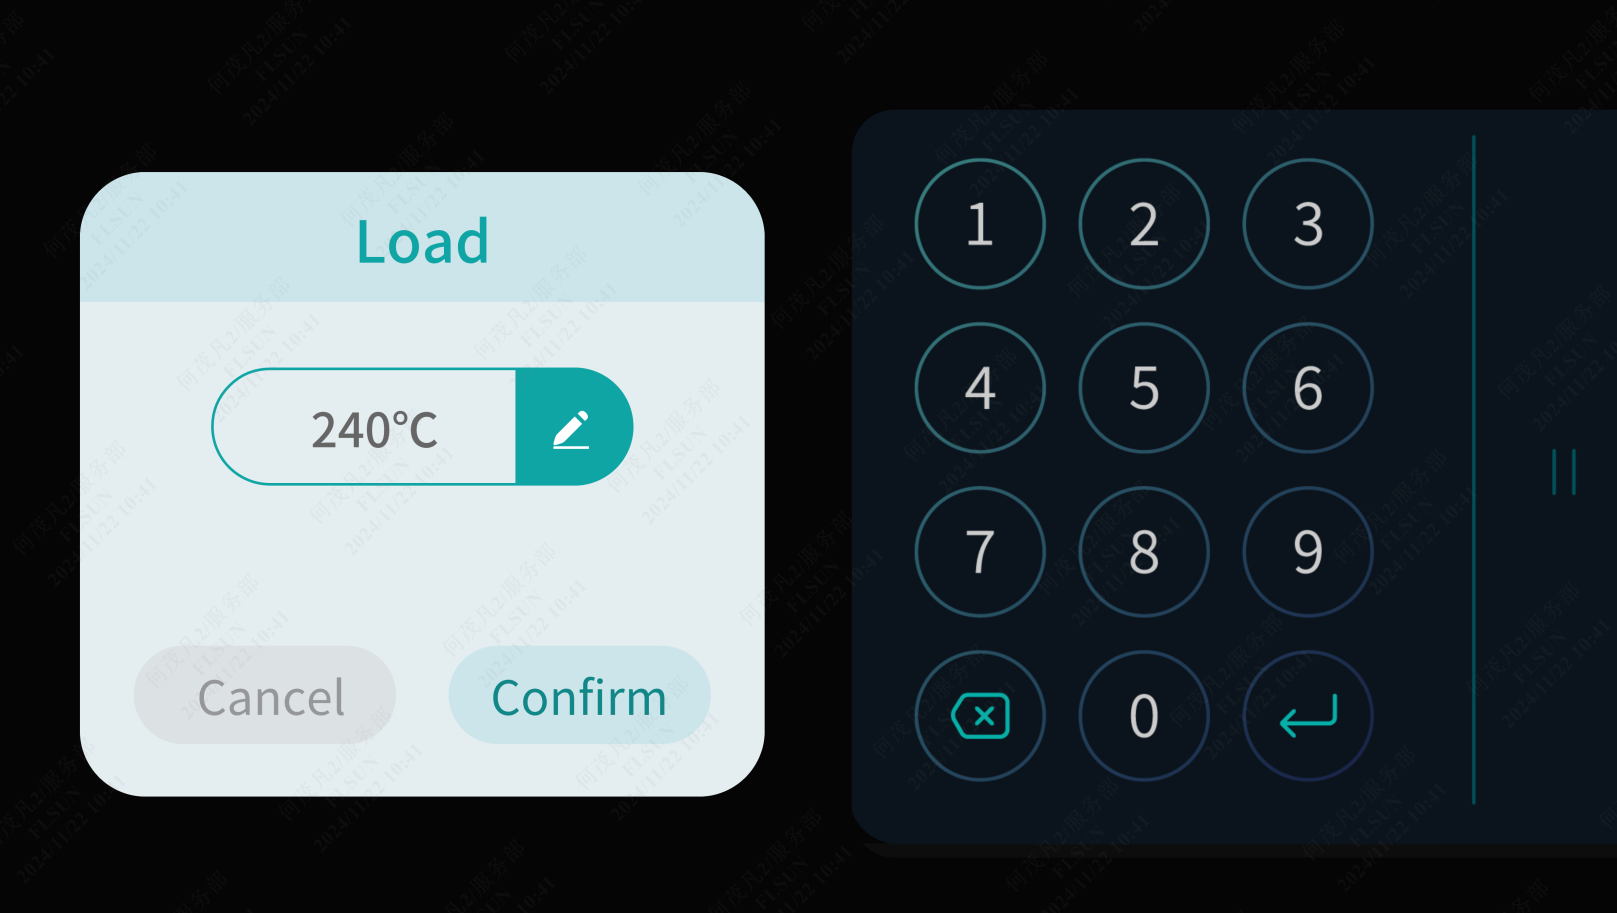
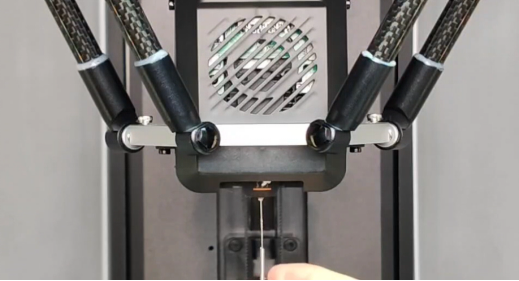
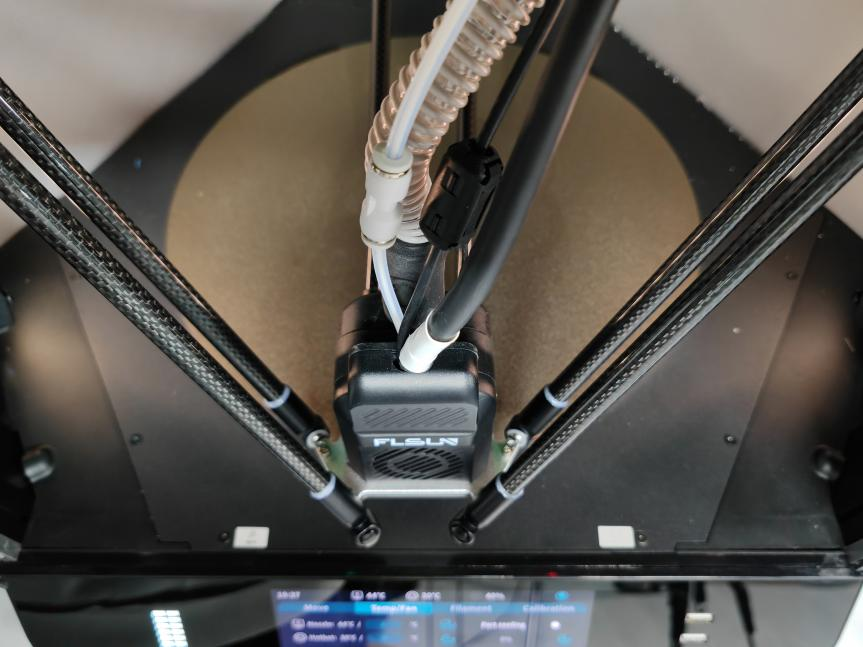
¶ 1. First, make sure that the filament has been inserted to the bottom. If it is not inserted to the bottom, please unplug the pneumatic connector at the effector and insert the filament here forcefully. Click "Load", set the appropriate temperature according to the filament, and wait for the temperature to rise to the preset temperature, and the printer will automatically load the filament;
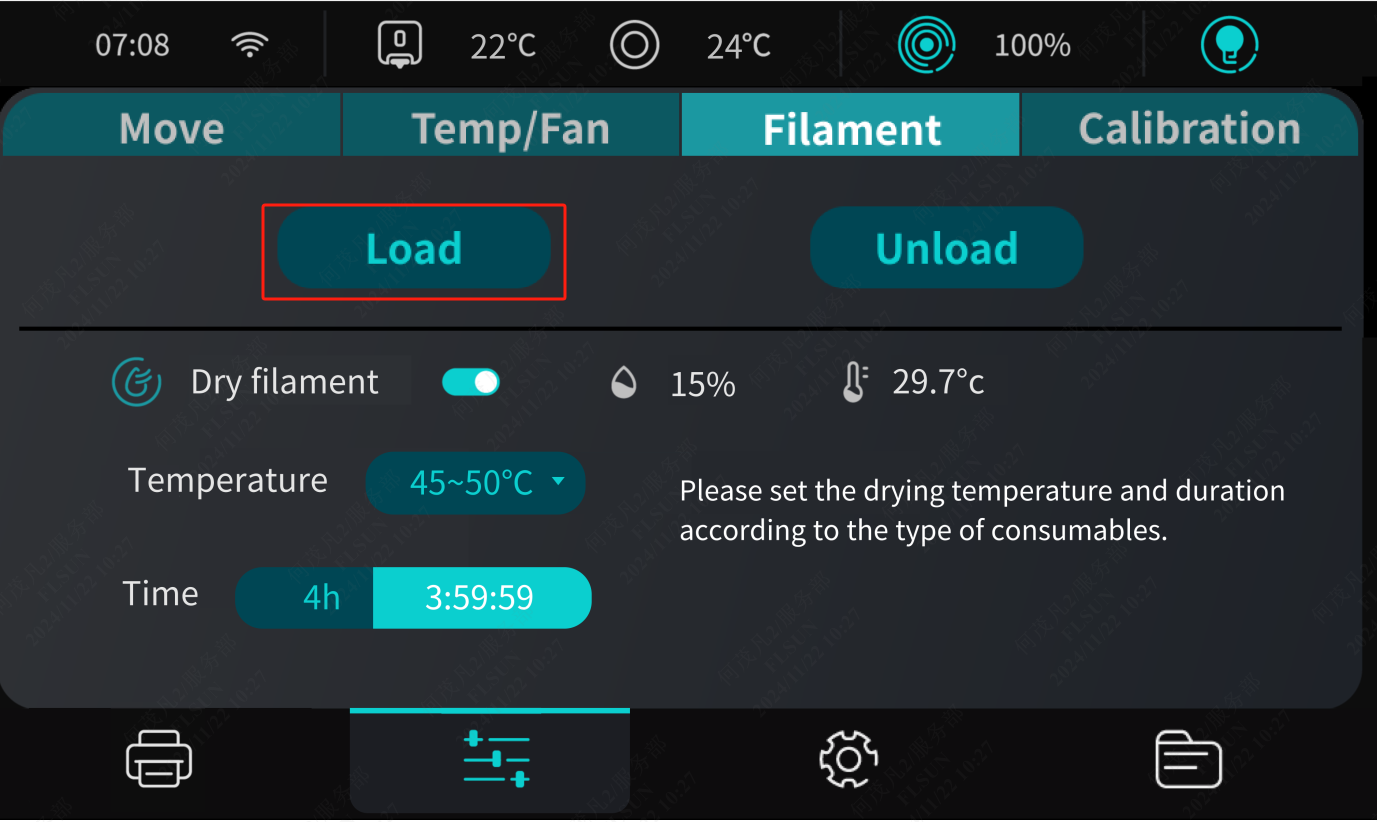

¶ 2. If no filament is extruded, use the silver needle in the accessory box to unclog the nozzle and click "Load" the filament again.
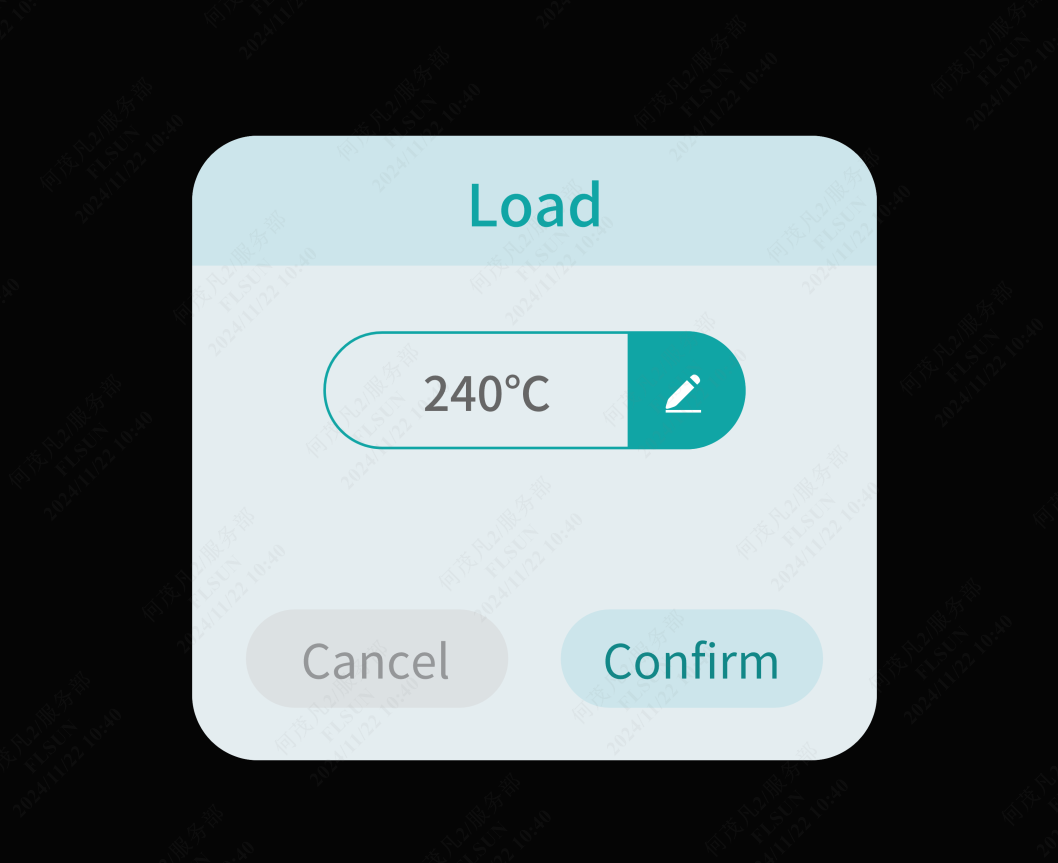
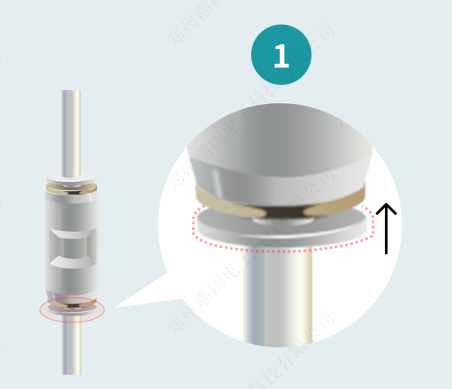
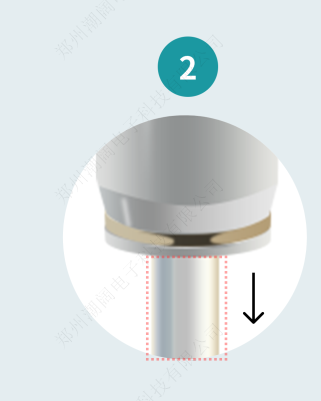
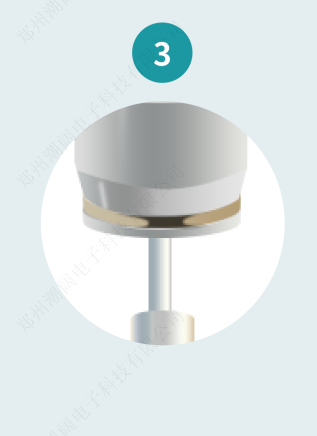
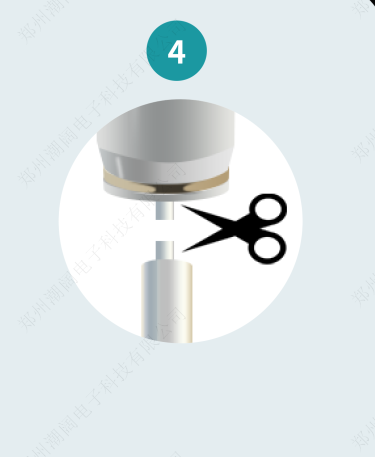
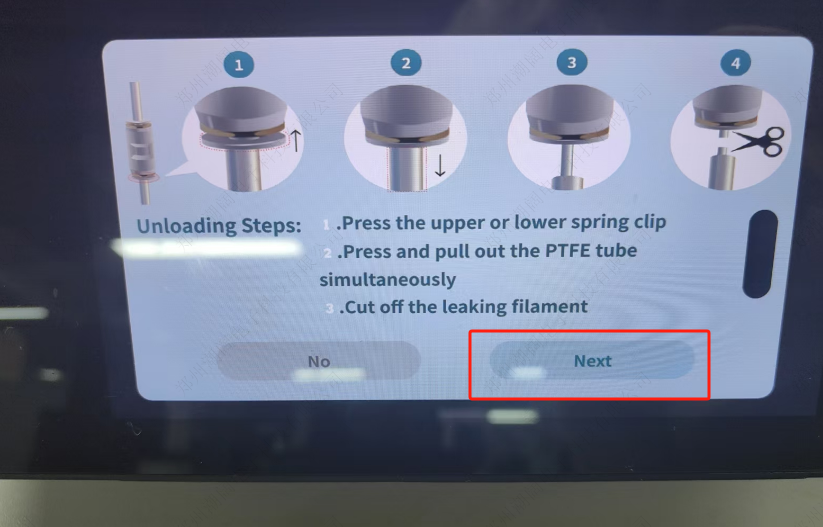
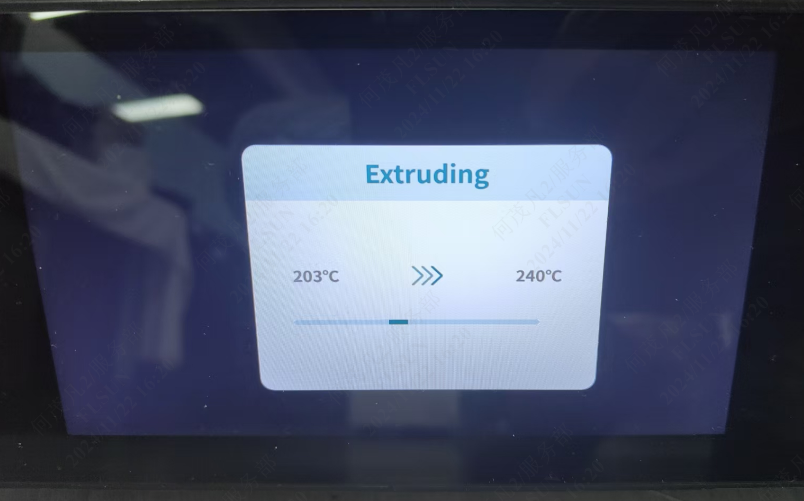
¶ 3. If there is still no filament extruded from the nozzle, press the lower or upper spring sheet of the pneumatic connector, press and pull out the PTFE hose at the same time to expose the filament and cut it off, click the "Next" button, after clicking, the nozzle will automatically heat to 240° and extrude the cut filament.
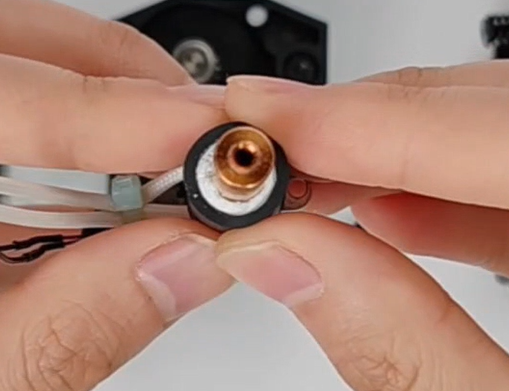
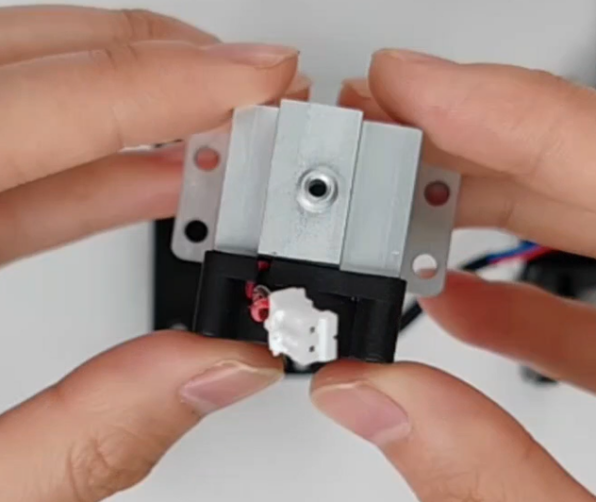
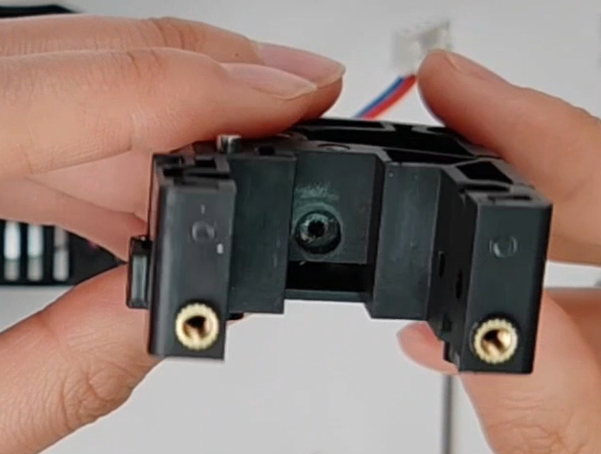
¶ 4. If there is still no filament extrusion, please disassemble the effector and check whether the throat or extruder is blocked.
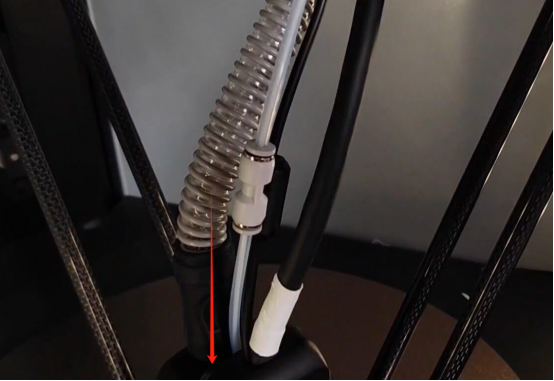
¶ Effector Home Interference Problem
¶ 1. Phenomenon:
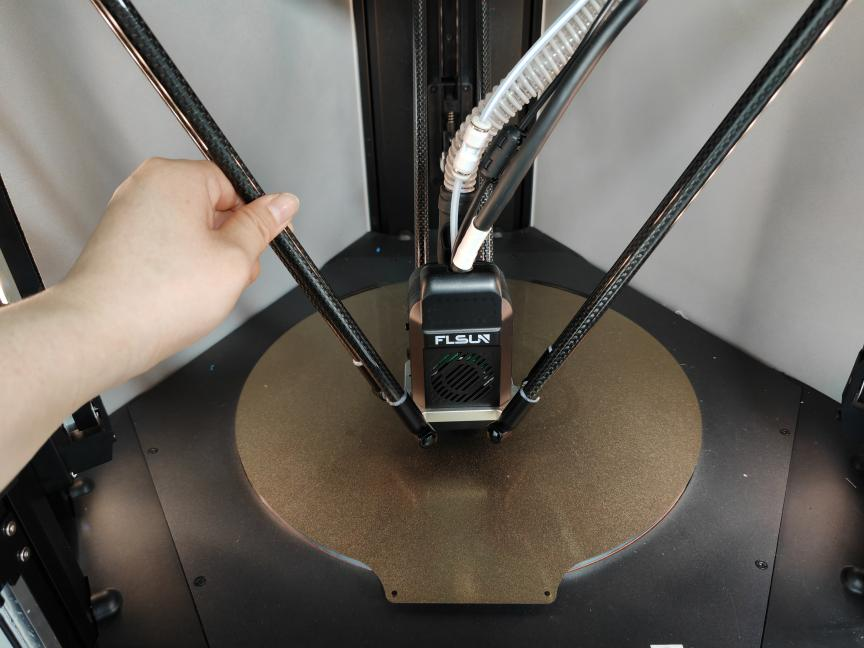
If you can manually move the effector out of the hot bed area, the status is shown in the picture below.
At this time, if you click home, the effector will hit the enclosure and dryer box.
¶ 2. Solution:
Therefore, before printing or clicking "home", be sure to move the effector to the printing area.
¶ Use and Precautions of the Machine's Calibration Functions
¶ Motor Calibration
¶ 1. Motor Calibration Function
Used to calibrate the motor rotation position and encoder position status to make the motor movement more accurate.
¶ 2. Usage Scenarios
¶ (1) Unpacking and using the printer.
¶ (2) The motor, driver, or bearing is replaced or disassembled.
¶ (3) Depending on the conditions of use, such as when the print quality deteriorates or when the printer movement is unstable.
¶ 3. How to Use
Note: Do not perform any actions that interfere with the motor operation during the motor calibration.
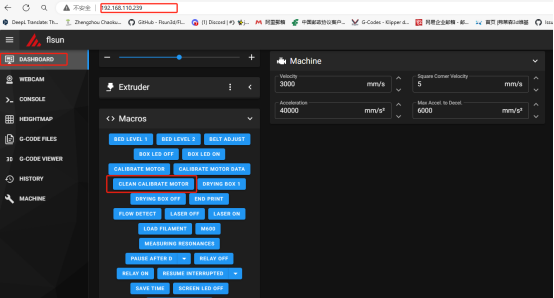
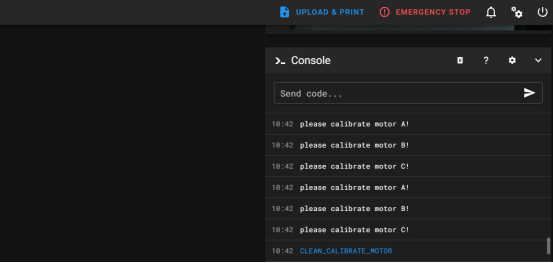
¶ (1) Connect to the network, log in to the web terminal via IP, and click "CLEAN CALIBRATE MOTOR" in the "Control Panel"-"Macro" command, and clear the previously calibrated motor data. After clearing, the console will prompt you to recalibrate the motor.
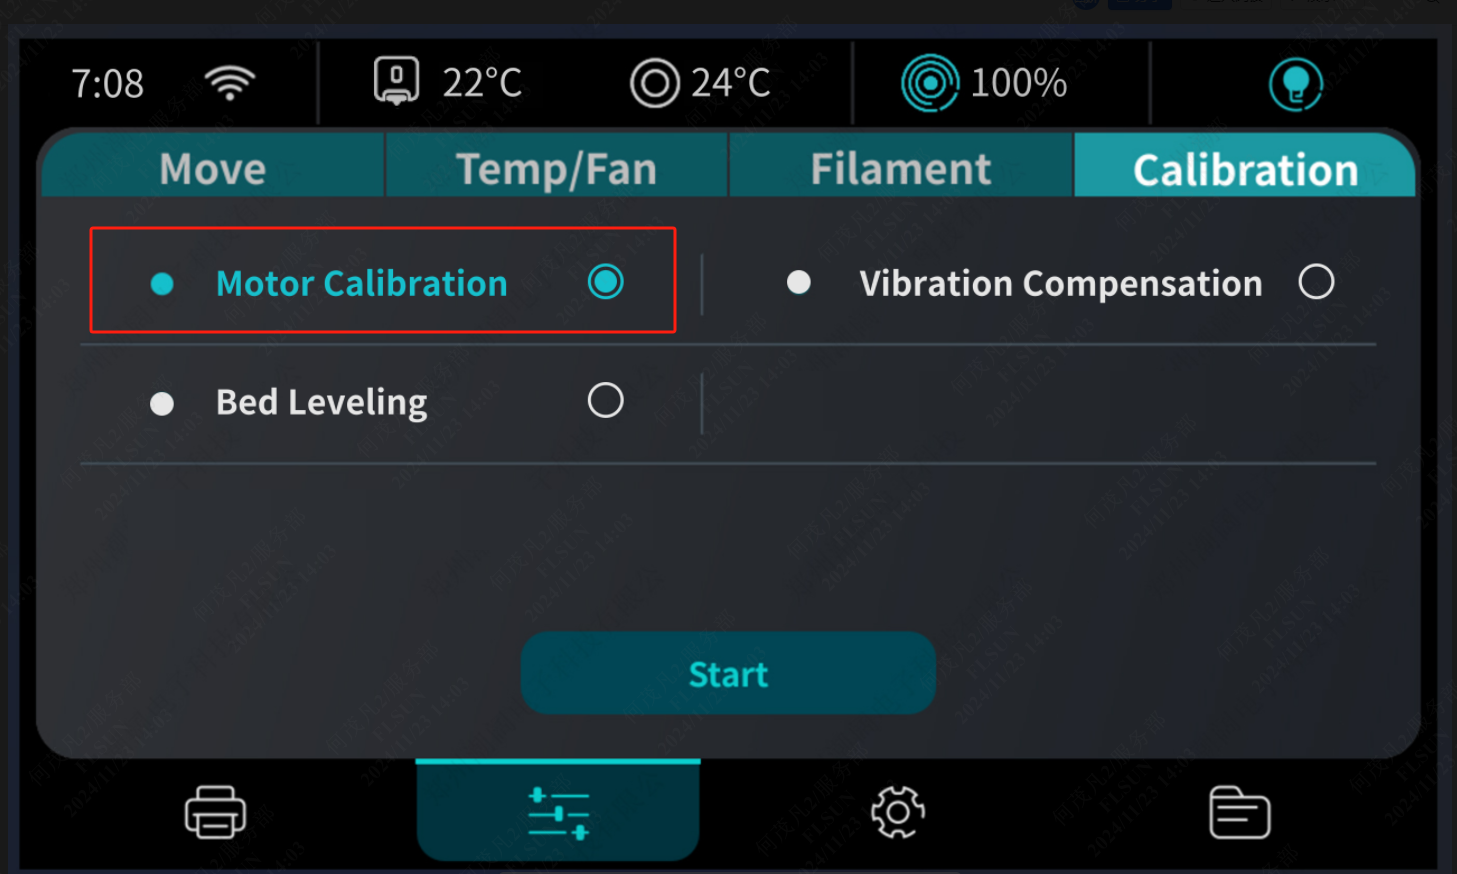
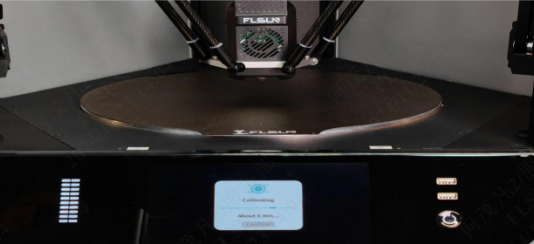
¶ (2) Calibrate the motor: "Control"-"Calibration"-"Motor Calibration"-"Start". The calibration process takes about 1 minute. Wait for the calibration to complete.

¶ Hot Bed Leveling
¶ 1. Hot Bed Leveling Function
S1 is fully automatic leveling, which can be accurately leveled without manual adjustment, ensuring that the first layer of printing can be evenly attached to the bed, thereby improving the printing quality.
¶ 2. Usage Scenarios
¶ (1) First-time use of a new machine.
¶ (2) The key components such as the nozzle, hot bed, timing belt, and axis have been disassembled or replaced.
¶ (3) The first layer cannot be evenly attached to the hot bed during printing.
¶ 3. How to Use
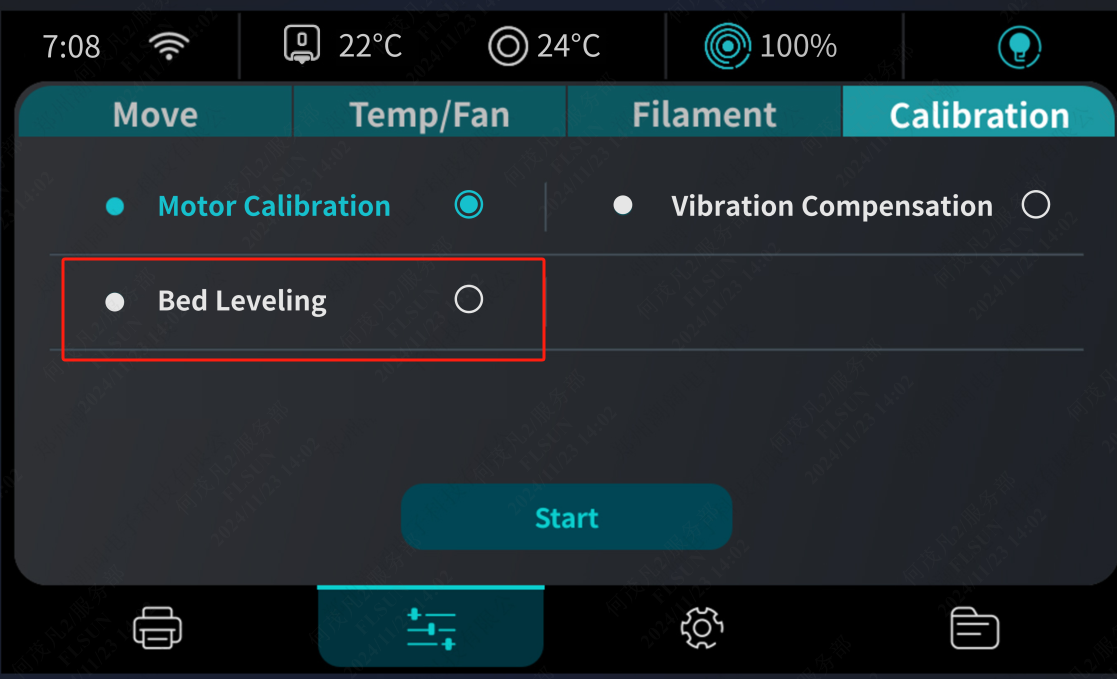
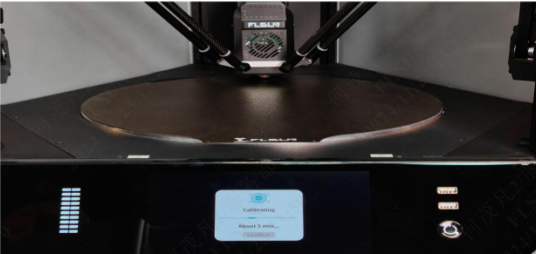
Click "Control" - "Calibration" - "Hot bed leveling" - "Start". The calibration process takes about 5 minutes.
Wait for the calibration to complete.
¶ Vibration Compensation
¶ 1. Vibration Compensation
The vibration compensation function can improve the print quality and stability of the S 1 Pro printer, especially in high-speed printing and fine printing, and can effectively reduce the impact of vibration on the print results.
¶ 2. Usage Scenarios
¶ (1) Using a new machine for the first time or moving the printer location.
¶ (2) Changing to a different type of filament or printing configuration.
¶ (3) After maintenance, such as replacing worn parts, cleaning and lubricating the axis, etc., which may affect the vibration of the printer.
¶ (4) When problems are found with the print quality, such as poor surface quality, missing details, etc. These may be caused by the failure of the vibration compensation function. In this case, recalibration may be required.
¶ 3. How to Use
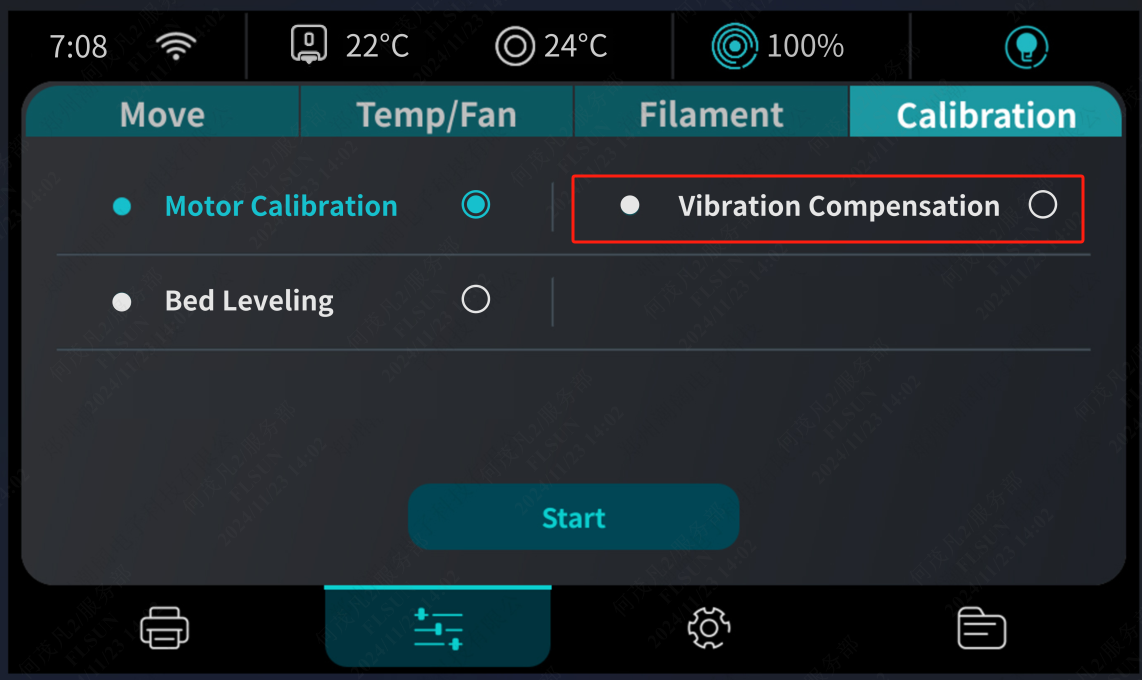
Click "Control" - "Calibration" - "Vibration compensation" - "Start". The calibration process takes about 3 minutes. Wait for the calibration to complete.
¶ How to Calibrate the Error of Printing Size
Before performing precision calibration on the S1 printer, please check the firmware version to ensure it is at least the following version. If the version is lower than the listed versions, the precision calibration optimization method cannot be used. If the version meets the requirements, you can proceed with the precision adjustment.
S1:1.0.8.1.1
S1 pro:1.0.1.0.2
Step 1: Go to the main operation page
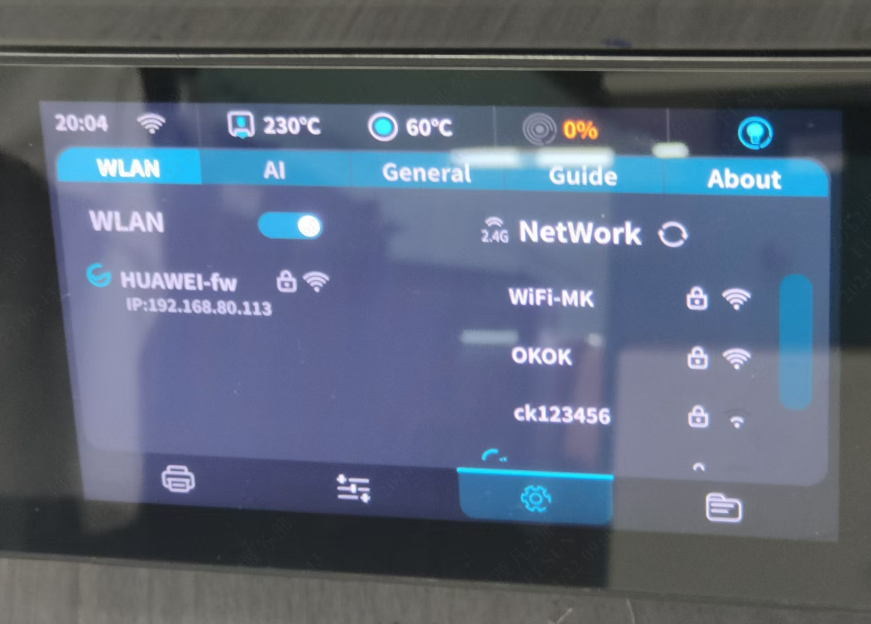
1.1.Connect to WIFI;
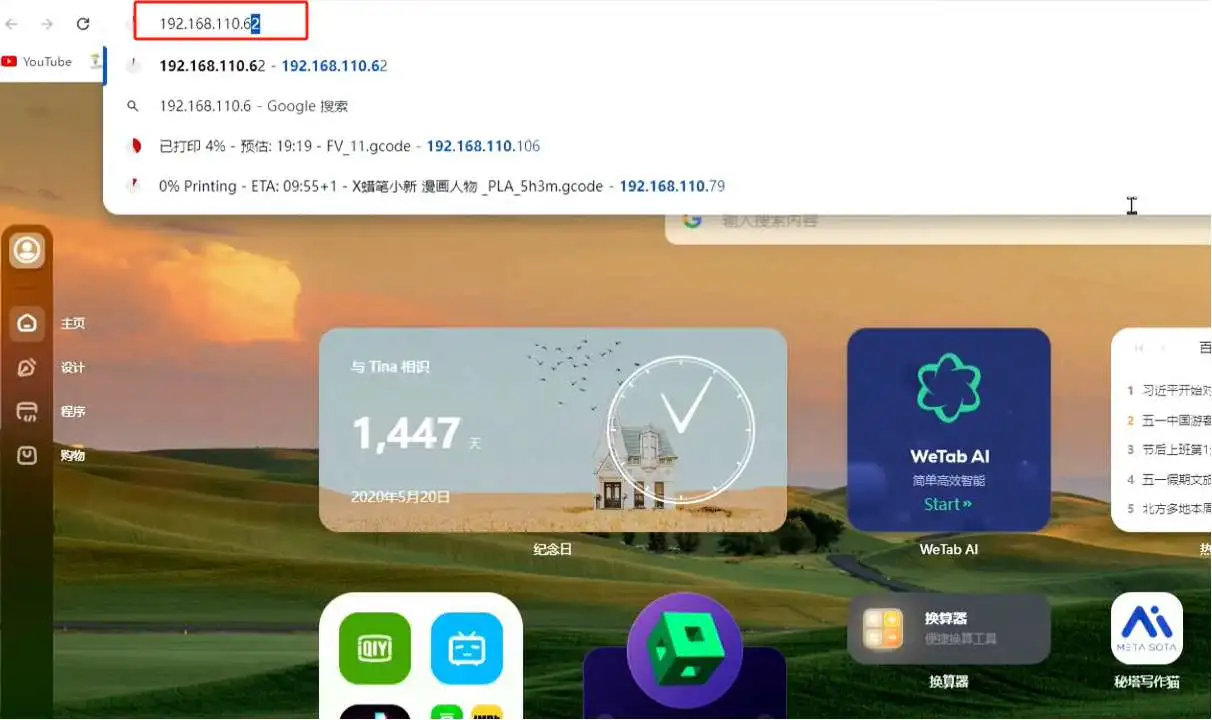
1.2.Enter the “machine IP” into the browser to access the operating page.
Step 2: Enable Configuration File
2.1. Select the upper left corner of the “Settings”, select the “MACHINE”, slide into the “printer.cfg”.
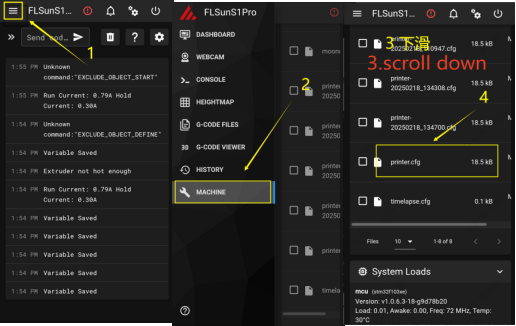
2.2. Add a line “size_cali_mode: Refined” to the 133[printer] column, click SAVE&RESTART, and printer.cfg successfully saved appears on the green at the bottom.

Step 3: Print the calibration model
3.1. Select “S1 Dimensional Calibration Model” for printing;
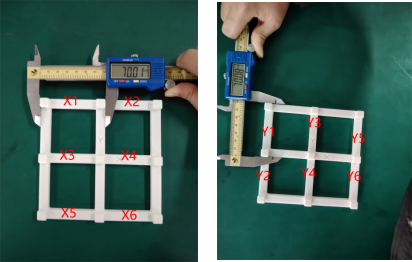
3.2. Measure the S1 size calibration model after printing, the measurement method is shown in the following figure, record X1-X6,Y1-Y6
(For example:SIZE_ANALYZE X=70.0,70.0,70.0,70.0,70.0,70.0
SIZE_ANALYZE Y=70.0,70.0,70.0,70.0,70.0,70.0)
Step 4:Inputting the results to the web site.
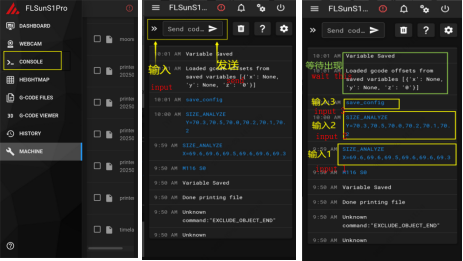
1.Click on “Menu” in the upper left corner and select the “CONSOLE”.
2.Entering the results into the Web site.
“SIZE_ANALYZE X=X1,X2,X3,X4,X5,X6”
“SIZE_ANALYZE Y=Y1,Y2,Y3,Y4,Y5,Y6”
(Note:adding the space character in front of X/Y when typing)
3. To save the configuration, type “save_config”.
Wait for the platform to save the configuration, the variable has been saved when“Variable Saved”is showed, then operation is complete.
Download Link for S1Pro Dimension Calibration Model
¶ First Layer Z0 Too High or Too Low
¶ Symptoms:
¶ The First Layer Too High
¶ 1. Poor adhesion: The first layer may not adhere well to the print bed, causing the printed models to fall off during printing.
¶ 2. Uneven first layer: The first layer may appear uneven or have obvious layer patterns because the nozzle distance is too high for the material to spread evenly.
¶ 3. Poor print quality: The adhesion and print quality of subsequent layers will also be affected, as the first layer is the foundation of the entire model.
¶ 4. Material waste: More material may be extruded but fail to adhere to the print bed effectively.
¶ The First Layer Too Low
¶ 1. Bed surface scratch: The nozzle may directly touch the print bed, causing scratches or damage to the bed surface.
¶ 2. Unsmooth extrusion: The material may be flattened or extruded unevenly, resulting in poor printing quality of the first layer.
¶ 3. Filament clogging: A too low first layer may cause the material to clog the nozzle, affecting subsequent printing.
¶ 4. Interlayer separation: A too low first layer may result in layer-to-layer separation, affecting the strength and stability of the prints.
¶ Solution:
¶ 1. Click the Z option when printing the first layer of the model and adjust the Z height properly.
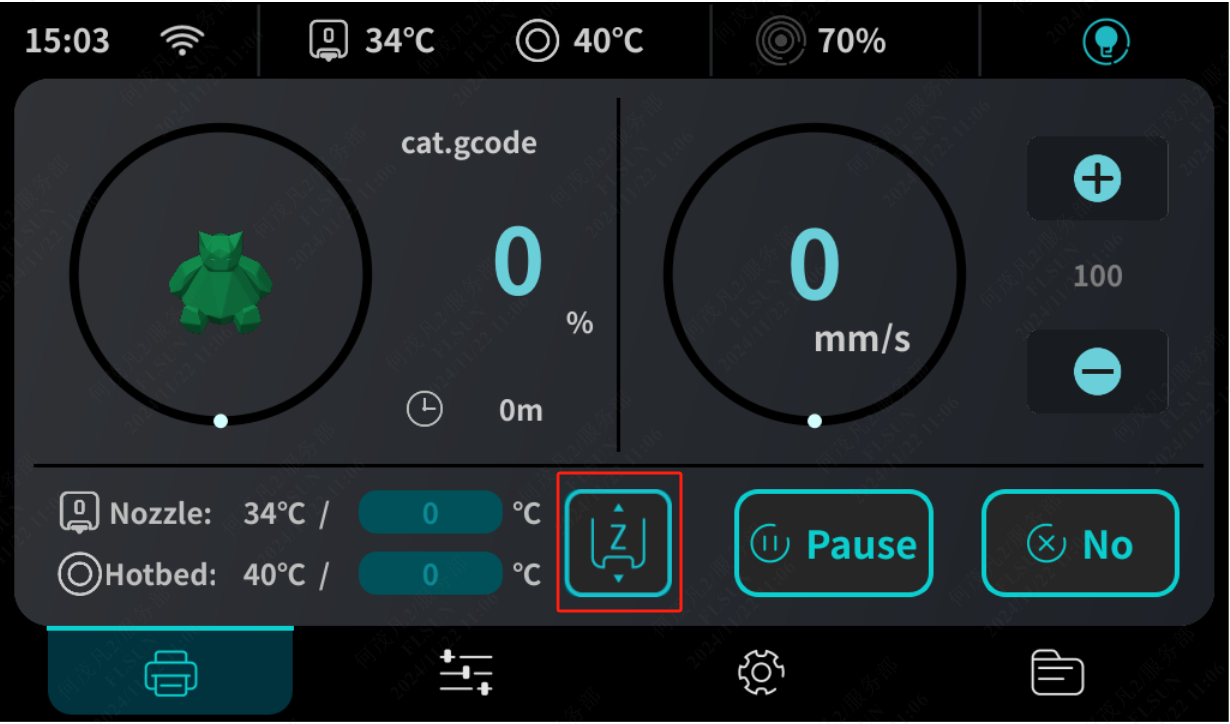
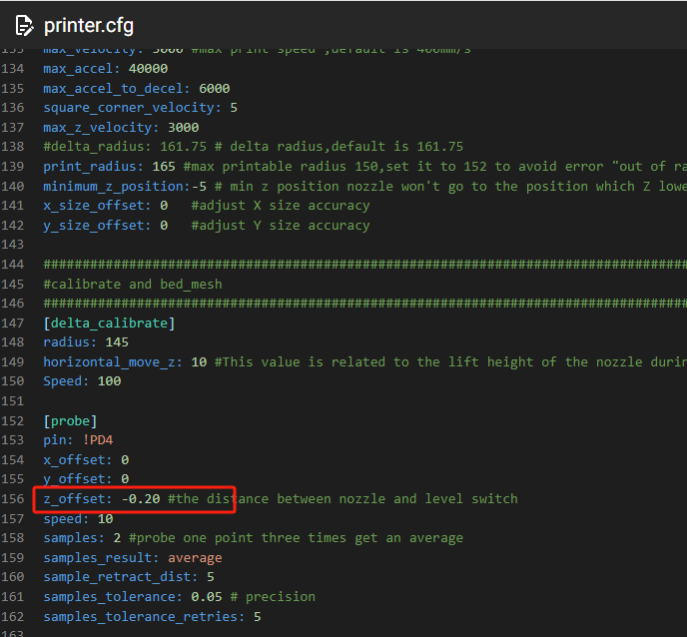
2. Log in to the web page and find this parameter in the configuration file. The default value is -0.21. You can observe the first layer printing effect of the customer and increase or decrease this value. Then save and restart. (When modifying this value, just select this number to modify it to prevent accidental deletion of data and file damage)
¶ 3. Save and reboot after modification.
¶ 4. Perform hot bed leveling calibration.
¶ 5. After leveling, you can print directly. At this time, you can observe the printing situation and make fine-tuning. If it is too high and has exceeded the lower limit, you can modify this value again in the profile until you find the right value.
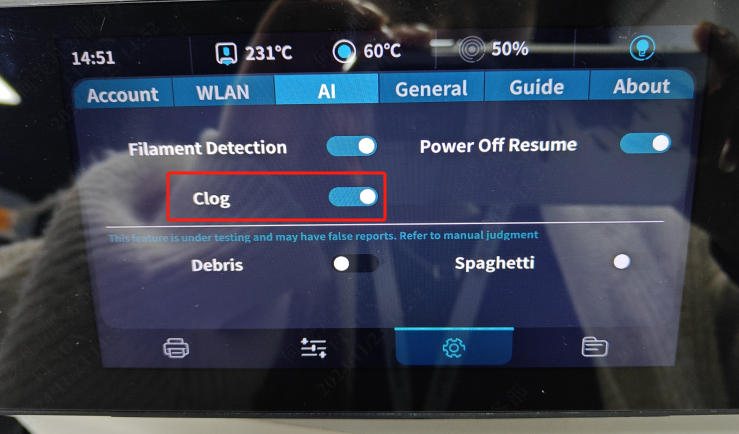
¶ False alarm prompt for material blockage detection
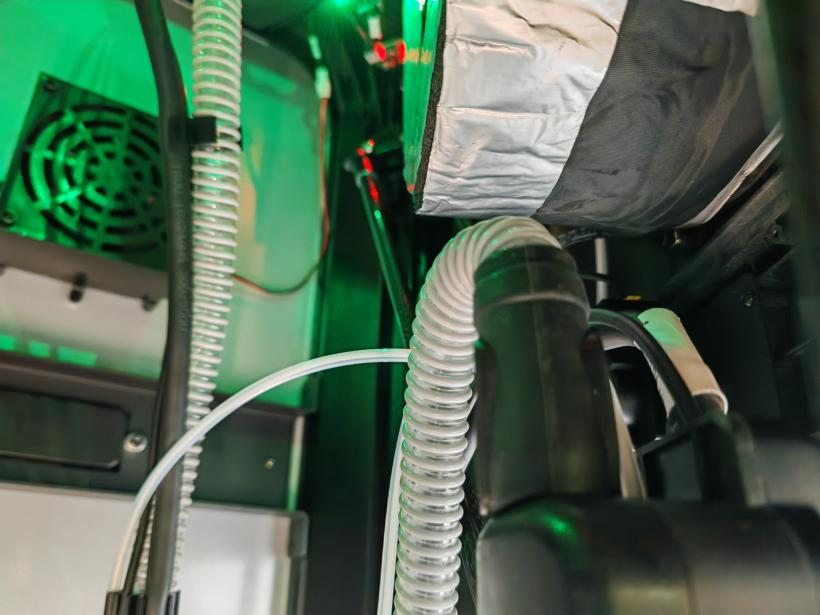
¶ 1. Principle of material blockage detection:
When the material break detector at the drying box detects consumables and the feed sensor at the drying box does not detect the feed, a material blockage prompt will be issued
¶ Solution:
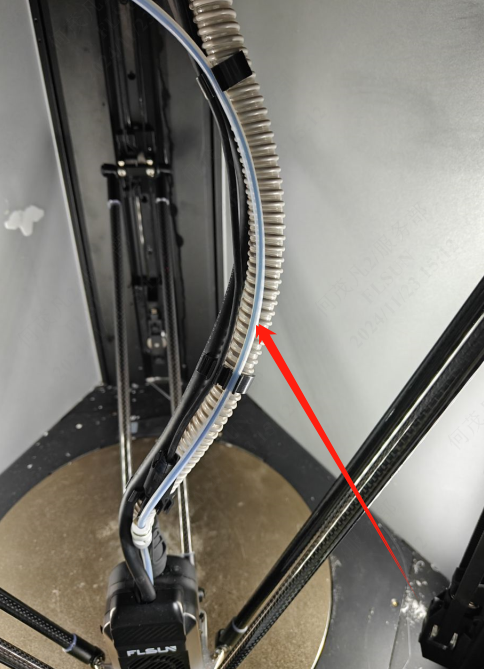
¶ 1. Make sure the material pipe is installed
¶ 2. If the material pipe has been installed normally and false alarms continue to occur, you can temporarily turn off the material blockage detection option on the screen or web end. After replacing the new material break detector, you can turn on the material blockage detection option on the screen or web end again.