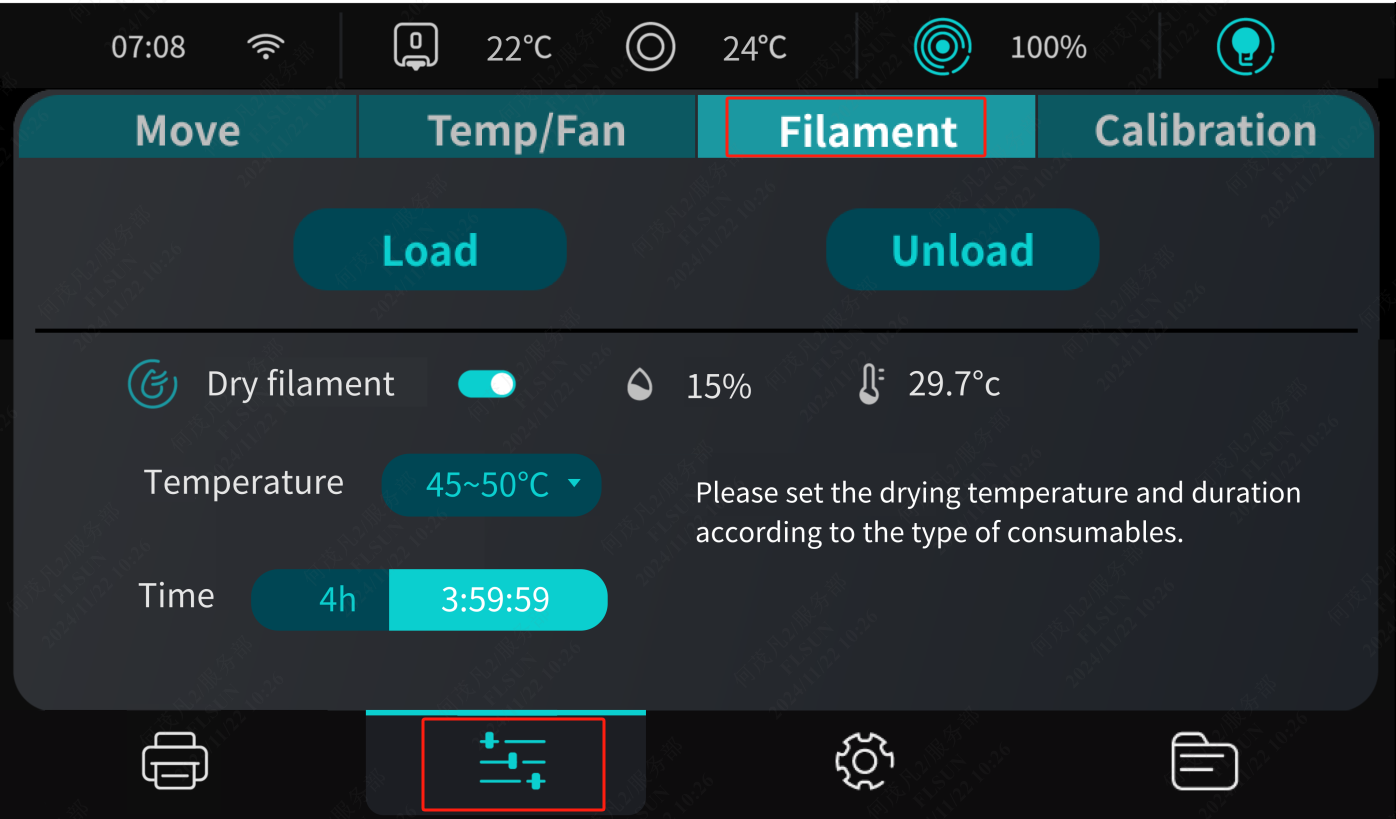
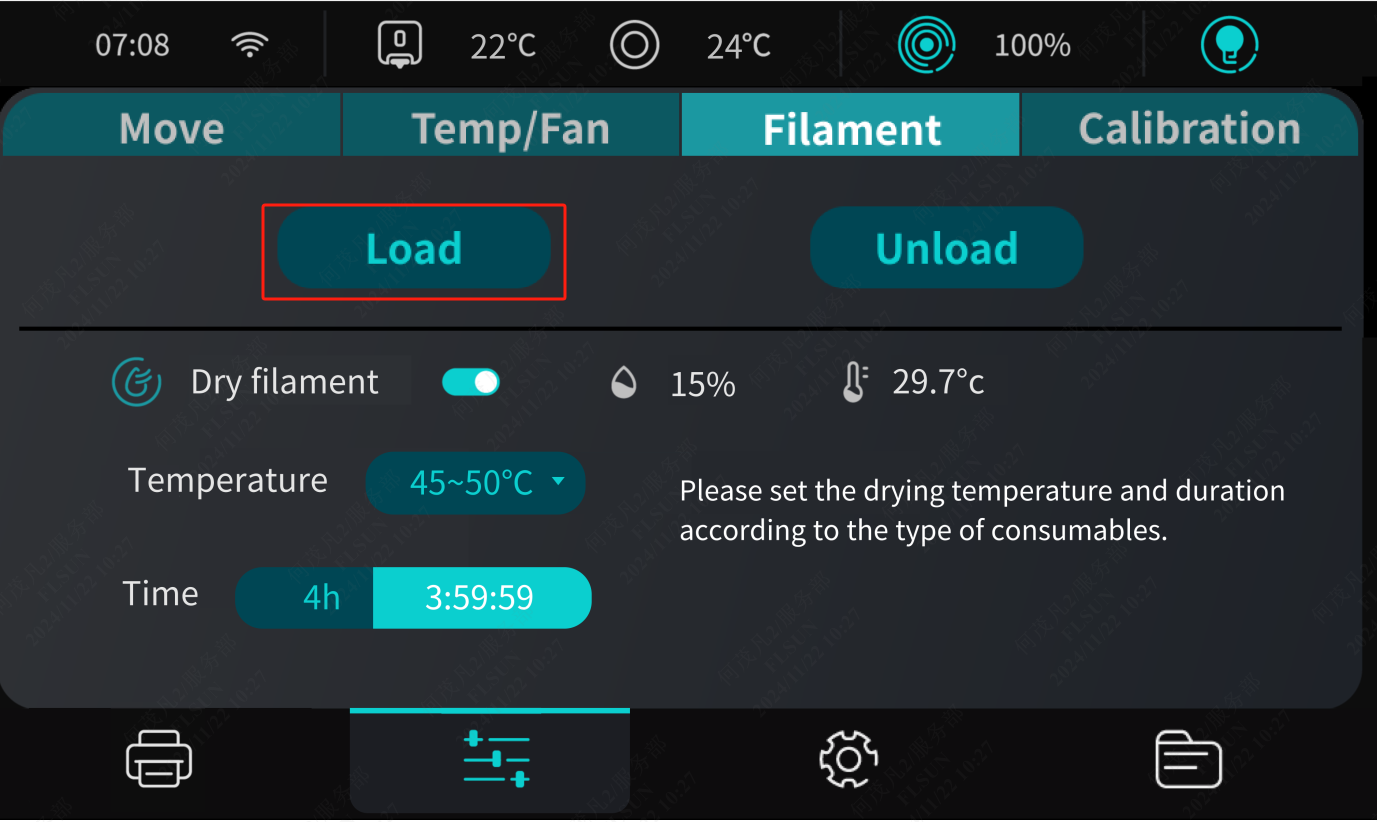
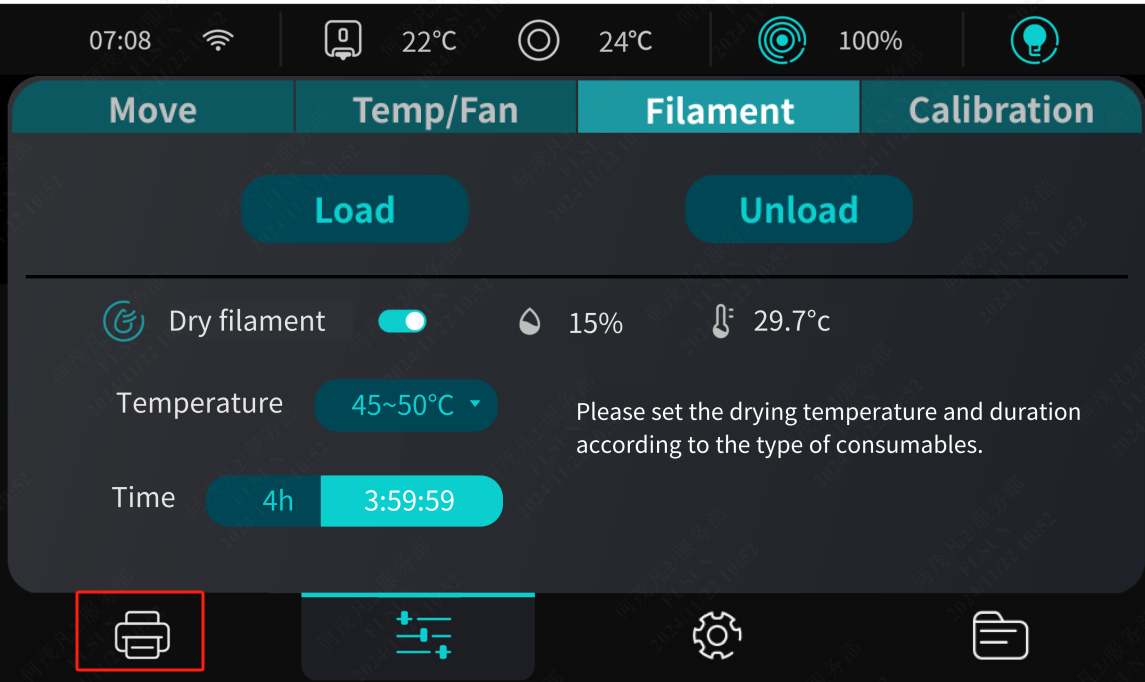
¶ 1. Click " "-"Filament"
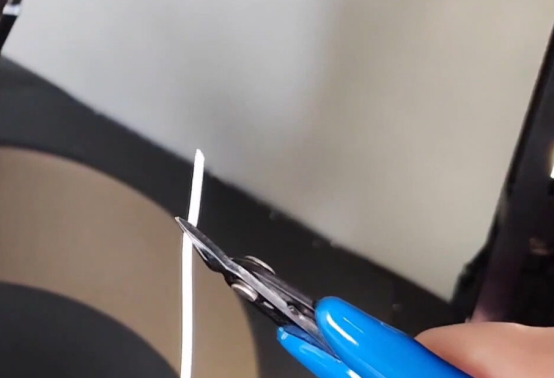
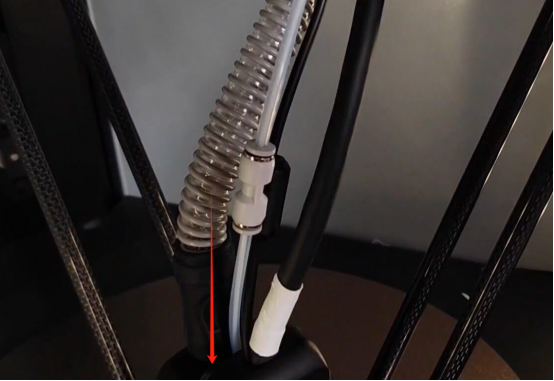
¶ 2. Cut one end of the filament at a 45° angle, push it out from the bottom material tube of the filament box, pass it through the filament detector, and feed it down to the effector until it can't be pushed further;
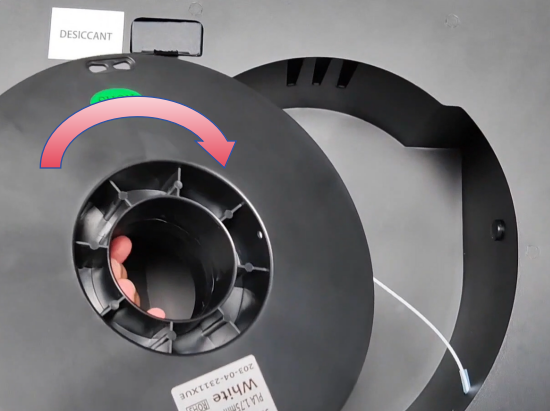
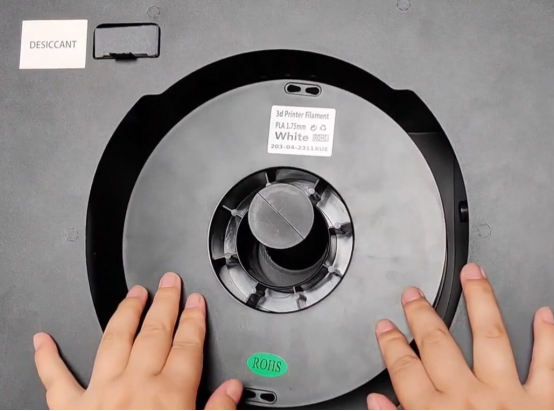
¶ 3. Install the filament on the filament holder;
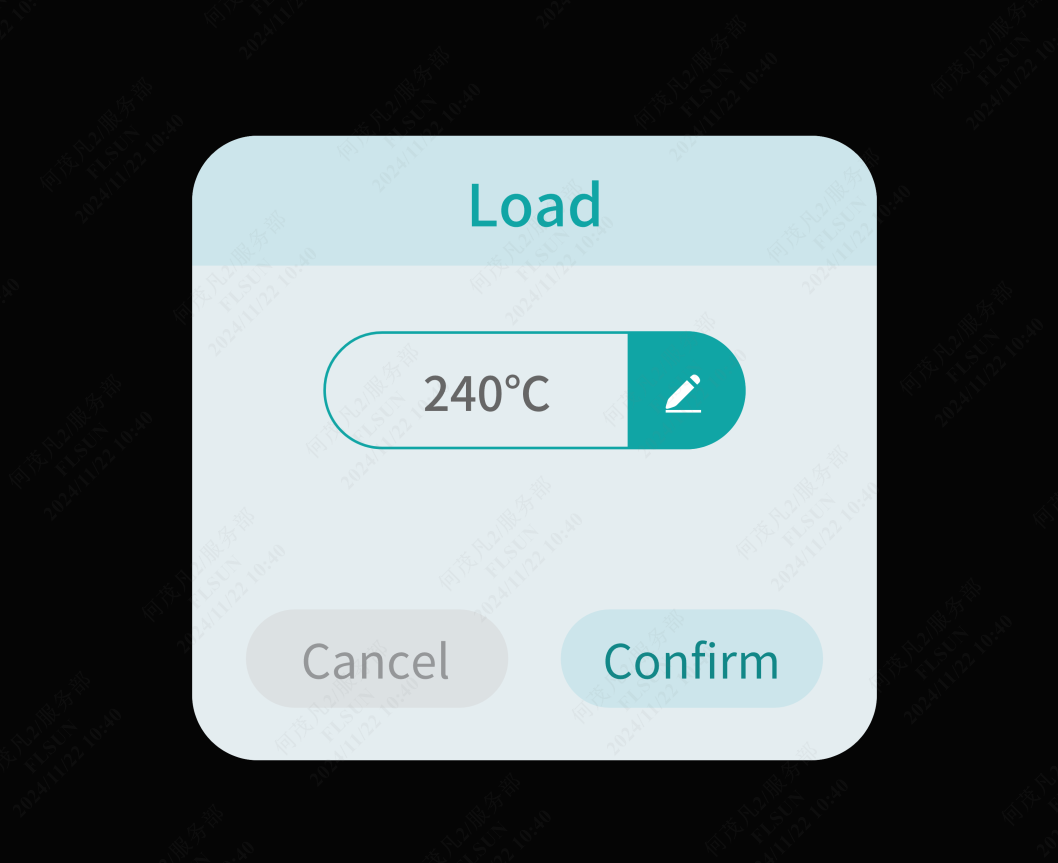
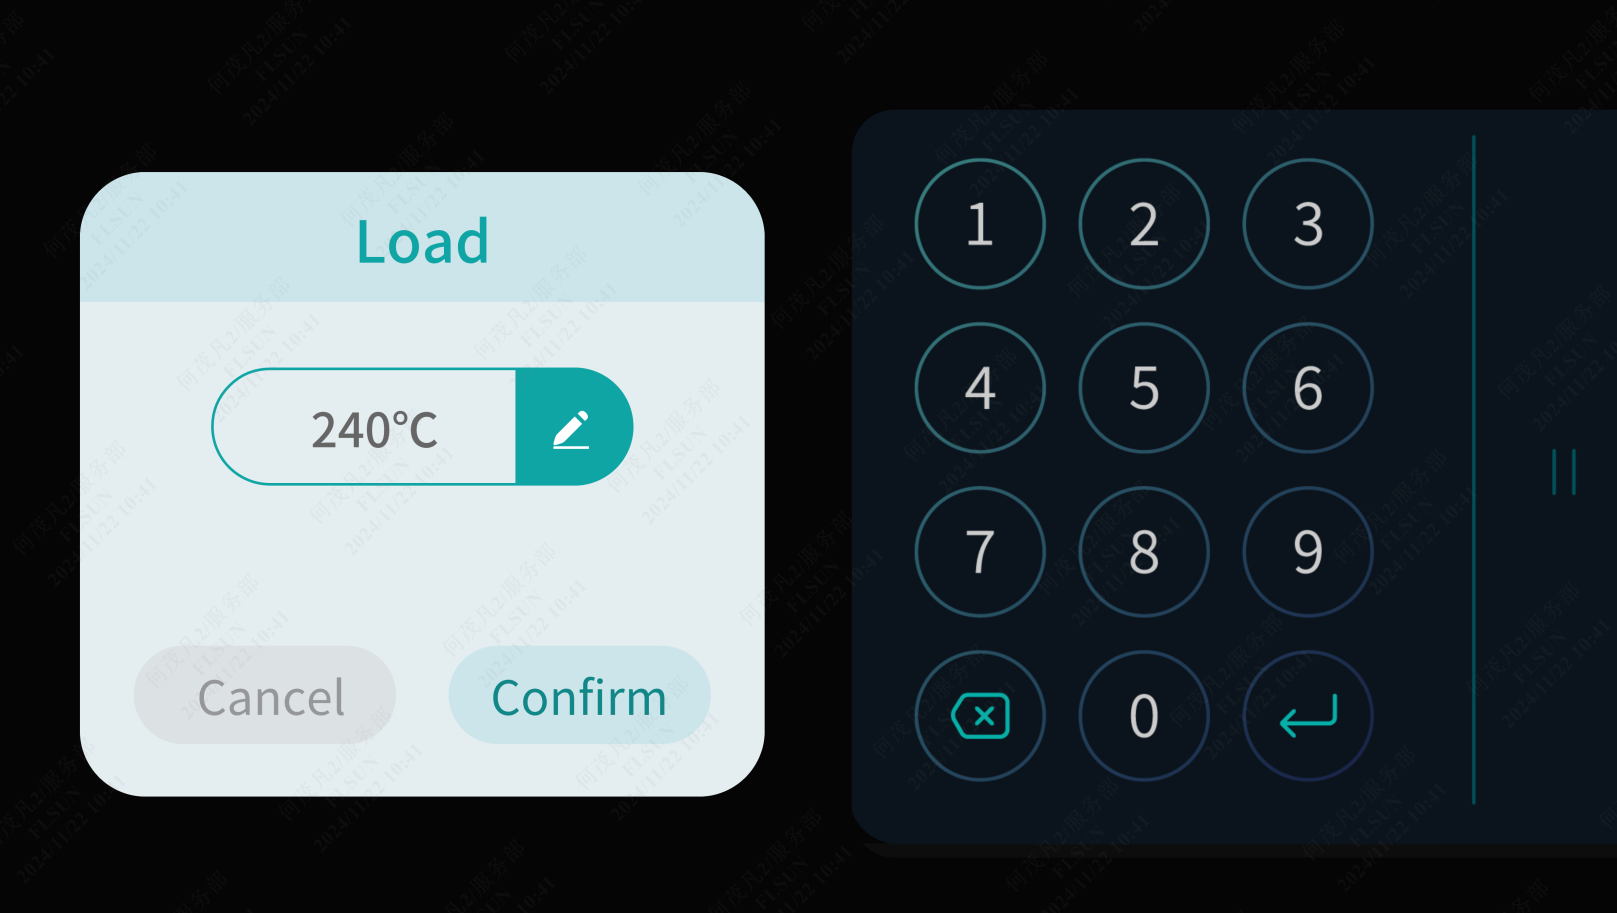
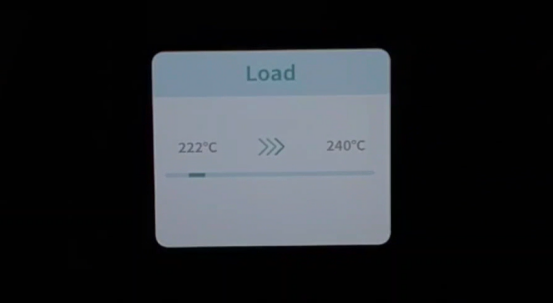
¶ 4. Click "Load", set the appropriate temperature for the filament, and wait for it to reach the preset temperature, then the printer will automatically load the filament;
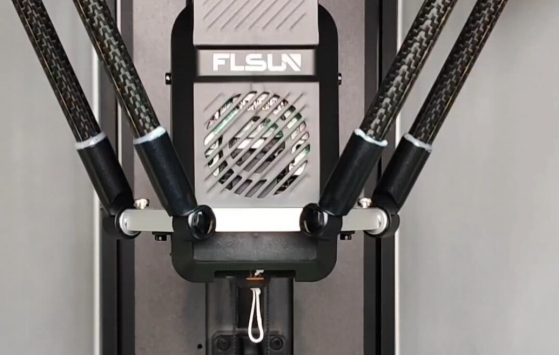
¶ 5. After loading, clean the filament on the nozzle, click " ", and select the model to be printed;
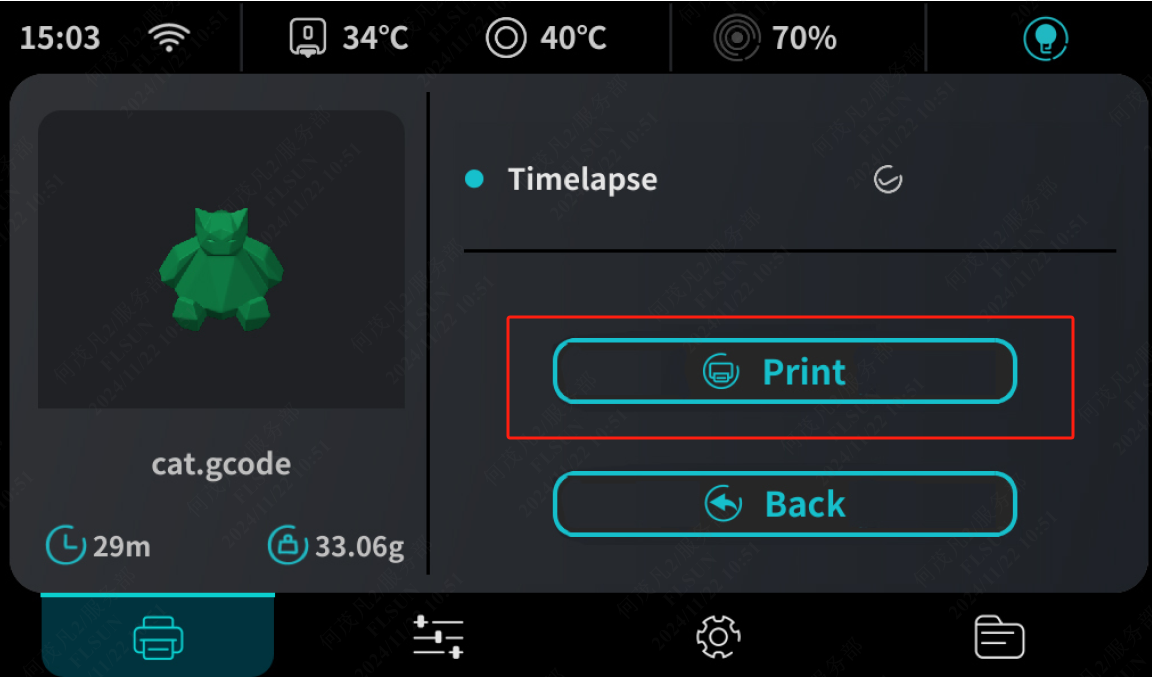
¶ 6. Before starting the print, manually activate the time-lapse photography function as needed, click "Print," and the printer will start printing;
¶ 7. The effector will be lowered and moved to the side to start heating;
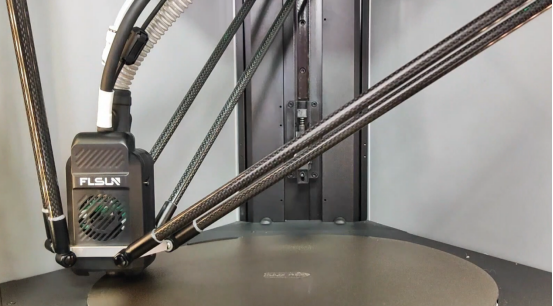
¶ 8. After the heating is completed, the printing starts. Pay attention to the first layer of printing. If the nozzle is too high or too low, you can click fine-tuning to adjust the nozzle height.
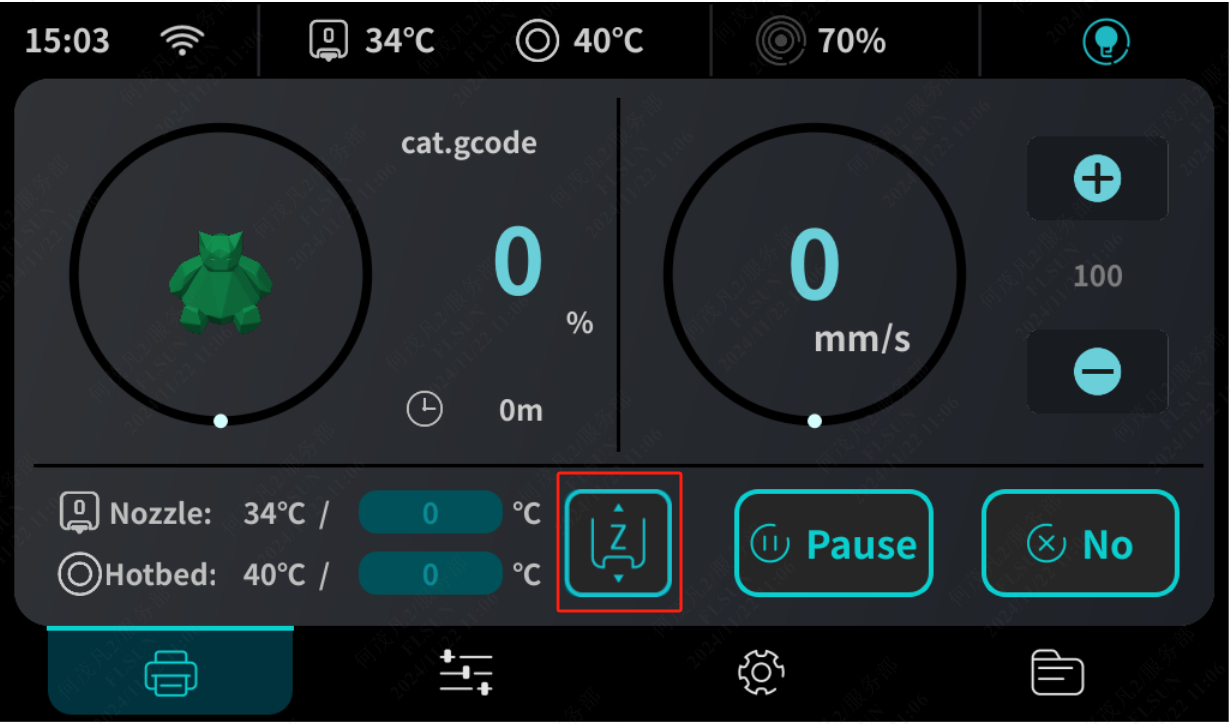
*Introduction to Fine-tuning Function
(1) Default display compensation value of 0mm
(2) Click up or down to adjust within a range of -10mm to +10mm.
(3) Printing is finished, and when printing again, the fine-tuning value will save the last adjustment.
(4) After re-leveling the hot bed, the compensation value is reset to zero.