Reference Videos: https://youtu.be/ikXn684stTc
1. Pressure Sensor
Used to measure and adjust the distance between the heated bed and the nozzle, ensuring proper first layer adhesion and overall print quality.
2. When to Replace
- The bed pressure sensor is unresponsive or not functioning properly.
- Frequent calibration errors.
- Determined as faulty by the Flsun after-sales support team.
3. Required Tools and Materials
- H1.5 hex wrench
- H2.0 hex wrench
- H2.5 hex wrench
- Phillips screwdriver
- Pliers
- Open-end wrench
- New bed pressure sensor
4. Precautions
- ⚠️ Make sure the machine is powered off before performing any disassembly or assembly.
- ⚠️ During disassembly, handle all components and cables with care to avoid damage.
5. Replacement Steps
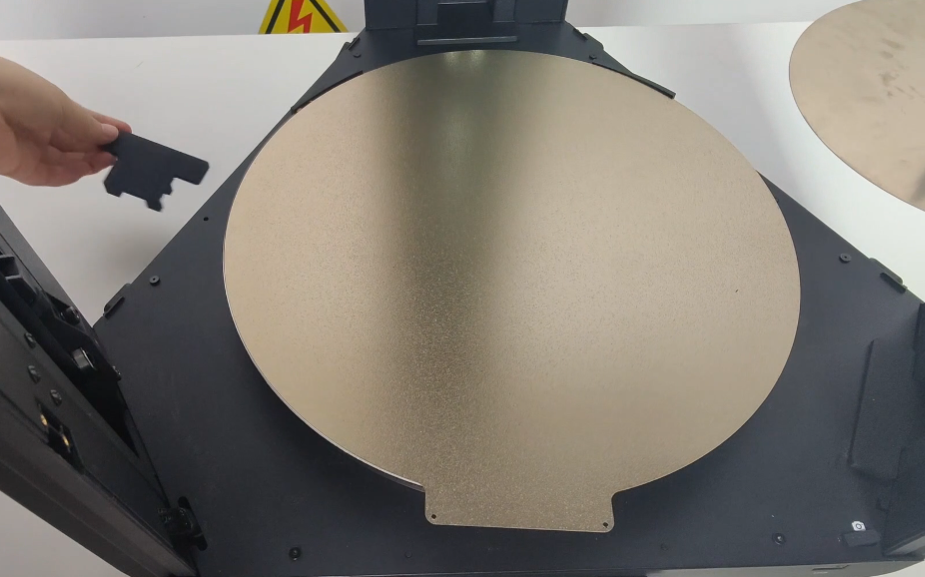
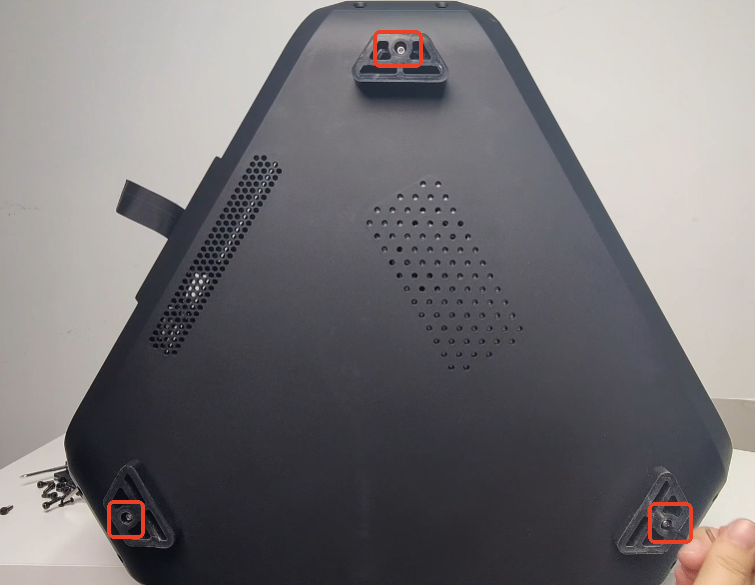
(1) Remove the three column dust covers.
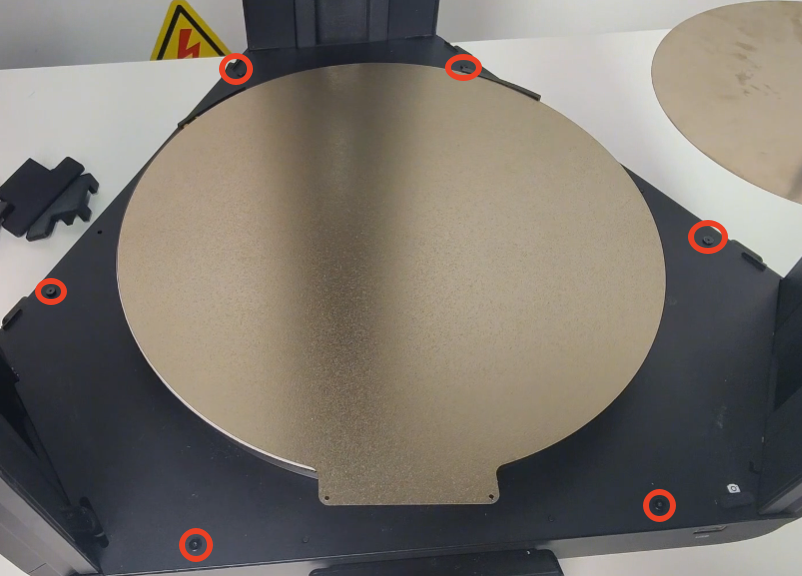
(2) Use the H1.5 hex wrench to remove the 6 screws securing the bottom cover.
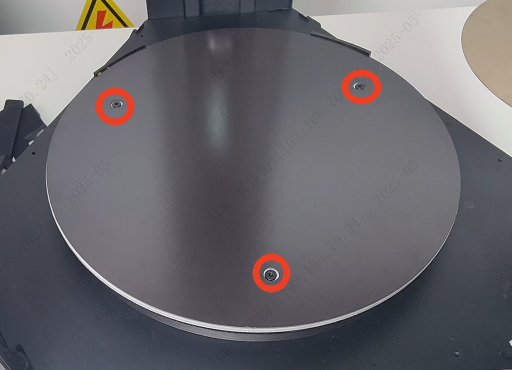
(3) Remove the PEI plate, and use the H2.5 hex wrench to remove the three screws securing the heated bed.
(4) Move the heated bed aside, disconnect the heating cable and temperature sensor cable, and remove the heated bed.
(5) Remove the bottom metal plate.
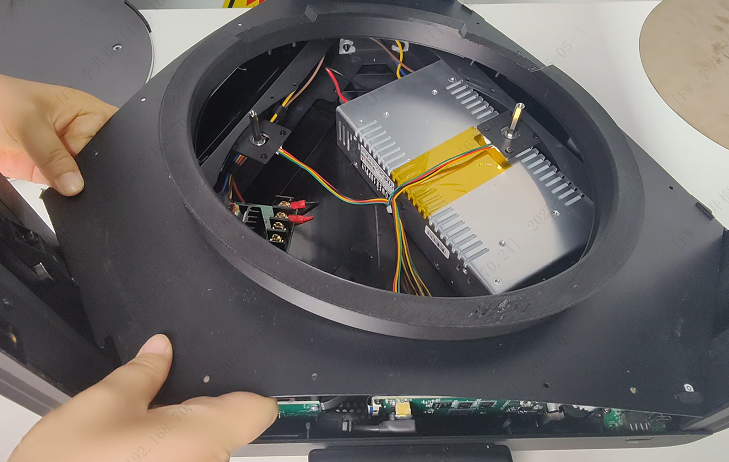
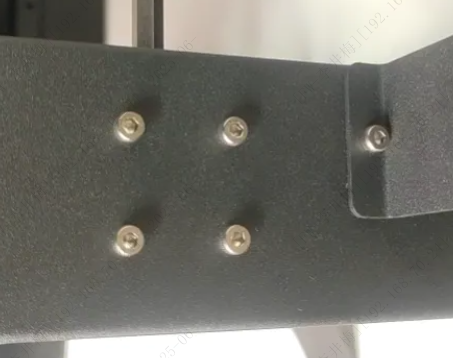
(6) Use the H2.0 hex wrench to remove the 6 screws securing the lower shell.
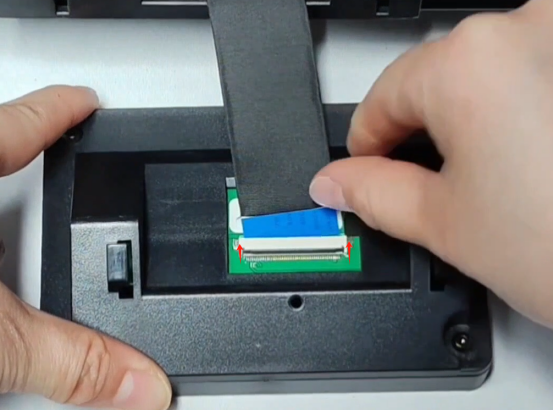
(7) Gently lift the buckle upward and remove the display screen.
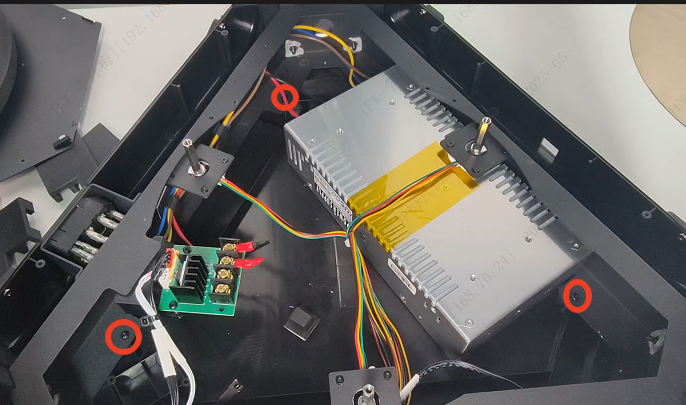
(8) Loosen the screws securing the foot pads.
(9) When removing the lower shell, note that the WiFi module is attached to the shell. Separate the WiFi module before removal.
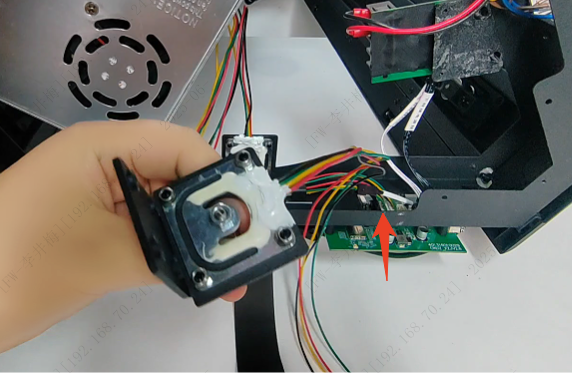
(10) Remove the screws securing the sensor bracket.
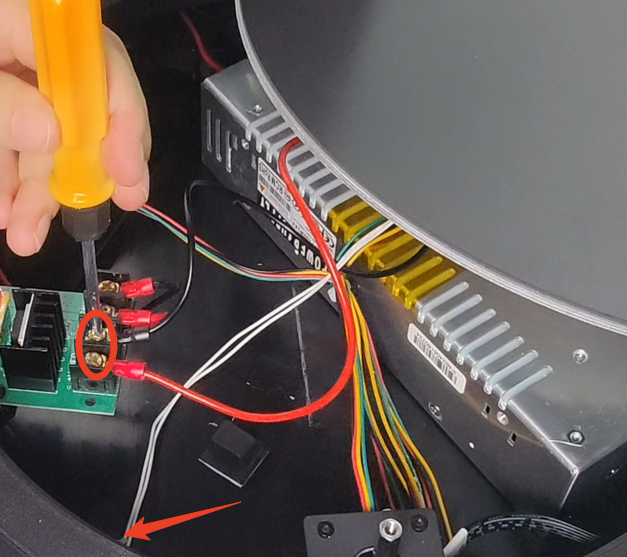
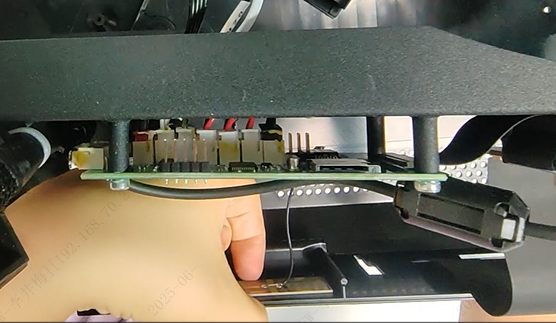
(11) Disconnect the pressure sensor and remove it along with the bracket.
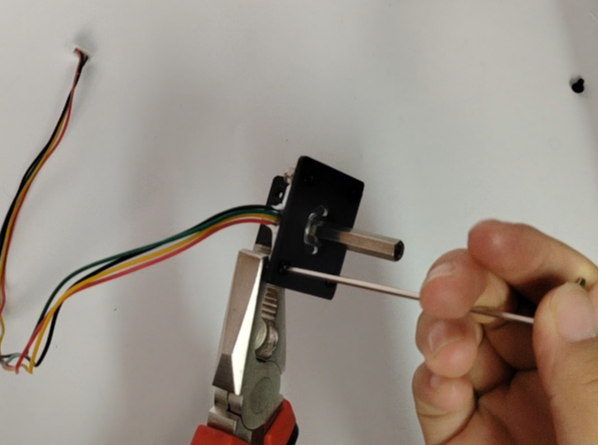
(12) Remove the pressure sensor from the bracket.
(13) Install the new pressure sensor and reassemble all components in reverse order.