Reference video: https://youtu.be/oYxHtTGenD4
1. Mainboard Kit
The mainboard is the control core of the 3D printer. It coordinates all moving components, including the three axis drivers and the extruder driver.
2. When to Replace
- The mainboard is visibly burnt or damaged
- The FLSUN after-sales service team has confirmed the fault is caused by the mainboard
3. Required Tools
- New mainboard kit
- H1.5 hex wrench
- H2.5 hex wrench
4. Precautions
⚠️ Ensure the machine is completely powered off before performing any disassembly or installation.
5. Replacement Steps
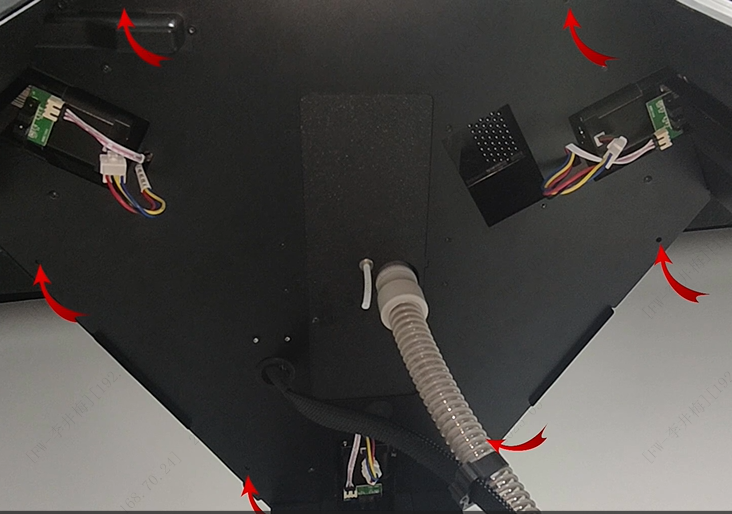
(1) Remove the upper case cover
Use the H1.5 hex wrench to remove the 6 screws securing the top cover. Then take off the cover.
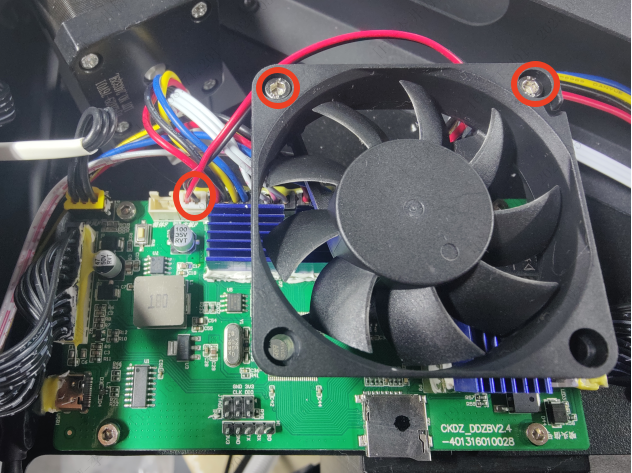
(2) Remove the mainboard fan
Use the H2.5 hex wrench to remove the fan mounting screws. Disconnect the fan connector and remove the mainboard fan.
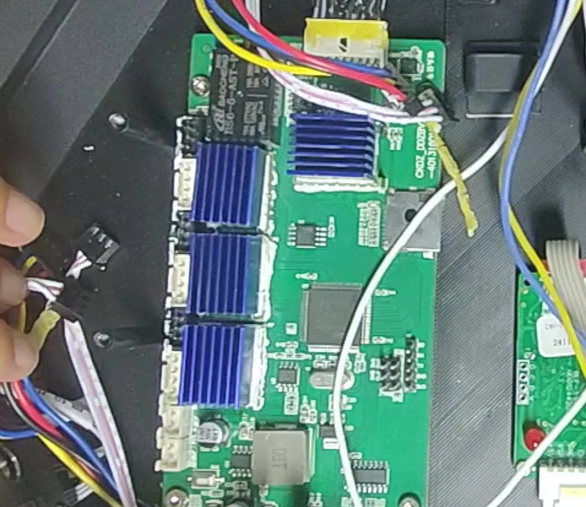
(3) Remove the mainboard
Disconnect all terminals from the mainboard, then use the H2.5 hex wrench to remove the screws securing the mainboard. Take out the board.
(4) Install the new mainboard
Mount the new board and reconnect all wiring. Pay close attention to the correct connections for the X, Y, and Z motor cables and the limit switch wires.