Reference video: https://youtu.be/LLJWiw31CB4
1. Lower Adapter Board
Connects to the upper adapter board and processes signals and logic from the heated bed and display.
2. When to Replace
- Circuit board damage
- Faults caused by the lower adapter board confirmed by FLSUN after-sales service team
3. Required Tools
- H1.5 hex wrench
- H2.0 hex wrench
- H2.5 hex wrench
- New lower adapter board
4. Precautions
⚠️ Ensure the machine is powered off before any disassembly or assembly.
5. Replacement Steps
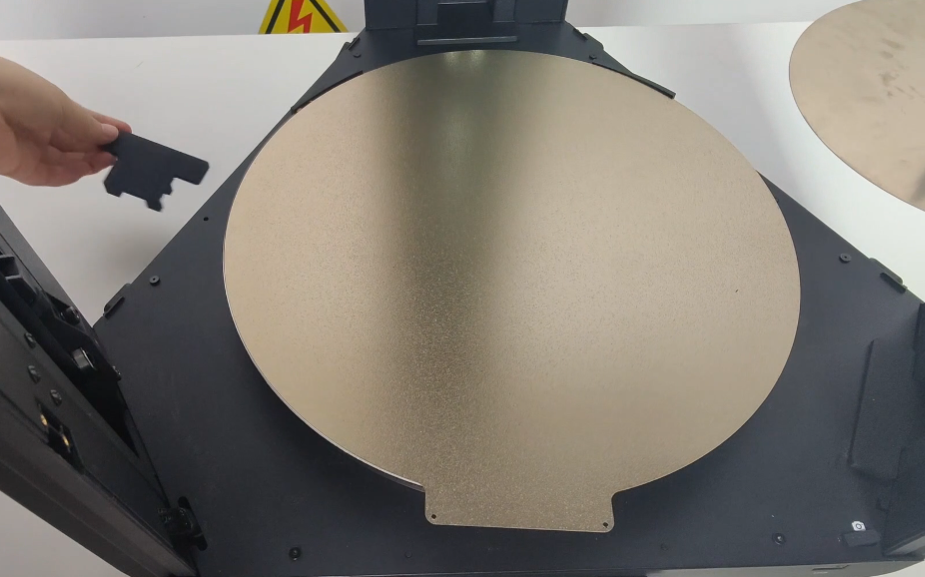
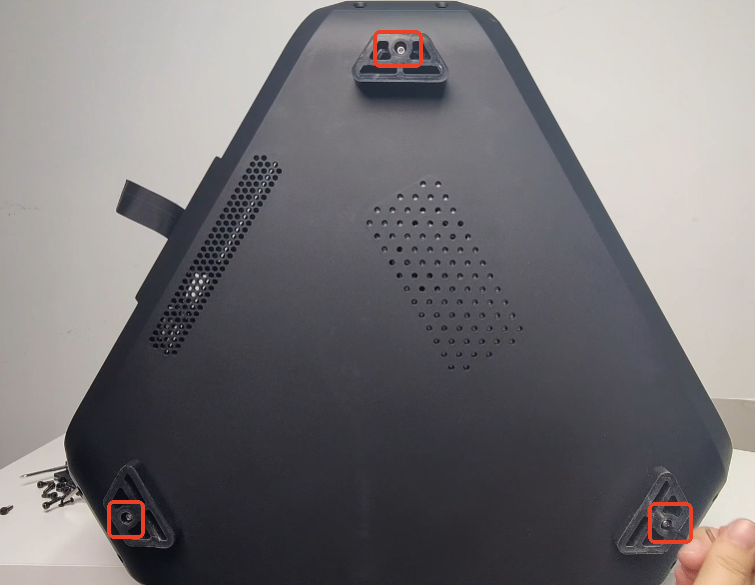
(1) Remove the three pillar protective covers.
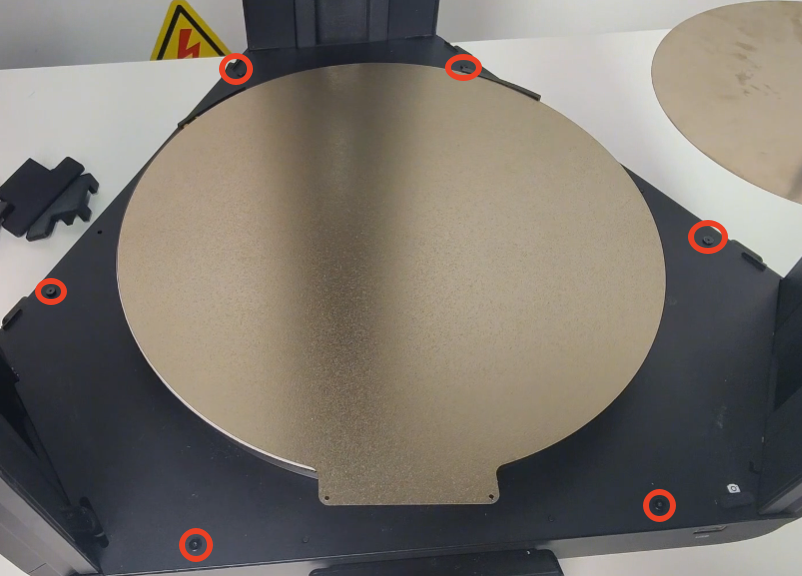
(2) Use H1.5 hex wrench to remove the 6 screws on the bottom cover.
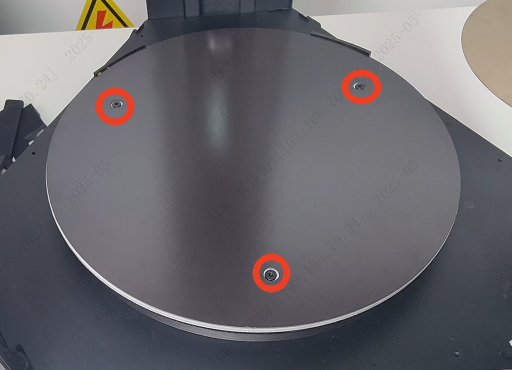
(3) Remove the PEI plate. Use H2.5 hex wrench to remove the 3 screws securing the heated bed.
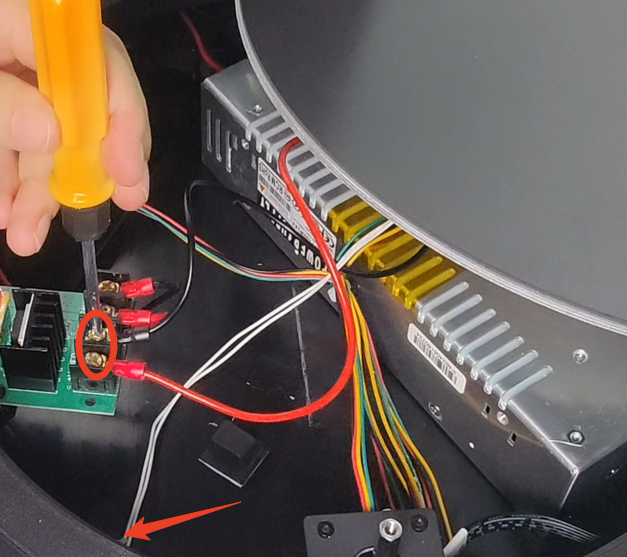
(4) Move the heated bed aside. Disconnect the heated bed power cable and thermistor cable, then remove the heated bed.
(5) Remove the lower metal cover.
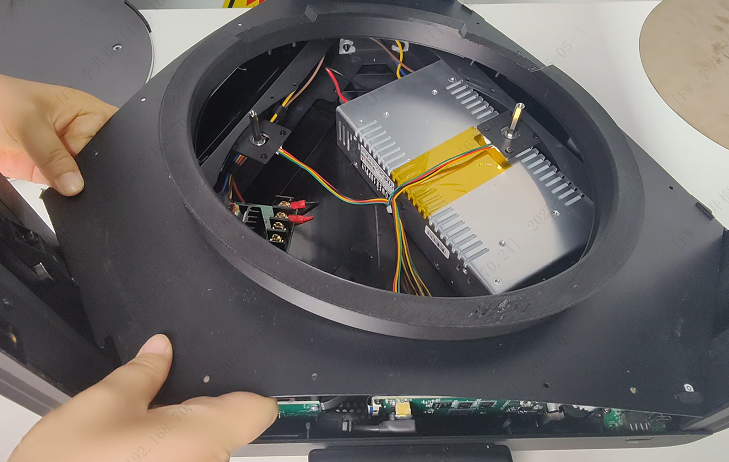
(6) Use H2.0 hex wrench to remove the 6 screws fixing the lower housing.
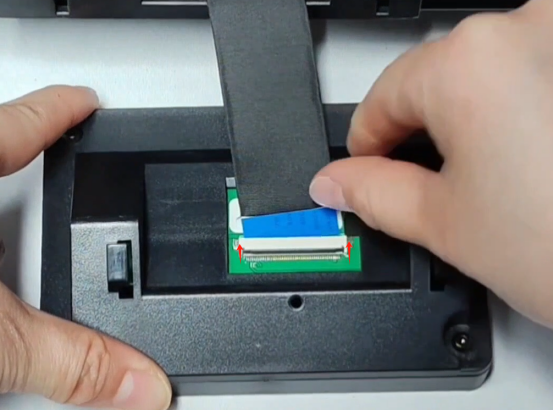
(7) Gently lift the latch and remove the display screen.
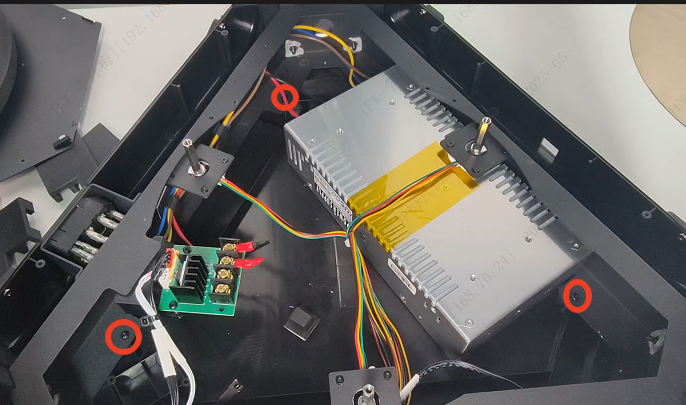
(8) Loosen the screws fixing the foot pads.
(9) When removing the lower housing, note the WiFi module is fixed to it; separate it first.
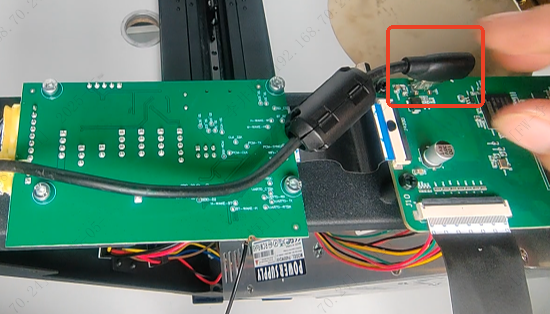
(10) Carefully unplug the Type-C cable.
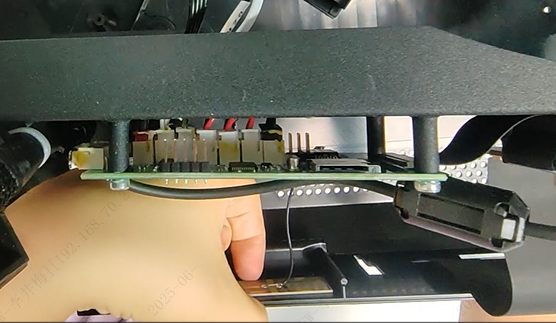
(11) Use H2.5 hex wrench to remove the screws fixing the lower adapter board.
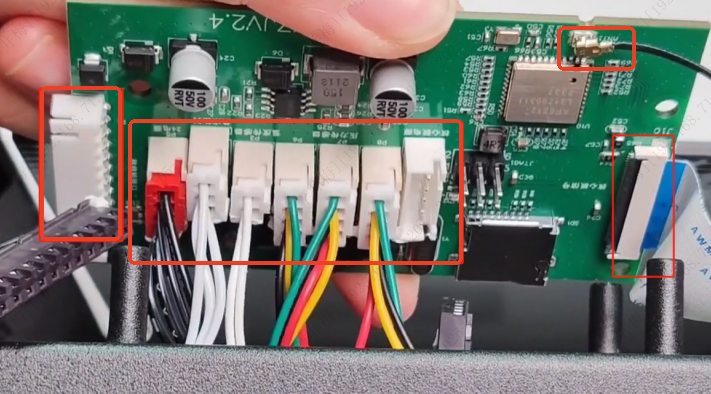
(12) Carefully unplug all terminal connectors on the adapter board. Take special care with the WiFi antenna and video adapter cable to avoid damage.
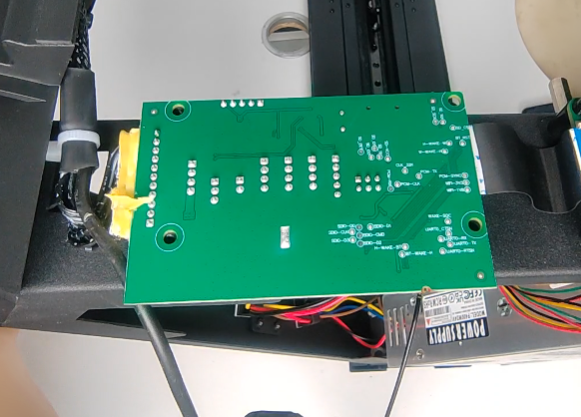
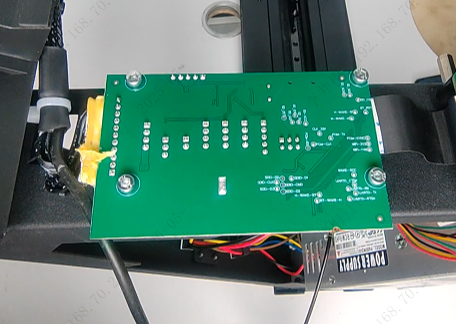
(13) Install the new lower adapter board. Reconnect all cables in original order and tighten all screws securely.