Reference video: https://youtu.be/TyVr2esWjRg
1. Hotend Kit
The hotend kit consists of the throat tube, heating block, and nozzle.
2. When to Replace the Hotend Kit
Replace the hotend kit in the following situations:
- Filament leakage or severe clogging in the hotend;
- The hotend is deformed or damaged.
3. Required Tools
- H1.5 hex wrench
- H2.0 hex wrench
- H2.5 hex wrench
- Phillips screwdriver
- New hotend kit
4. Precautions
⚠️ If filament is loaded, please heat the nozzle and unload the filament before disassembly.
⚠️ All disassembly operations must be performed with the power off.
⚠️ Be sure to install the washer during reassembly, otherwise clogging may continue to occur.
¶ 
5. Replacement Steps
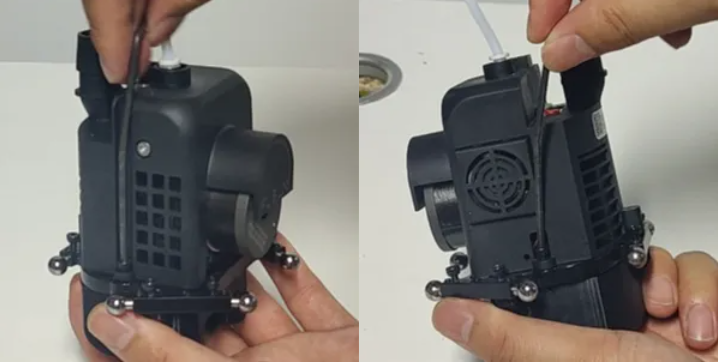
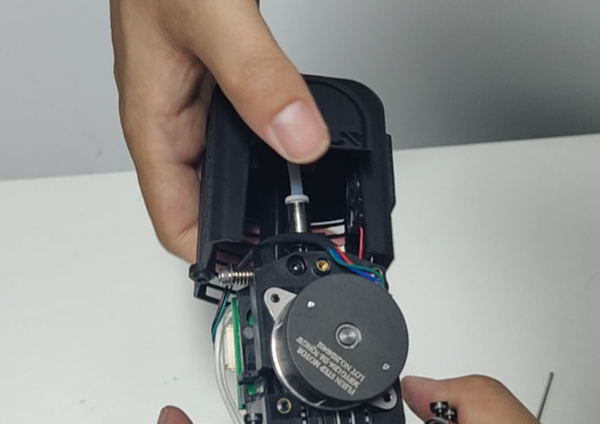
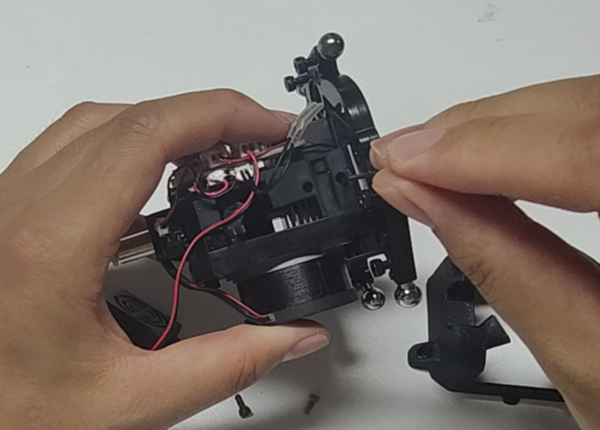
(1) Remove the cable clip and air duct
Use the H2.5 hex wrench to remove the two screws securing the effector cable clip, and disconnect the cable and air duct.

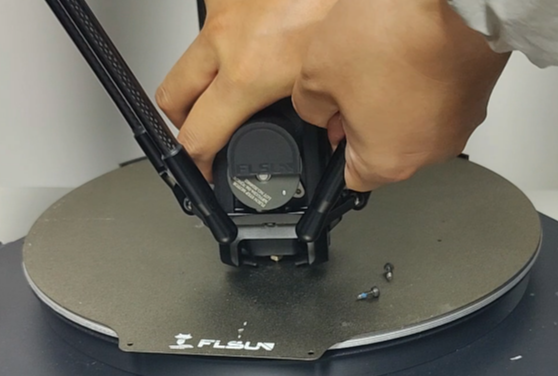
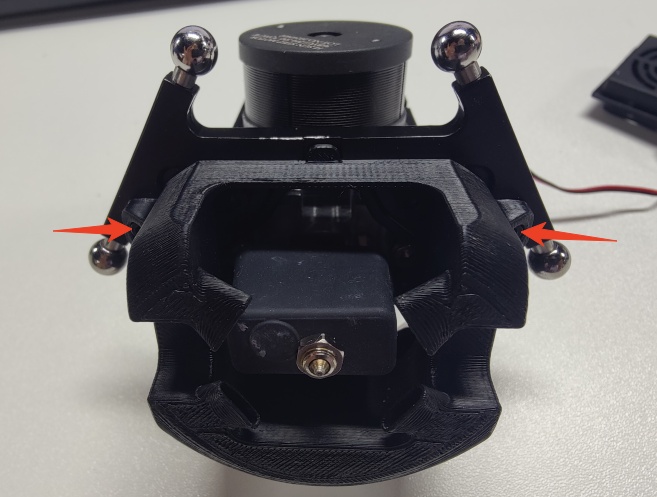
(2) Remove the effector
Detach the effector from the parallel arms.
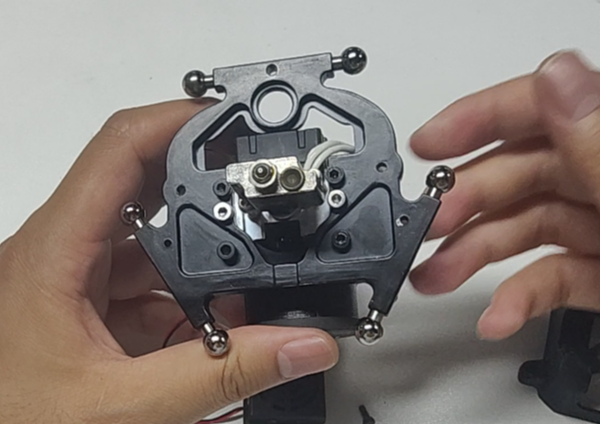
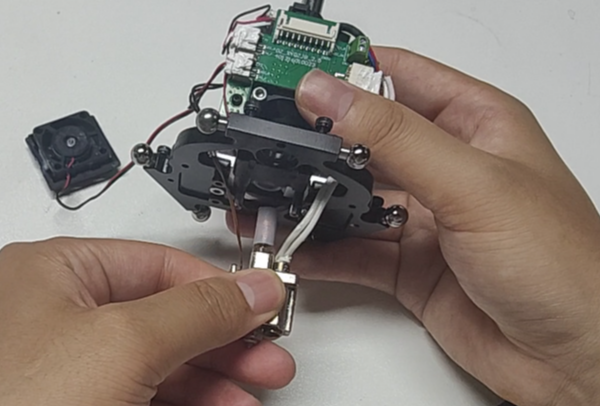
(3) Remove the outer shell screws
Use the M2.5 hex wrench to remove the screws on both sides of the effector shell, and the H2.0 hex wrench to remove the screws on the back.
(4) Remove the shell and cooling fan
Carefully remove the shell and gently press the fan to take out the extruder cooling fan.
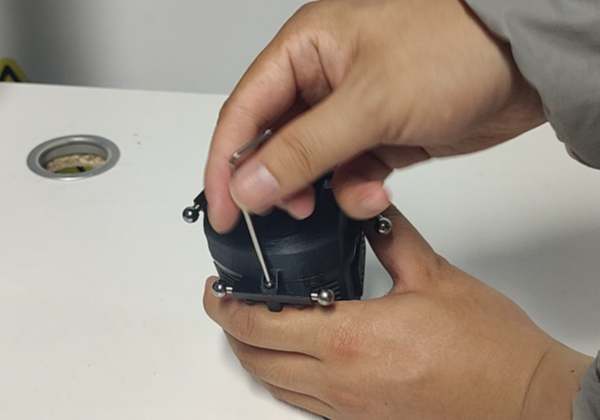
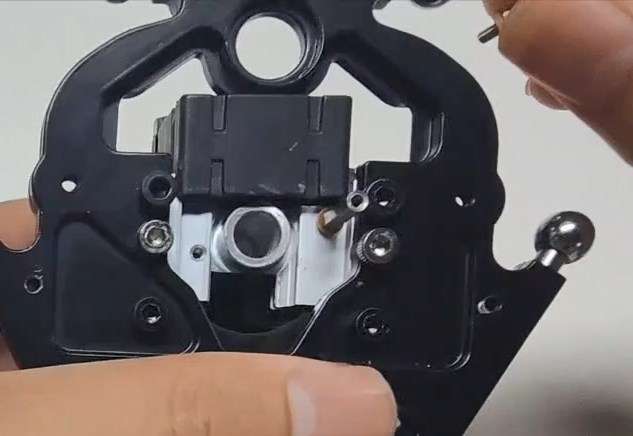
(5) Remove the lower effector shell and silicone sock
Use the H2.0 wrench to remove the lower part of the effector, then take off the silicone sock from the hotend.
(6) Remove the hotend mounting screw and throat set screw
Use the H1.5 wrench to remove the screw fixing the hotend, as well as the set screw securing the throat.
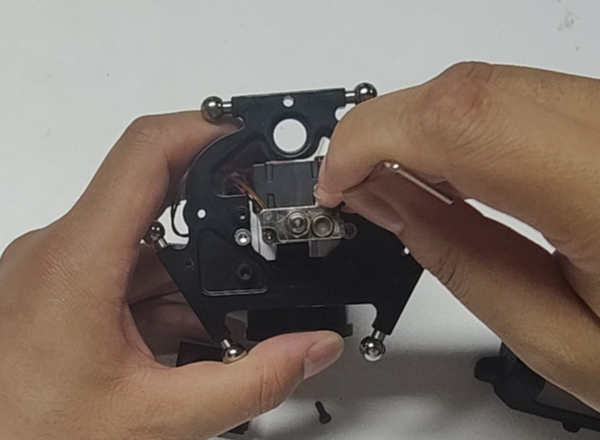
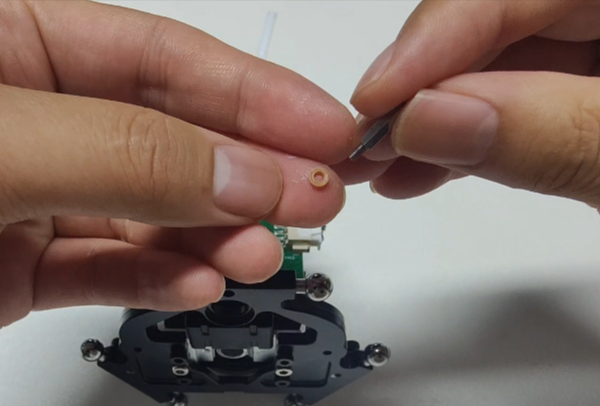
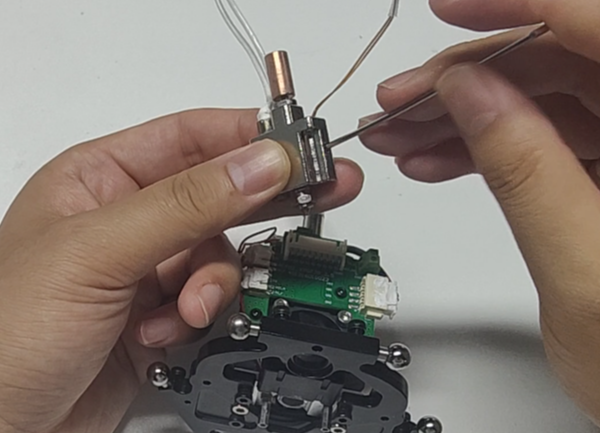
(7) Disconnect the terminals of the thermistor and heater cartridge, then remove the hotend kit
(8) Remove the hex standoff and washer
(9) Remove the thermistor and heater cartridge
Use the H1.5 wrench to take them out.
(10) Install the new hotend kit