Reference video: https://youtu.be/LgbmB330zS8
1. Extruder Kit
The extruder kit includes the extruder body and motor, which are responsible for stable filament feeding and improving print performance.
2. When to Replace the Extruder Kit
Replace the extruder kit in the following situations:
- The extruder gear is severely worn or slipping;
- The extruder motor is skipping steps or the motor shaft is slipping;
- The extruder structure is cracked or significantly loose.
3. Required Tools
- H1.5 hex wrench
- H2.0 hex wrench
- H2.5 hex wrench
- Phillips screwdriver
- New extruder kit
4. Precautions
⚠️ If filament is loaded, heat the nozzle and unload the filament before disassembly.
⚠️ All disassembly operations must be performed with the power turned off.
5. Replacement Steps
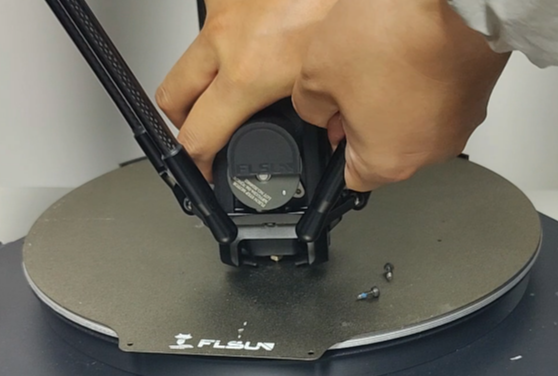
(1) Remove the cable clip and air duct
Use the H2.5 hex wrench to remove the two screws securing the effector cable clip, then remove the cable and air duct.

(2) Remove the effector
Detach the effector from the parallel arms.
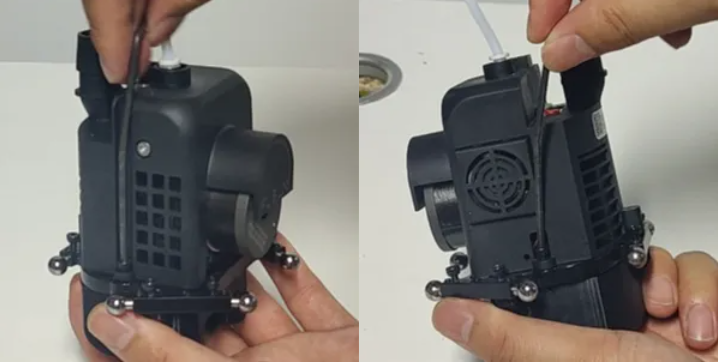
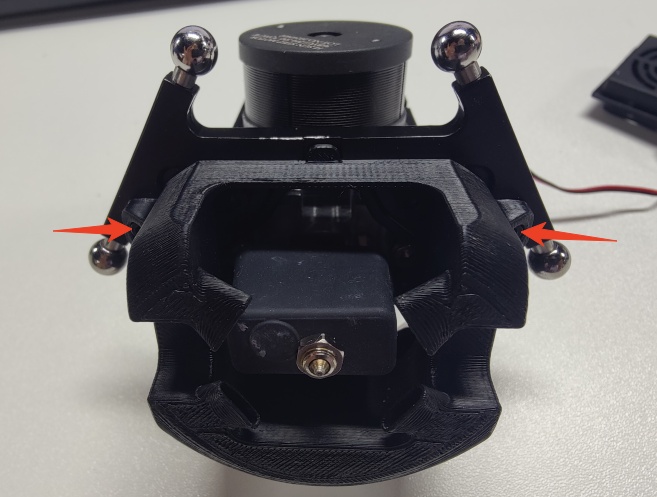
(3) Remove the outer shell screws
Use the M2.5 hex wrench to remove the screws on both sides of the effector housing, and the H2.0 hex wrench to remove the screws on the back.
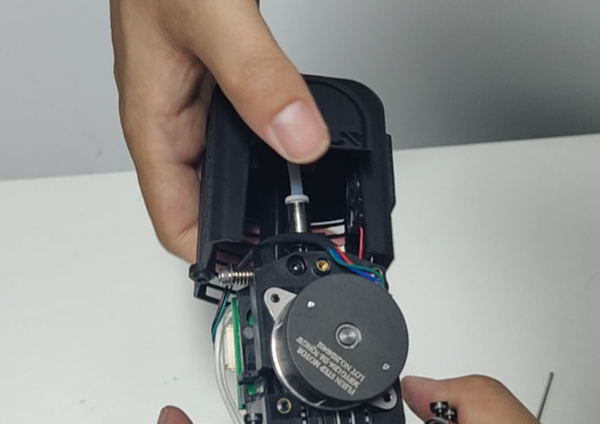
(4) Remove the housing and cooling fan
Carefully remove the effector housing and gently press the fan to take out the extruder cooling fan.
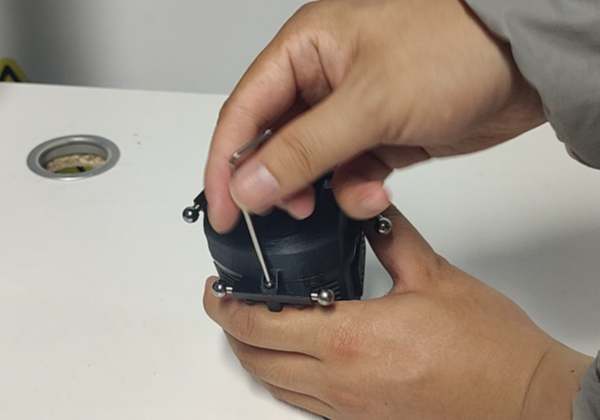
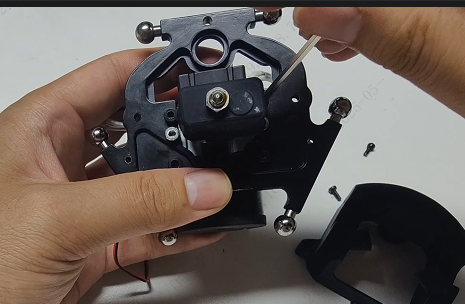
(5) Remove the lower effector shell
Use the H2.0 wrench to remove the lower part of the effector.
(6) Remove the screws securing the hotend and extruder
Use the H2.5 wrench to remove the six screws that secure the hotend and extruder.
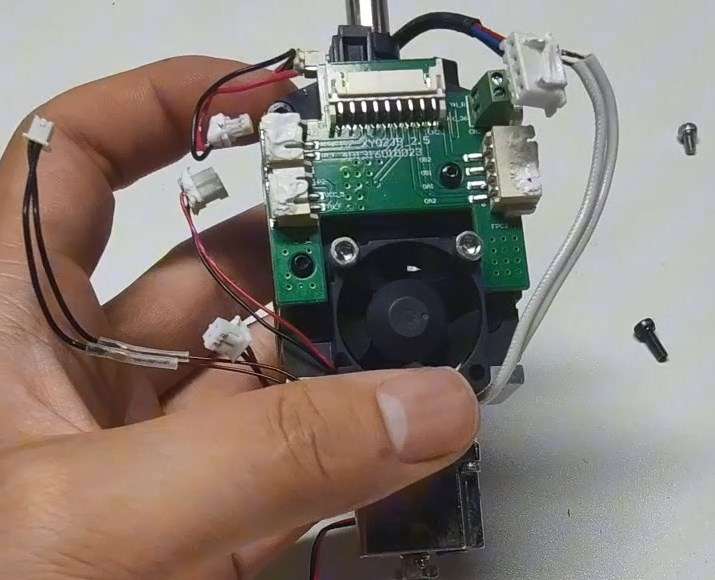
(7) Remove the adapter board
Disconnect all terminals from the adapter board and use the H1.5 wrench to unscrew and remove the adapter board.
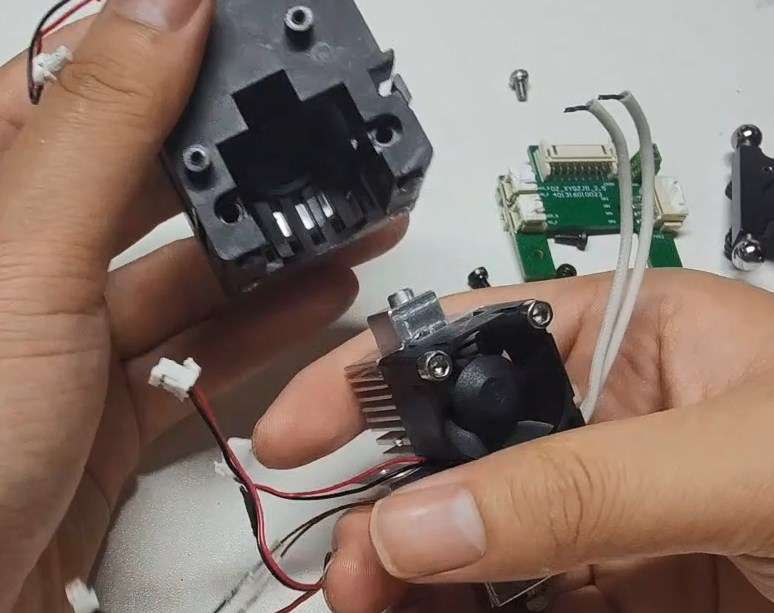
(8) Remove the heatsink and hotend assembly
Unscrew the fasteners securing the heatsink and extruder, then remove the cooling fan and hotend assembly.
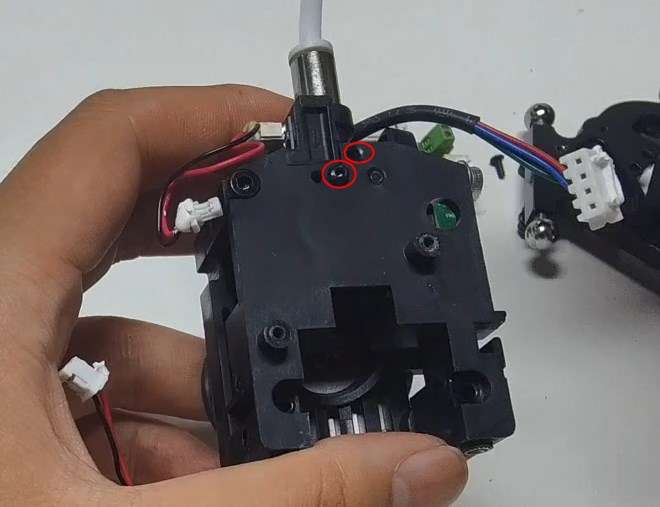
(9) Remove the filament runout sensor
Use the H1.5 wrench to remove and detach the filament runout sensor.
(10) Install the new extruder kit