Reference video: https://youtu.be/tFE3HSDOJow
1. Introduction to the Effector Adapter Board
The effector adapter board serves as a connection and interface, allowing various components on the effector—such as the hotend, sensors, and fans—to connect smoothly to the main control board.
2. When to Replace the Adapter Board
Replace the effector adapter board if:
- Ports on the adapter board are damaged or have poor contact;
- The adapter board shows obvious physical damage.
3. Required Tools
- H1.5 hex wrench
- H2.0 hex wrench
- H2.5 hex wrench
- Phillips screwdriver
- New effector adapter board
4. Precautions
⚠️ If there is filament in the effector, first heat the nozzle to 240°C and unload the filament.
⚠️ All disassembly operations must be performed with the power off.
5. Replacement Steps
(1) Remove the cable clip and air duct
Use the H2.5 hex wrench to unscrew the two screws fixing the effector cable clip, then remove the cables and air duct.

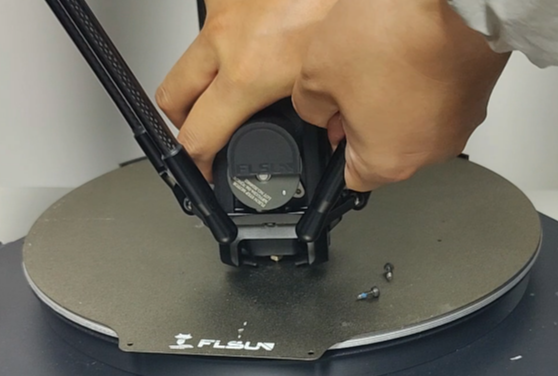
(2) Remove the effector
Carefully detach the effector from the parallel arms.
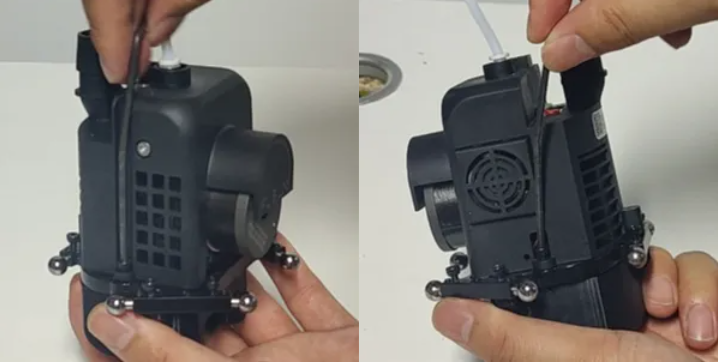
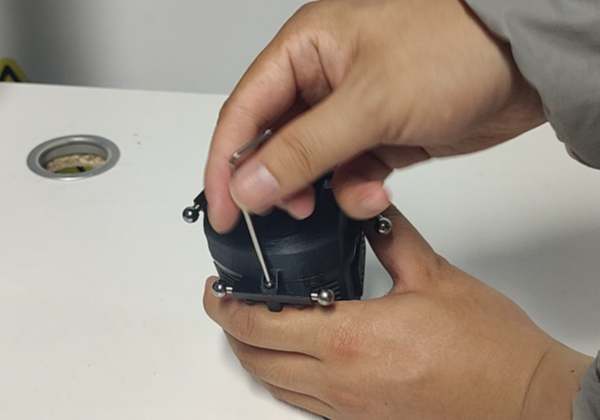
(3) Remove the housing screws
-
Use the M2.5 hex wrench to remove the screws on both sides of the effector housing;
-
Use the H2.0 hex wrench to remove the screws on the back of the housing.
(4) Remove the housing and fan
Carefully remove the effector housing, gently press the fan with your finger to take out the extruder cooling fan.
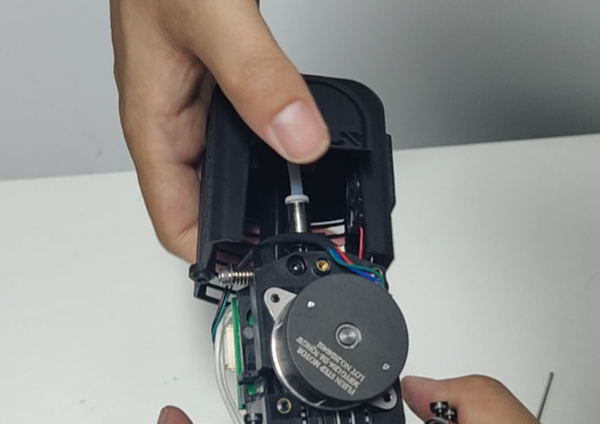
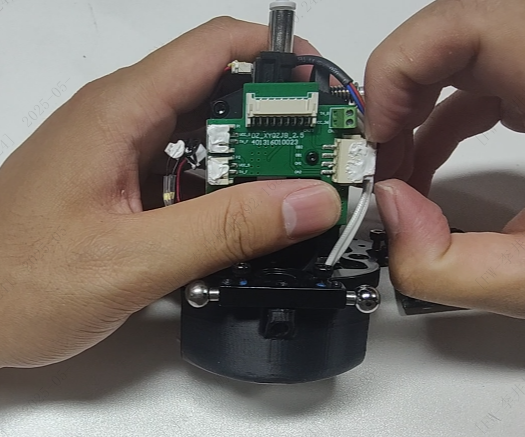
(5) Disconnect the adapter board connectors
Gently unplug all connectors from the effector adapter board.
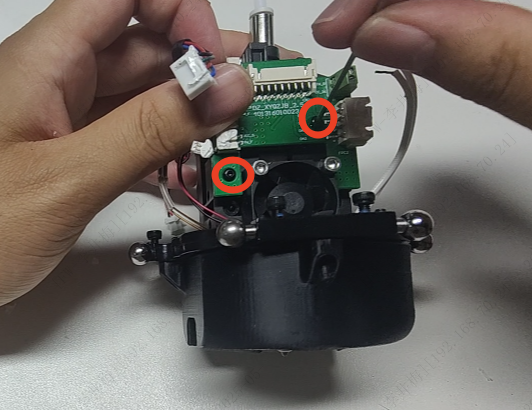
(6) Remove the old adapter board
Use the H1.5 hex wrench to remove the screws fixing the adapter board and take out the old adapter board.
(7) Install the new adapter board
Install the new effector adapter board, ensuring: -
All connectors are securely connected;
-
The board is properly positioned and mounted.