Reference Video : https://youtu.be/RbXwJr3655o
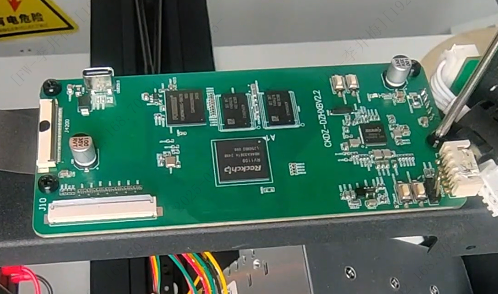
1. Core Board
The core board is the control center of the display screen, ensuring the proper functioning of the screen.
2. When to Replace
- The core board is damaged
- Malfunction confirmed by the Flsun after-sales team as caused by a faulty core board
3. Required Tools and Materials
- H1.5 hex wrench
- H2.0 hex wrench
- Phillips screwdriver
- New core board
4. Precautions
- ⚠️ Make sure the printer is powered off before performing any disassembly or installation.
- ⚠️ Do not lose the standoffs beneath the core board. They must be in their original position to ensure proper insulation and support when installing the new board.
5. Replacement Steps
(1) Remove the three column protective covers.
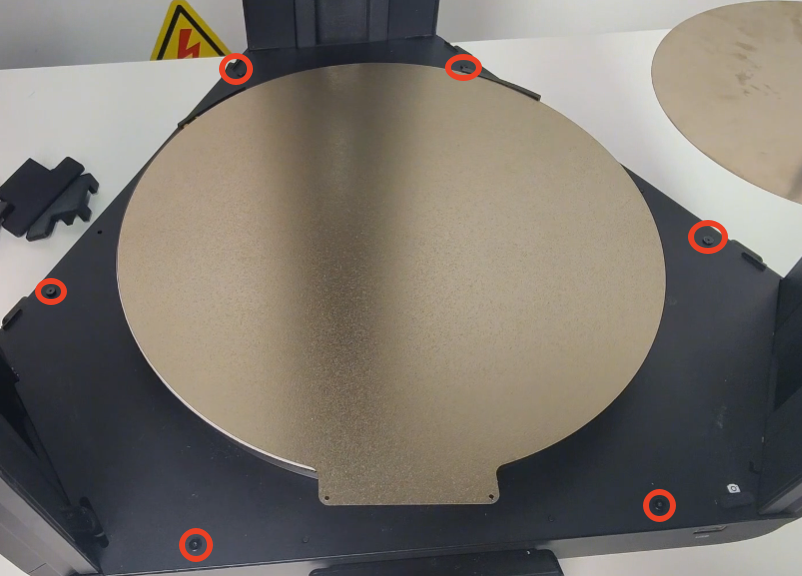
(2) Use the H1.5 hex wrench to remove the six screws from the bottom cover.
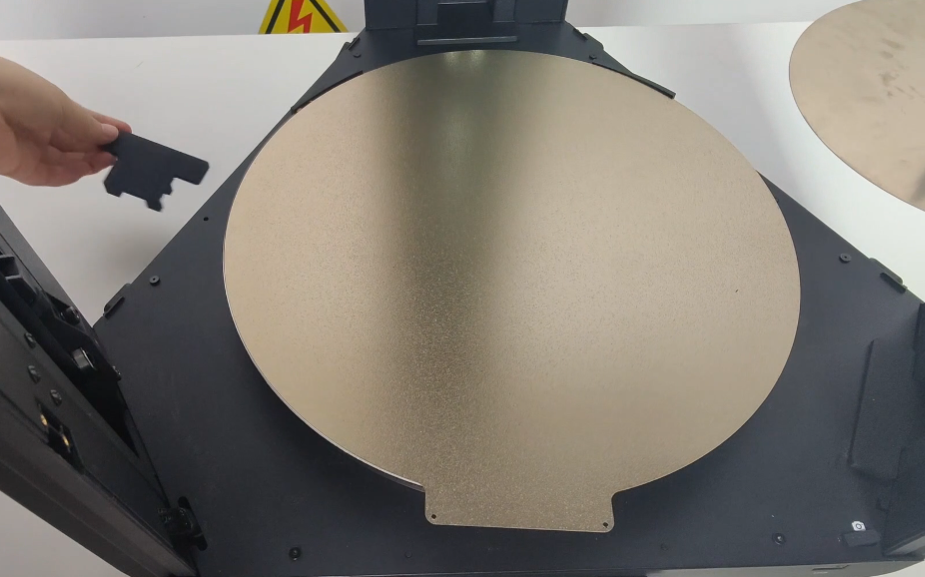
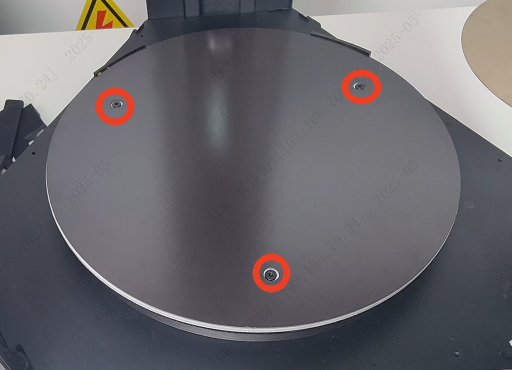
(3) Remove the PEI sheet and use the H2.5 hex wrench to unscrew the three screws securing the heated bed.
(4) Move the heated bed aside, unplug the heating and temperature sensor cables, and remove the heated bed.
(5) Remove the bottom metal plate.
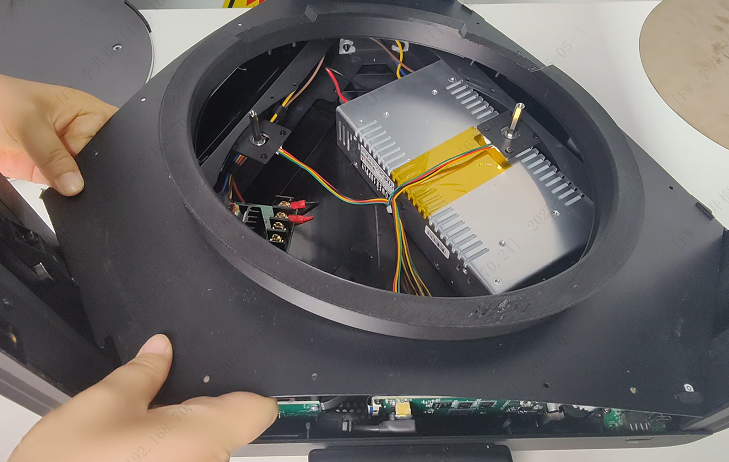
(6) Use the H2.0 hex wrench to remove the six screws securing the lower shell to the frame.
(7) Gently lift the latch and remove the display screen.
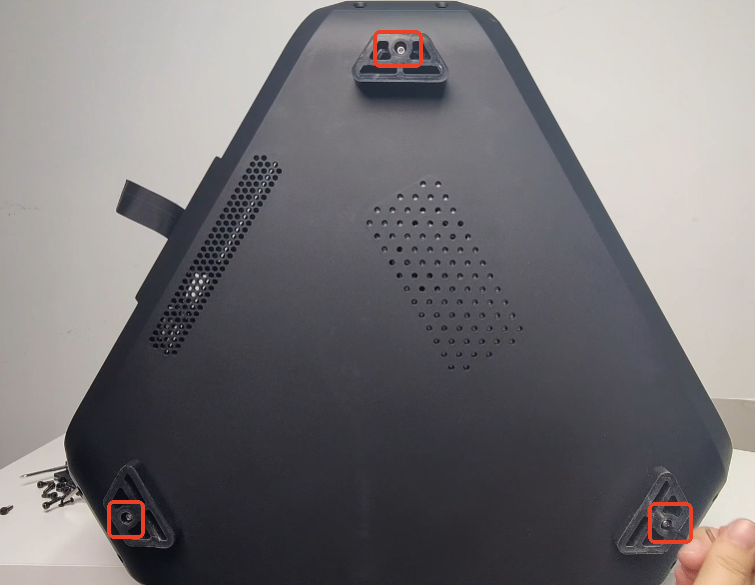
(8) Loosen the screws securing the rubber feet.
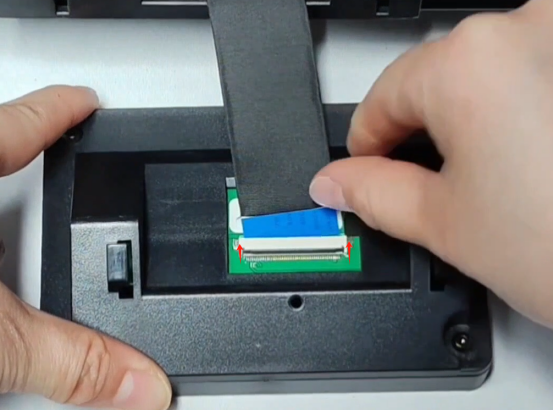
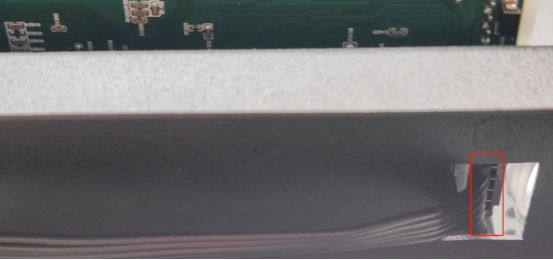
(9) When removing the bottom shell, be careful: the WiFi module is mounted on it and should be detached before proceeding.
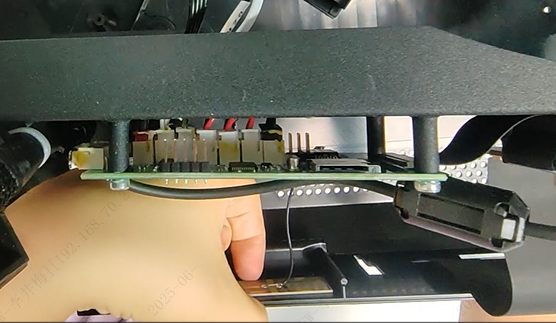
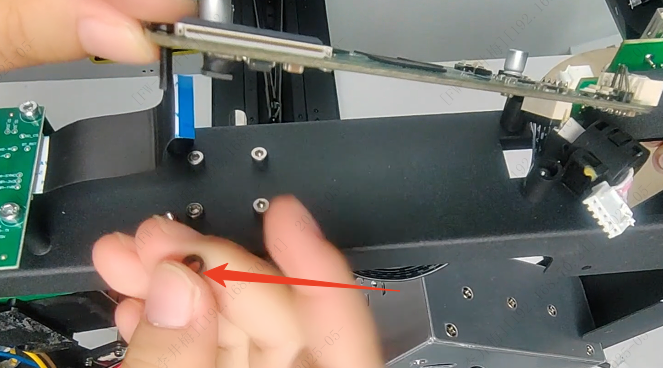
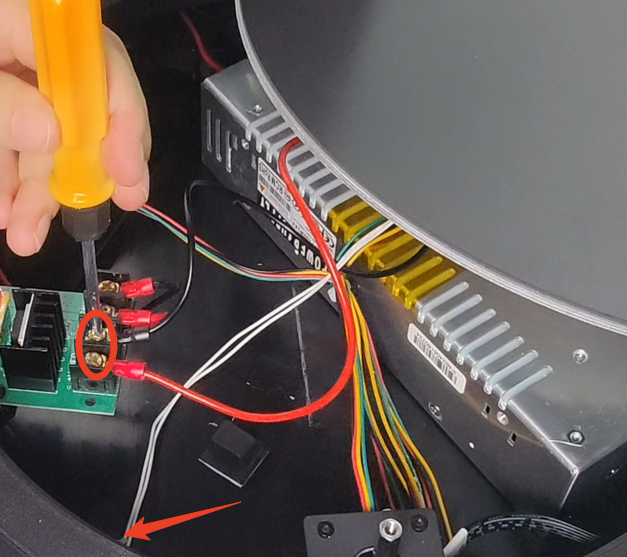
(10) Unplug all cables from the core board.
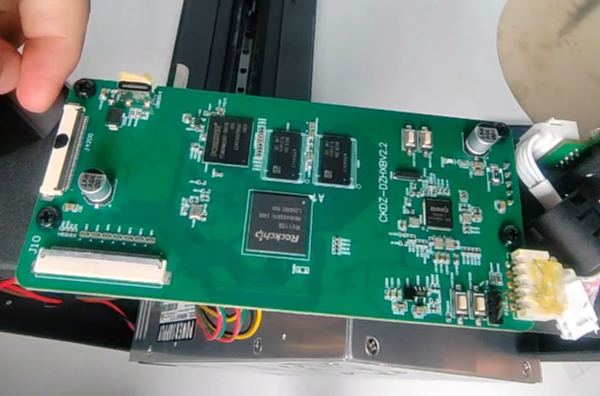
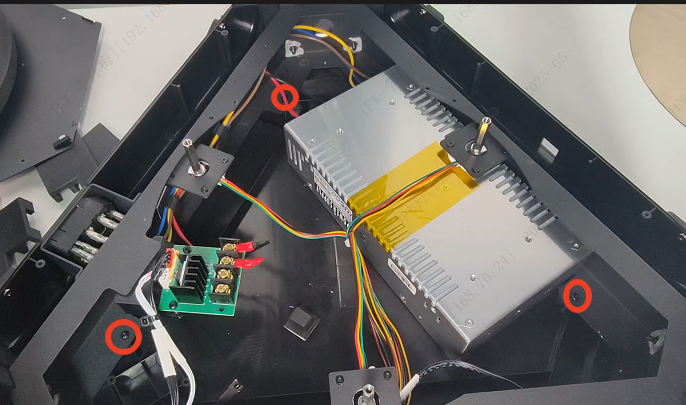
(11) Use a Phillips screwdriver to remove all screws securing the core board.
(12) Carefully remove the old core board and install the new one.