Reference Video: https://youtu.be/l1LKsdGcDrU
1. XYZ Axis Belt
The T1 Max uses 2GT-9 belts, each 1345mm in length. There are three belts on the machine.
2. When to Replace
- When the belt is visibly stretched or deformed.
3. Required Tools and Materials
- Tape
- New belt
- H3.0 hex wrench
4. Precautions
⚠️ Make sure the machine is powered off before performing any operation.
⚠️ After replacement, re-adjust the belt tension and perform bed leveling and vibration compensation to ensure print accuracy.
5. Replacement Steps
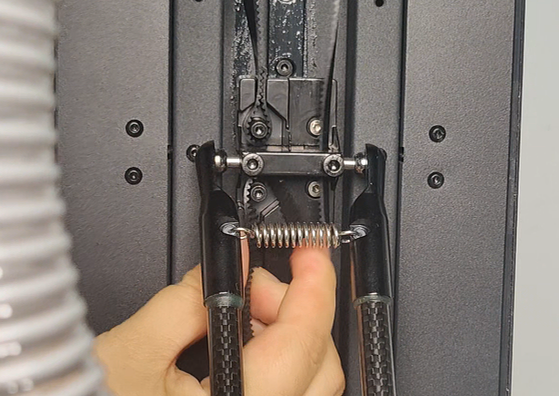
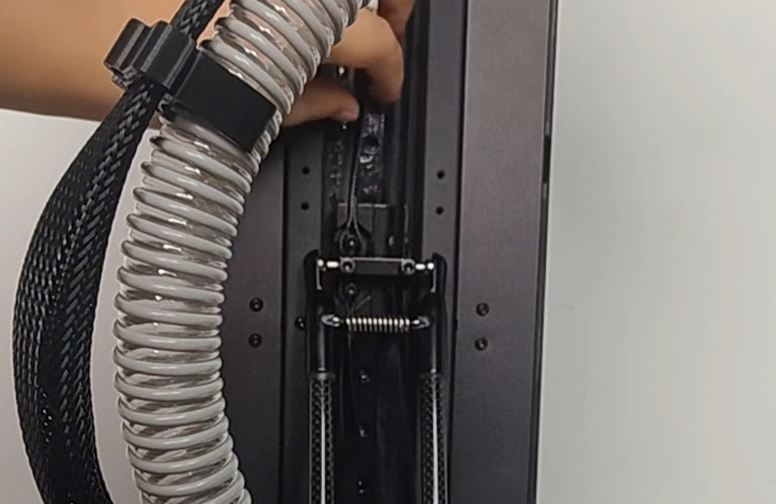
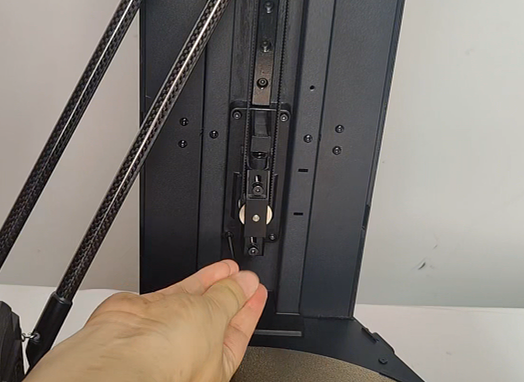
(1) Use the H3.0 hex wrench to remove the four screws securing the belt tensioning kit.

(2) Detach one end of the old belt from the carriage.
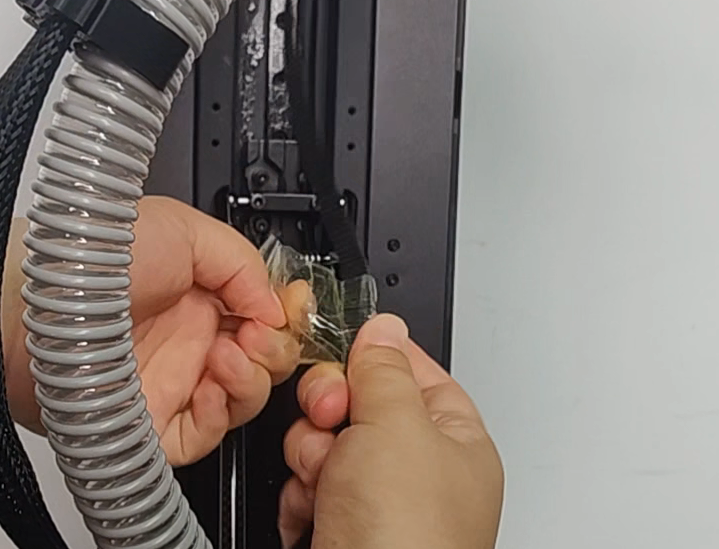
(3) Tape the end of the new belt to the end of the old belt firmly.
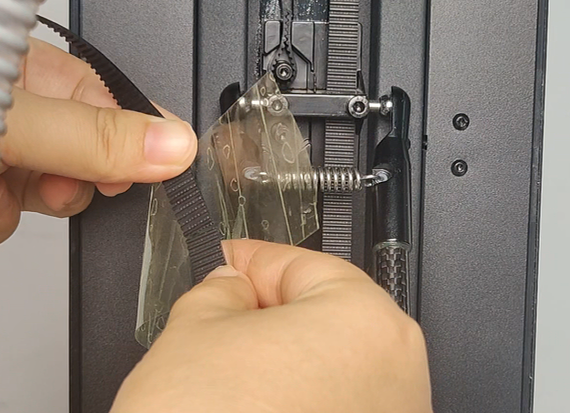
(4) Fix the other end of the new belt onto the carriage.
(5) Slowly pull the old belt to guide the new one through the motor pulley, then remove the old belt.
(6) Install the new belt onto the carriage.
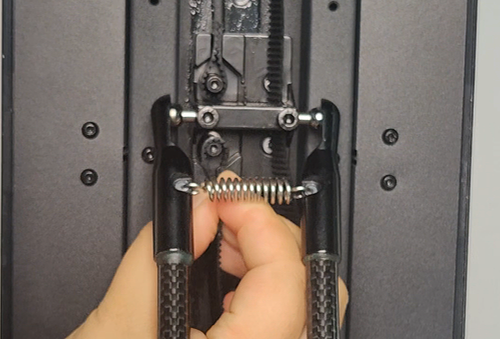
(7) Secure the belt tensioner and re-adjust the belt tension.
(8) Recalibrate bed leveling and vibration compensation.