Reference video: https://youtu.be/k0qENfq2O0w
1. Heater Cartridge / Temperature Sensor
The heater cartridge heats and melts the filament, with a power rating of 80W.
The temperature sensor detects the temperature of the heating block and uses the NTC 100K 3950B model.
2. When to Replace
Replace the heater cartridge if:
- The extruder is not heating or heats too slowly;
- Heater extruder not heating at expected rate;
- FLSUN support team has confirmed the issue is caused by the heater cartridge.
Replace the temperature sensor if:
- Error message appears: shut down: Extrude below minimum temp;
- Abnormal temperature readings, or heating shows a value not close to room temperature;
- FLSUN support team has confirmed the issue is caused by the temperature sensor.
3. Required Tools
- H1.5 hex wrench
- H2.0 hex wrench
- H2.5 hex wrench
- Phillips screwdriver
- New heater cartridge and temperature sensor
4. Precautions
⚠️ If filament is loaded, heat the nozzle and unload the filament before proceeding.
⚠️ All disassembly must be performed with the power turned off.
⚠️ The new heater cartridge comes with pre-installed terminals—remove the terminals before installation.
5. Replacement Steps
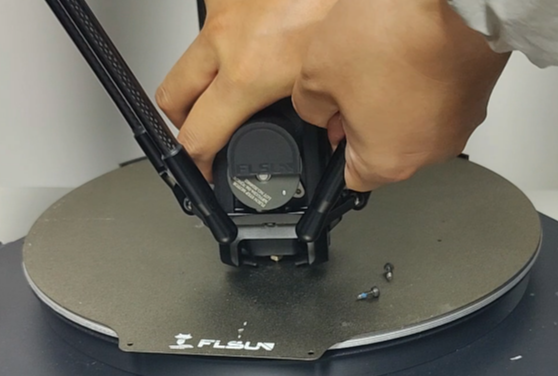
(1) Remove the cable clip and air duct
Use the H2.5 hex wrench to remove the two screws securing the effector cable clip, then remove the cable and air duct.

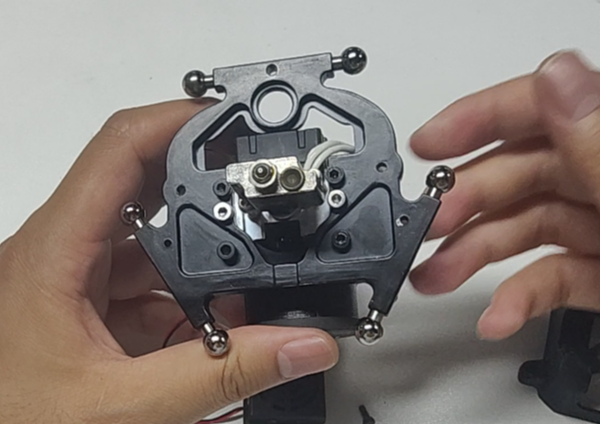
(2) Remove the effector
Detach the effector from the parallel arms.
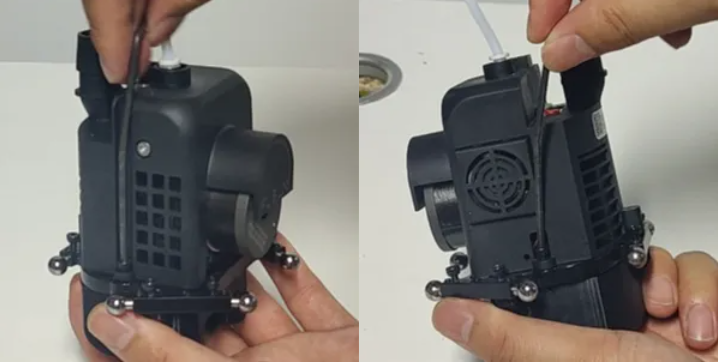
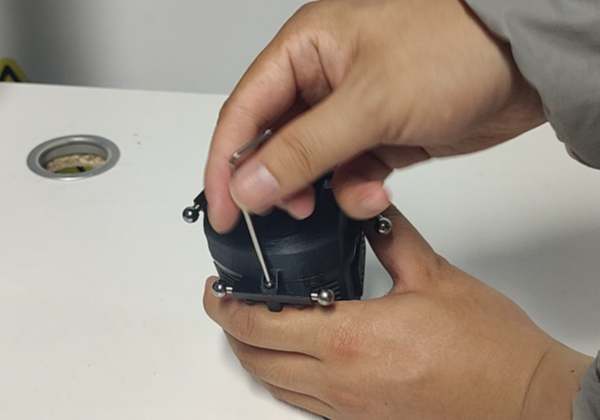
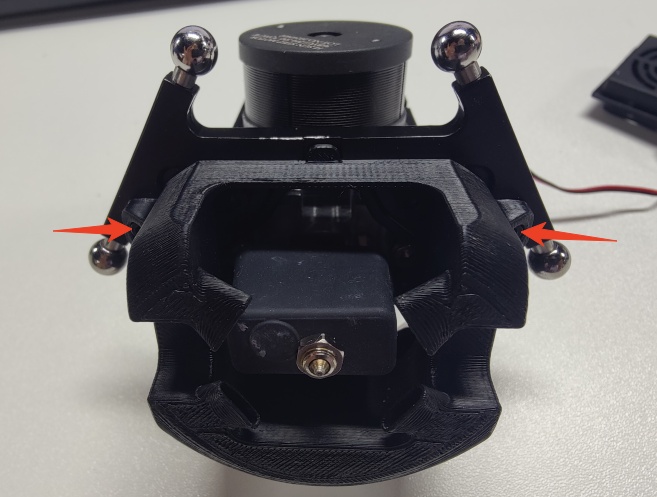
(3) Remove the outer shell screws
Use the M2.5 hex wrench to remove the screws on both sides of the effector housing, and the H2.0 hex wrench for the screws on the back.
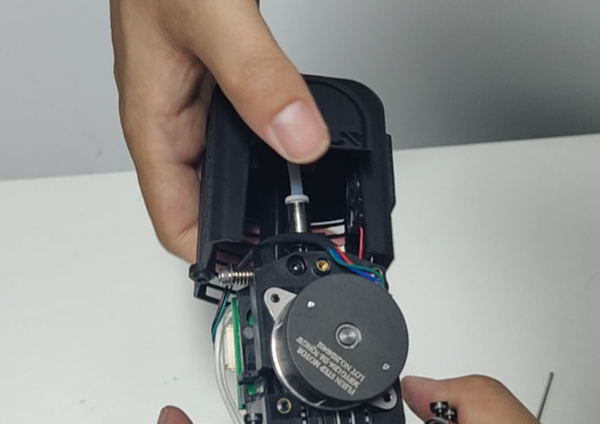
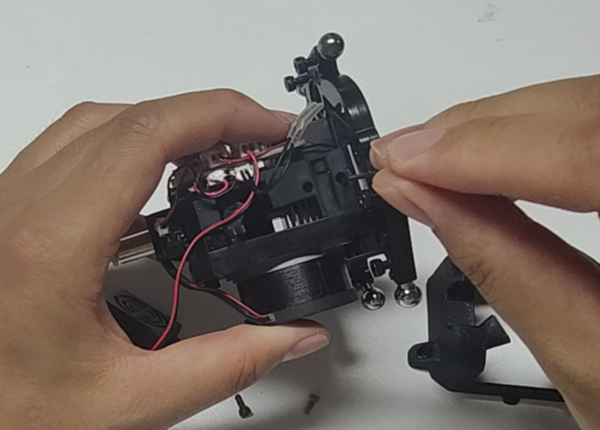
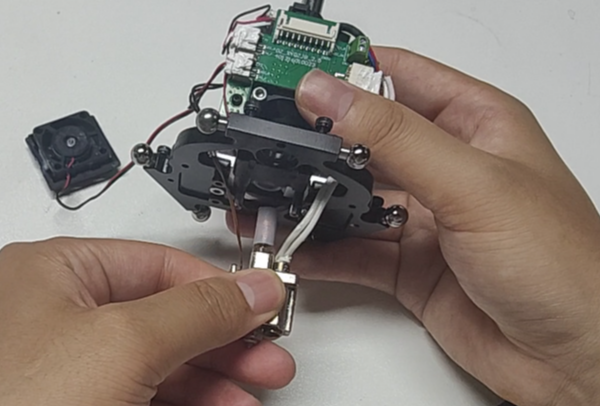
(4) Remove the housing and cooling fan
Carefully remove the effector housing and gently press the fan to take out the extruder cooling fan.
(5) Remove the lower shell and silicone sock
Use the H2.0 wrench to remove the lower effector shell, then take off the silicone sock from the hotend.
(6) Remove the hotend mounting screw and throat set screw
Use the H1.5 wrench to remove the screw securing the hotend and the set screw for the throat.
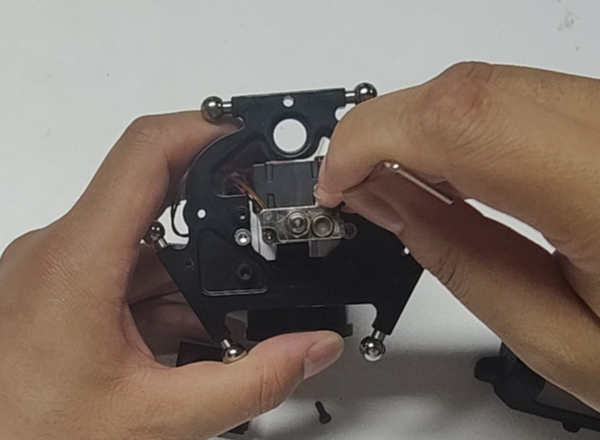
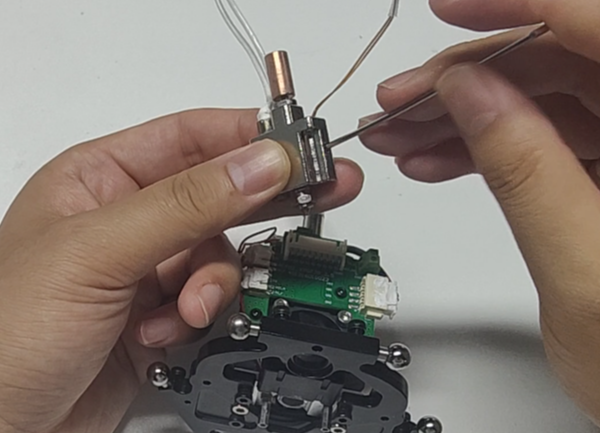
(7) Disconnect the terminals and remove the hotend kit
Unplug the heater cartridge and temperature sensor terminals and take out the hotend kit.
(8) Remove the sensor and heater cartridge
Use the H1.5 wrench to remove both the temperature sensor and heater cartridge.
(9) Install the new heater cartridge and temperature sensor