¶ Solves the problem of material blockage
¶ 1. Problem phenomenon
¶ (1). Click to feed, no filament is extruded;
¶ (2). The filament suddenly stops extruding during the printing process.
¶ 2. reason:
The nozzle or throat is clogged, and the extruder is blocked with filament.
¶ 3. solution:
Note: The disassembly operation needs to be carried out when the machine is powered off.
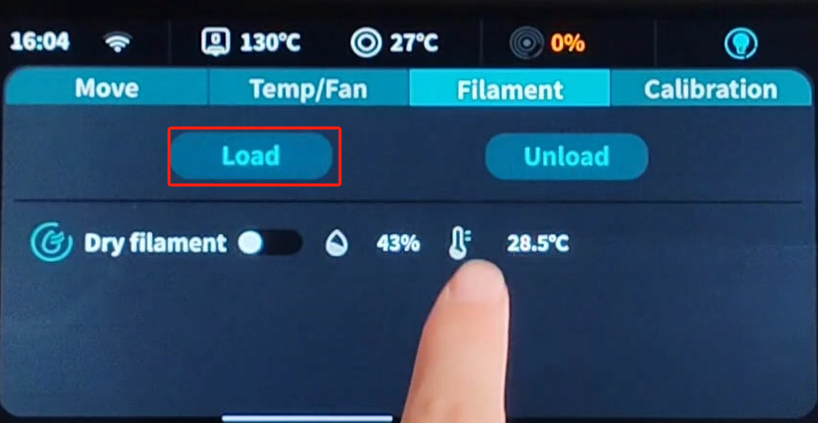
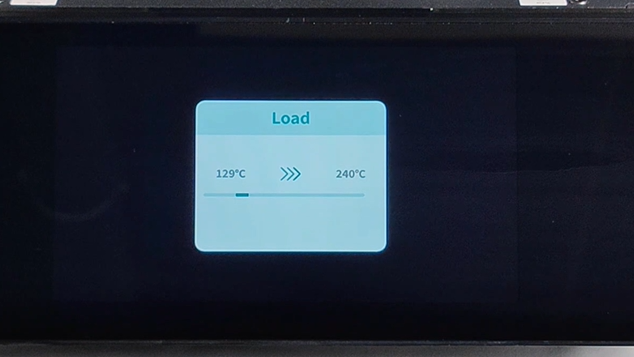
¶ (1). First, make sure that the filament is inserted all the way. If it is not inserted all the way, please unplug the pneumatic connector at the effector and insert the filament firmly here. Click feed, wait for the nozzle temperature to rise to 240°C, and automatically load the filament.
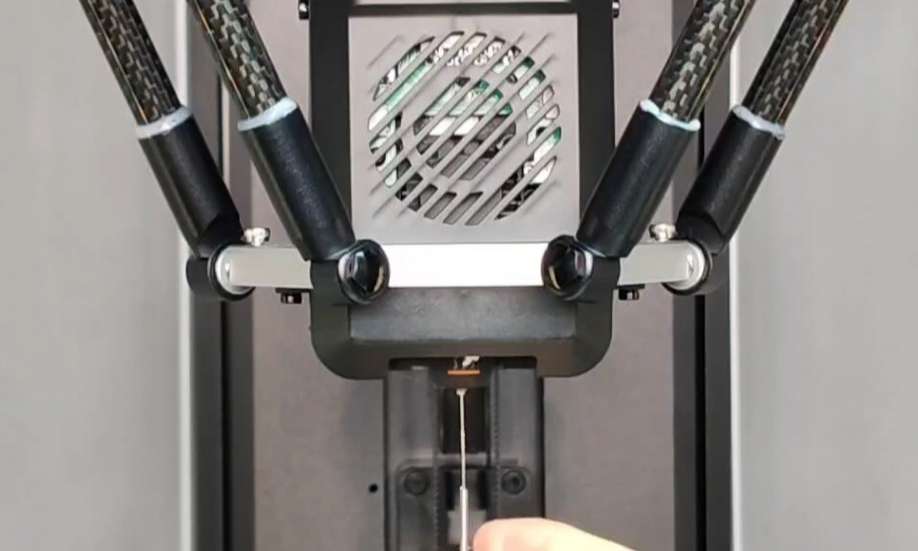
¶ (2). If the filament is extruded, use the silver needle in the accessory box to clear the nozzle, and click again to load the filament.
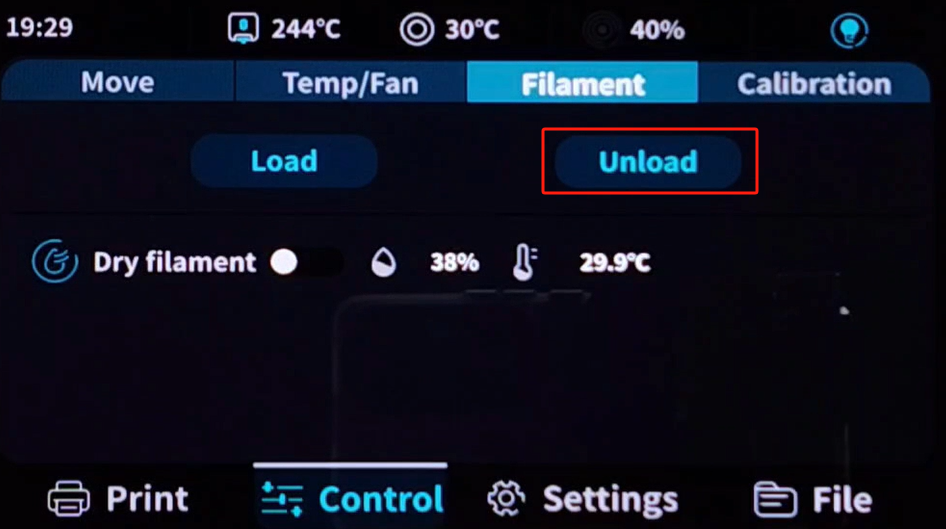
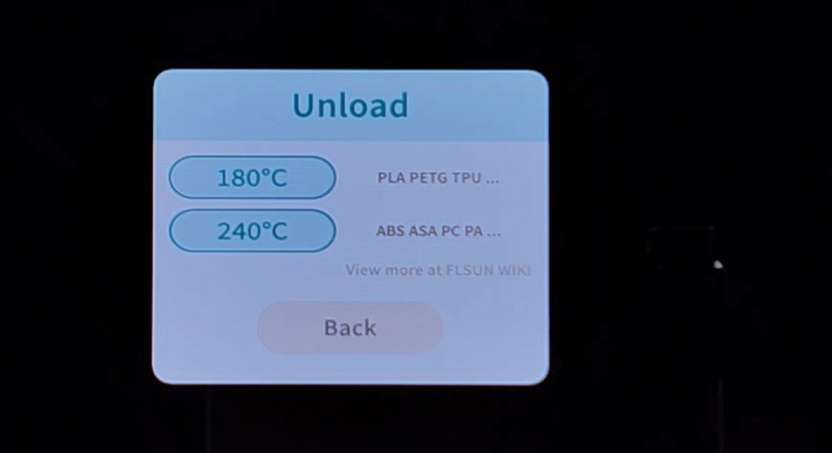
¶ (3). If there is still no filament extruded from the nozzle, try to exit the filament and click "Exit". A pop-up window will appear. Please select the appropriate temperature to exit the filament according to the printing filament. It is recommended that low-temperature filament be returned at 180°C, and high-temperature filament be returned at 240°C;
¶ (4). Unplug the pneumatic connector at the effector and pull out the filament;
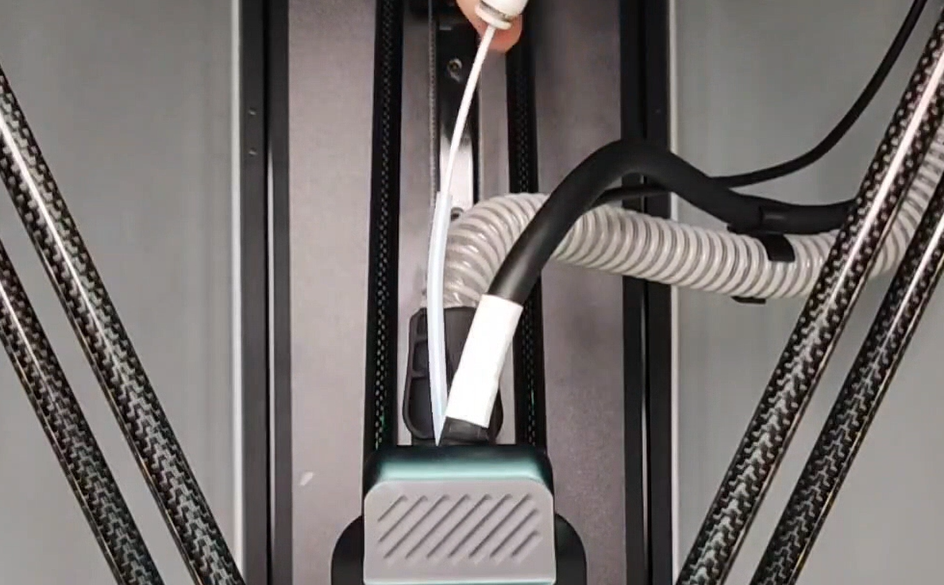
¶ (5). Disassemble the effector and check whether the throat or extruder is blocked;
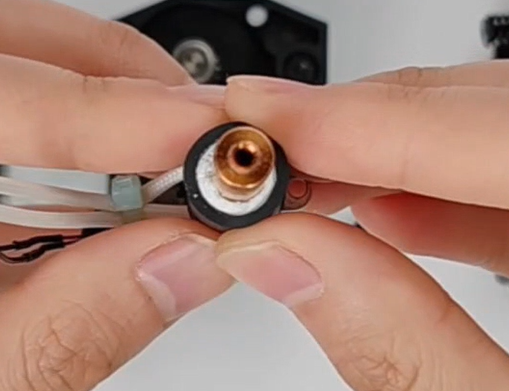
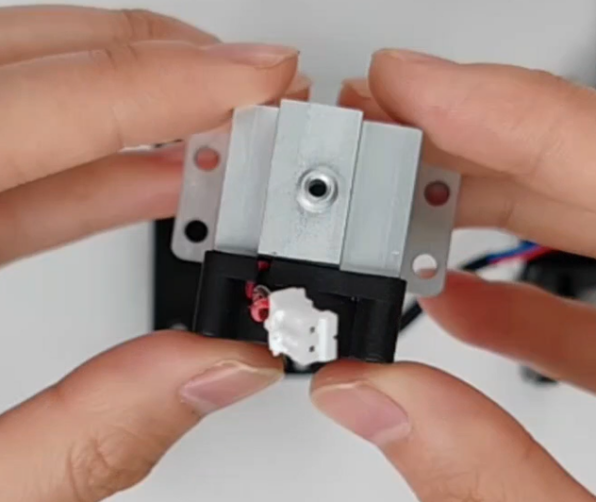
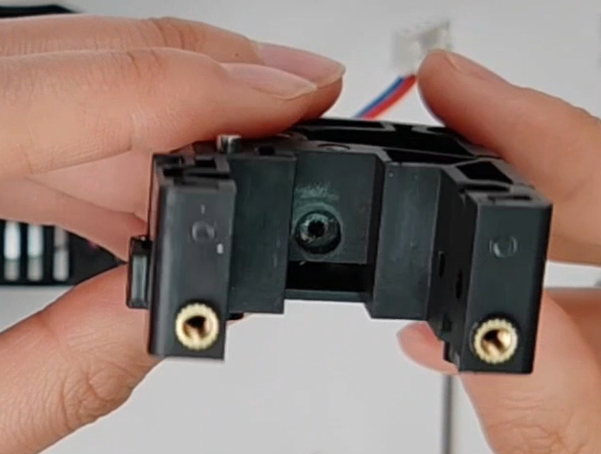
¶ (6).The screws that secure the effector housing are on the back of the effector. This screw needs to be removed in order to remove the housing.
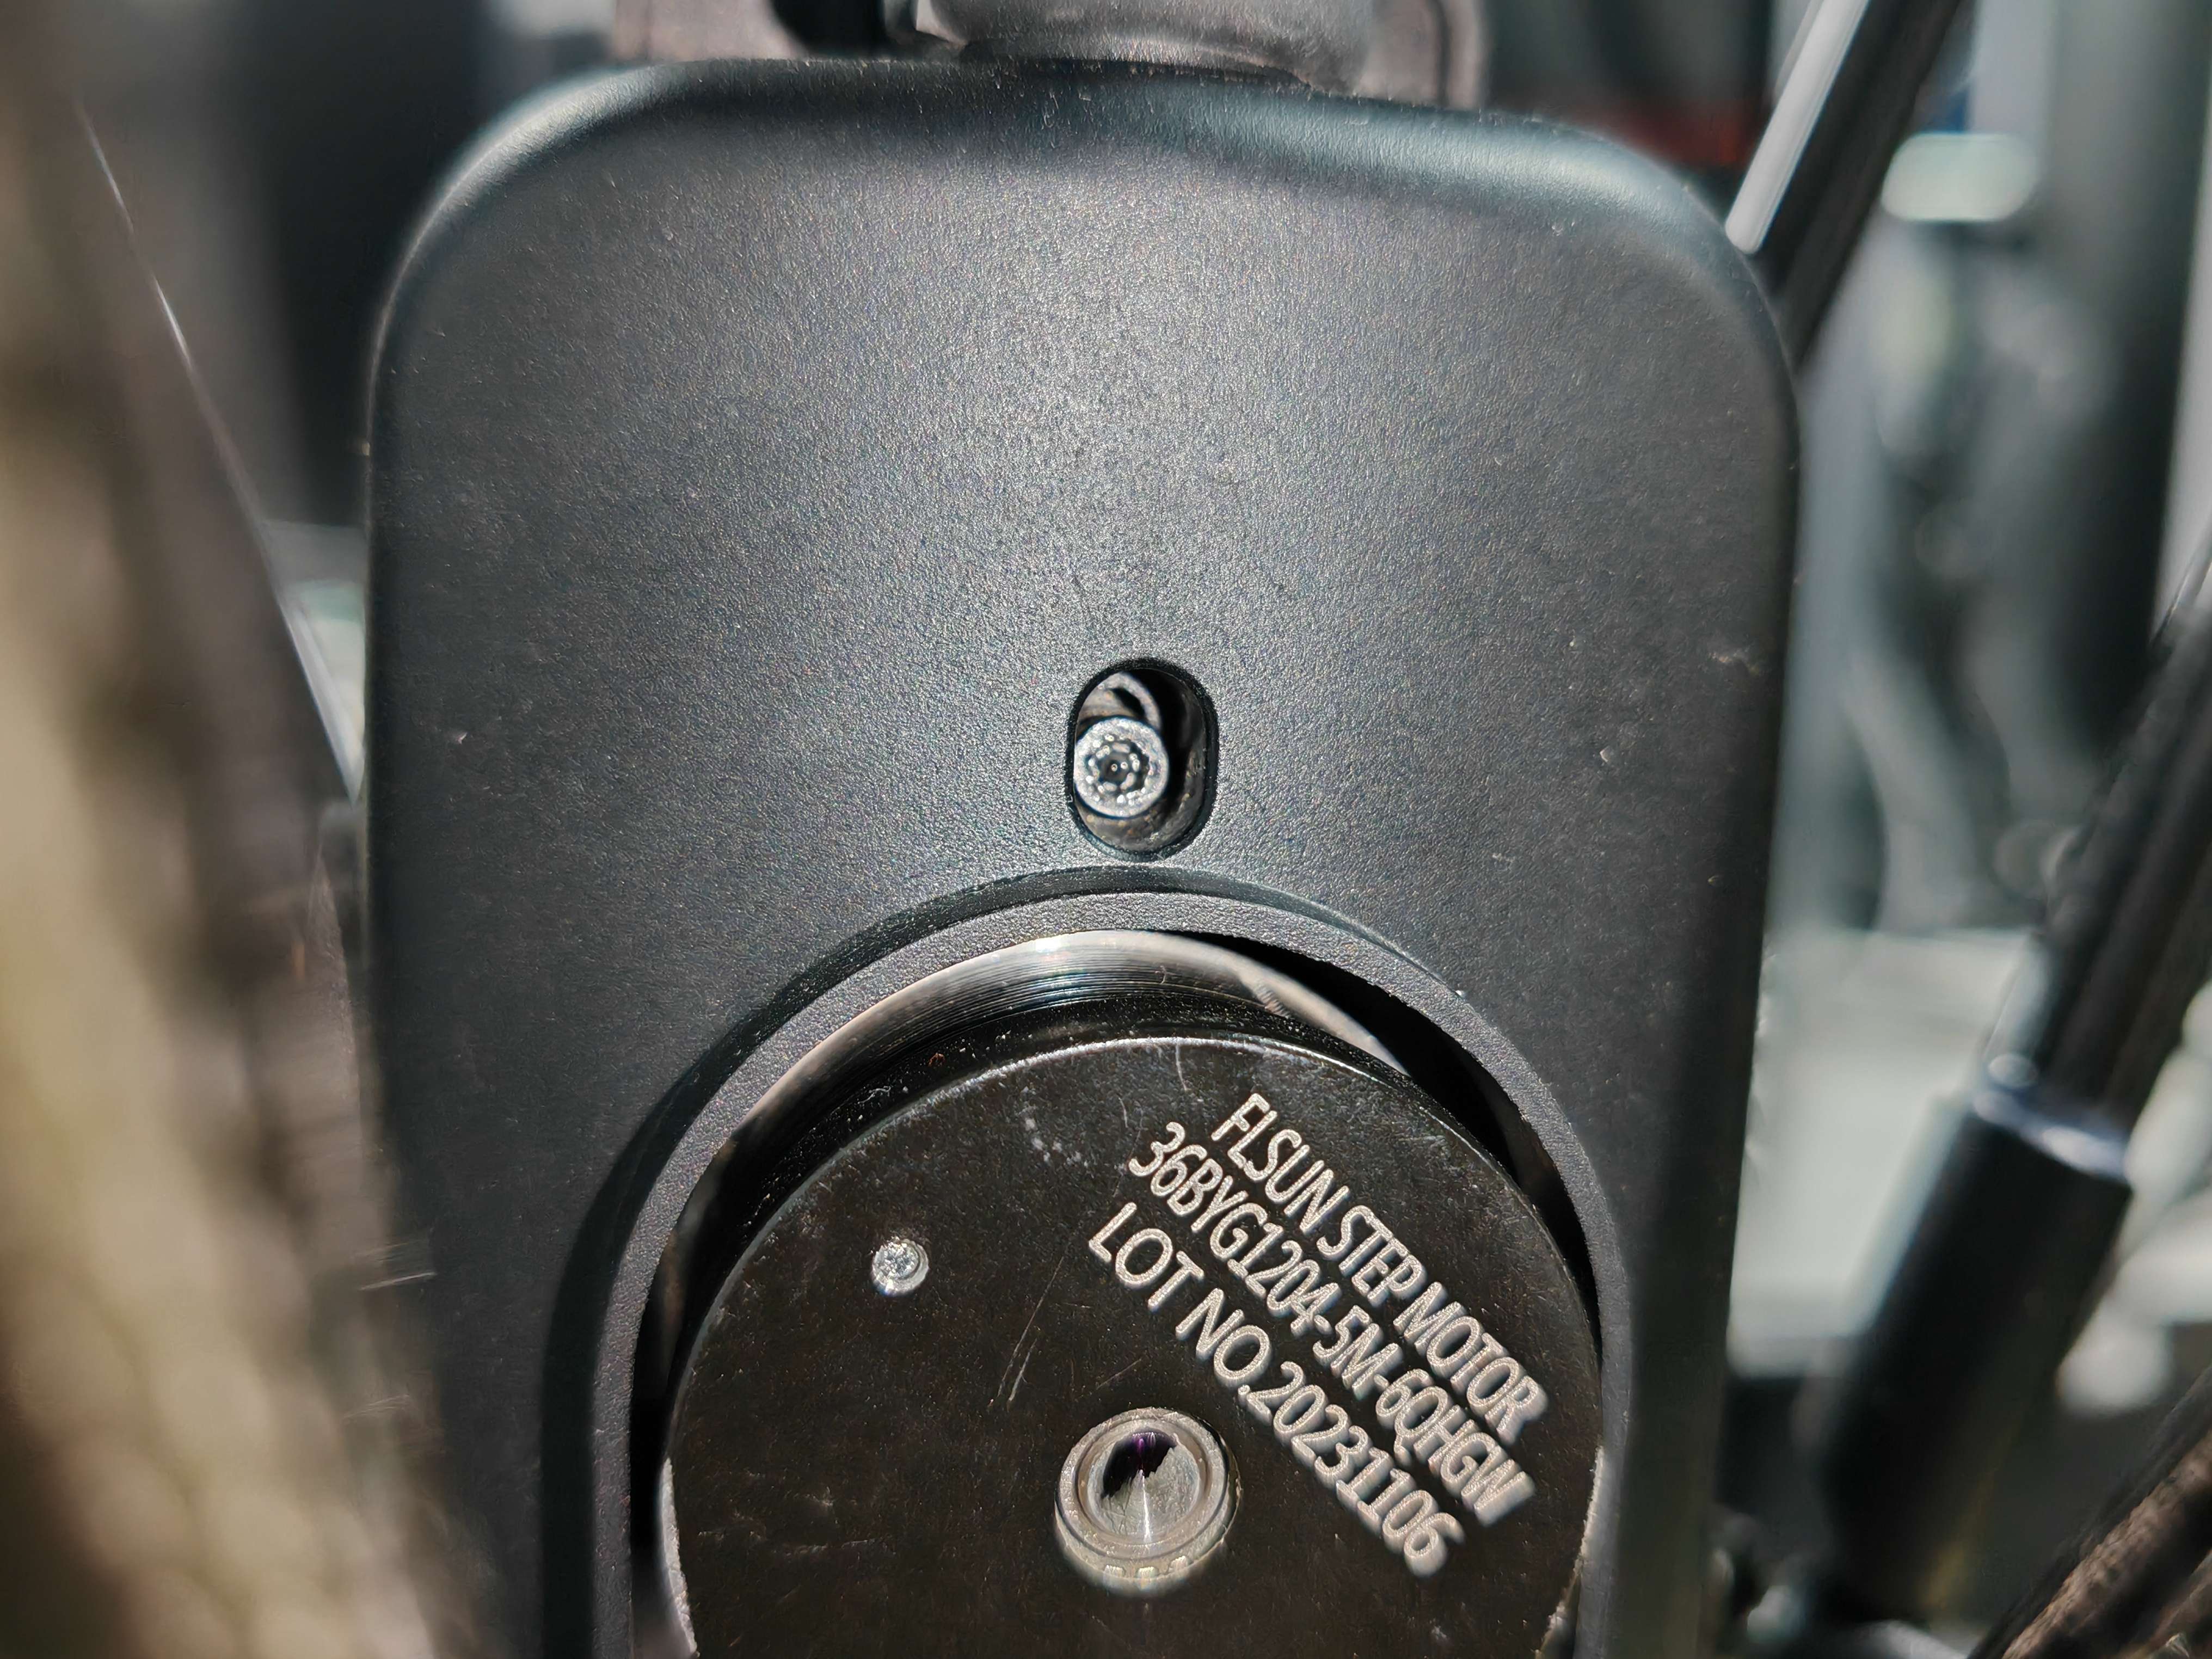
¶ 4. Check the plugging operation video:
¶ First Layer Z0 Too High or Too Low
¶ Symptoms:
¶ (1) The First Layer Too High
- Poor adhesion: The first layer may not adhere well to the print bed, causing the printed models to fall off during printing.
- Uneven first layer: The first layer may appear uneven or have obvious layer patterns because the nozzle distance is too high for the material to spread evenly.
- Poor print quality: The adhesion and print quality of subsequent layers will also be affected, as the first layer is the foundation of the entire model.
- Material waste: More material may be extruded but fail to adhere to the print bed effectively.
¶ (2) The First Layer Too Low
- Bed surface scratch: The nozzle may directly touch the print bed, causing scratches or damage to the bed surface.
- Unsmooth extrusion: The material may be flattened or extruded unevenly, resulting in poor printing quality of the first layer.
- Filament clogging: A too low first layer may cause the material to clog the nozzle, affecting subsequent printing.
- Interlayer separation: A too low first layer may result in layer-to-layer separation, affecting the strength and stability of the prints.
¶ Solution:
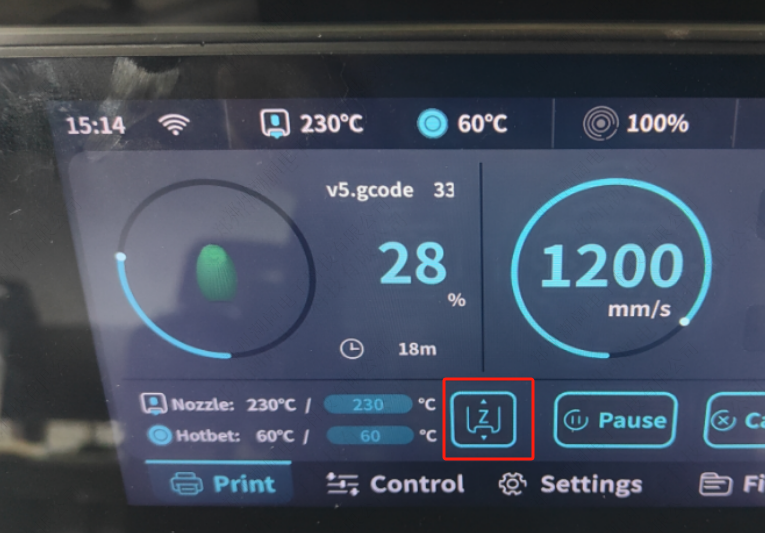
- Click the Z option when printing the first layer of the model and adjust the Z height properly.
- Log in to the web page and find this parameter in the printer cfg. The default value is -0.21. You can observe the first layer printing effect and increase or decrease this value. Then save and reboot.
(When modifying this value, just select this number to modify it to prevent accidental deletion of data and file damage)
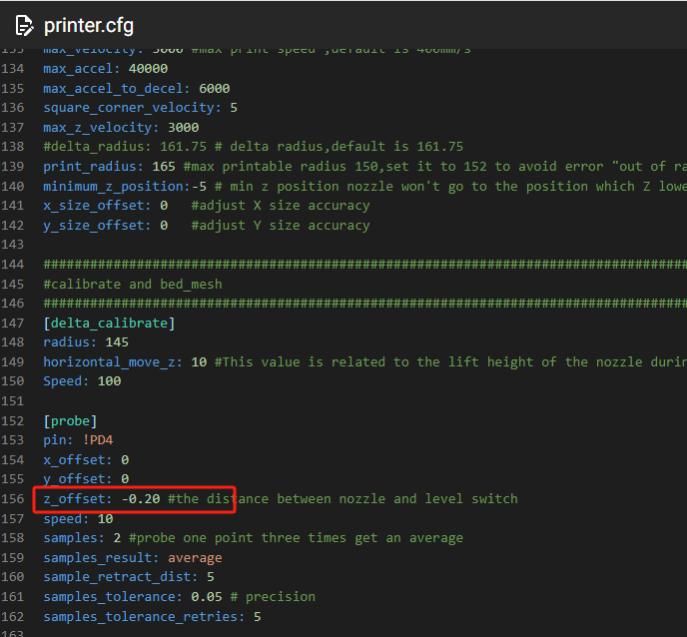
- Save and reboot after modification.
- Perform hot bed leveling calibration.
- After leveling, you can print directly. At this time, you can observe the printing situation and make fine-tuning. If it is too high and has exceeded the lower limit, you can modify this value again in the profile until you find the right value.