¶ Power-on setup and first print procedure
Reference Video: https://youtu.be/AnoM0T7GuVk
- Connect the power and turn on the printer.
- Go to Settings → Network, and turn on the network function.
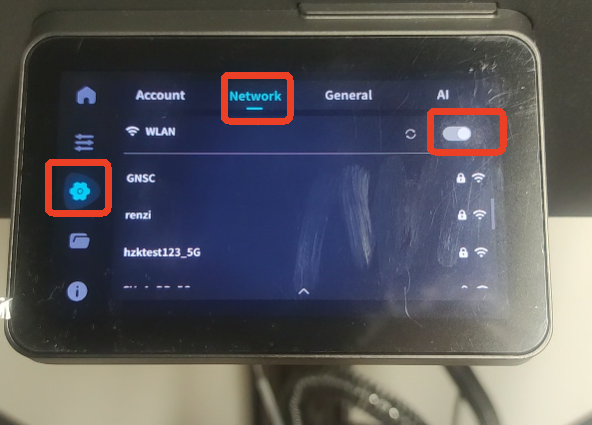
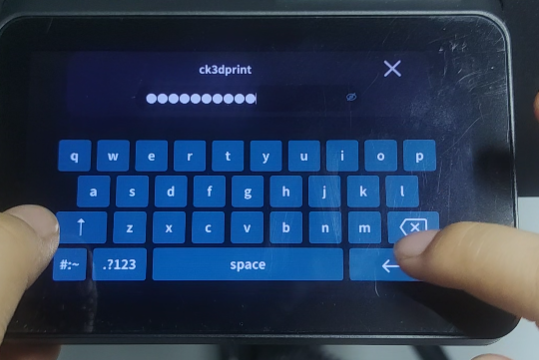
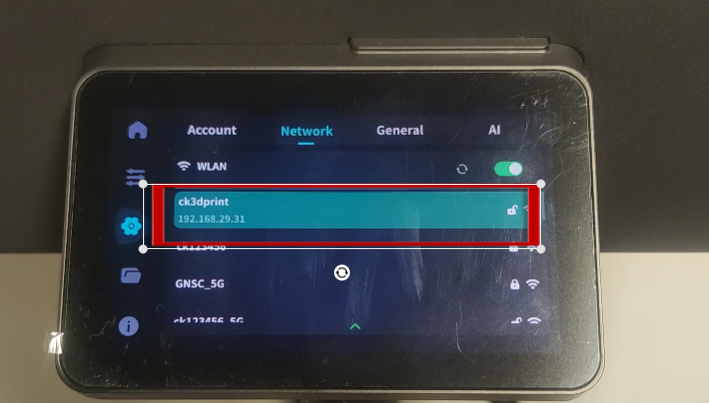
- Select your WiFi network and enter the password to connect.
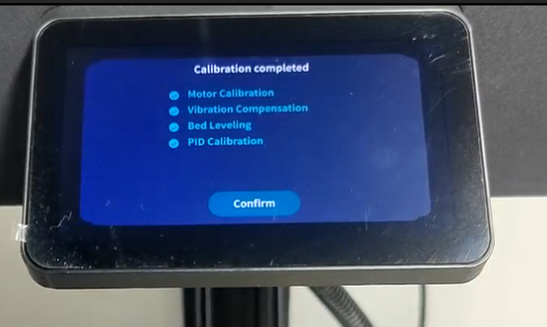
- Go to Settings → General → Calibration, and select all four calibration items.
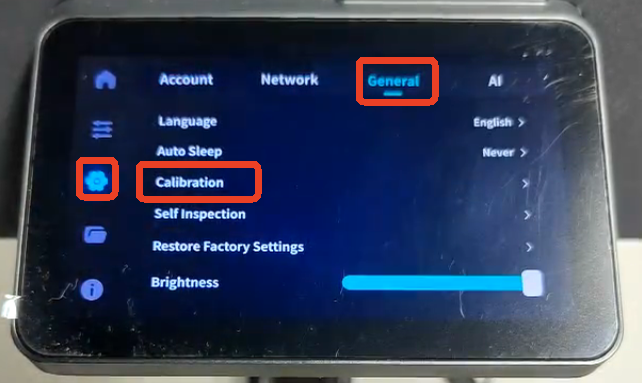
- Wait for the calibration to complete. This may take some time, please be patient.
- Load the filament: place it on the filament holder and insert it into the tube.
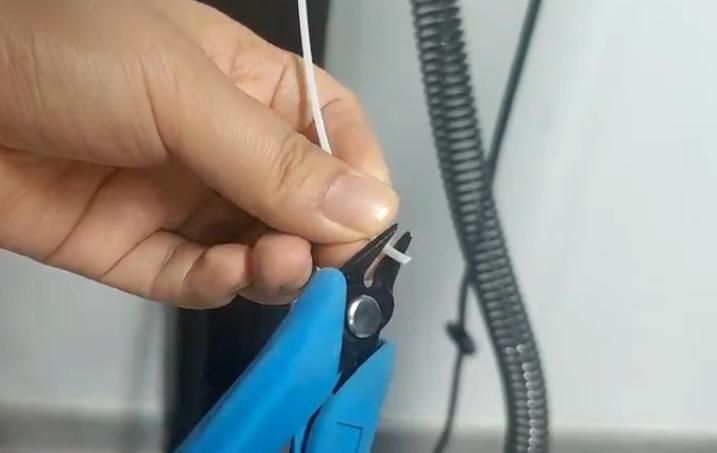
- Use diagonal cutters to trim the filament end flat, removing any angled or rough edges.
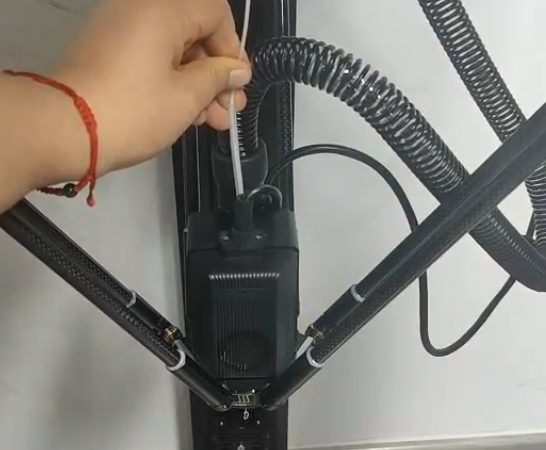
- Insert the filament into the extruder.
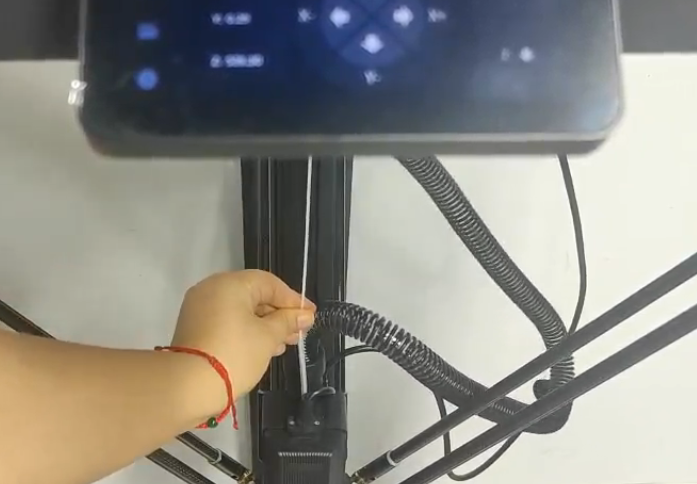
- Go to Control → Filament → Load, and wait for heating.
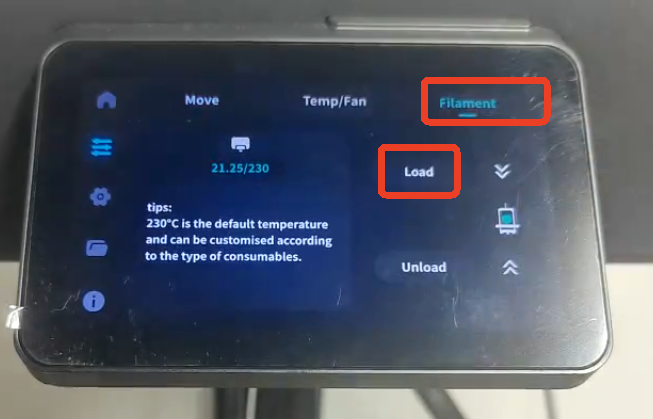
- After heating is complete, feed the filament. You can hold it lightly with your hand and push down slightly to help it load faster.
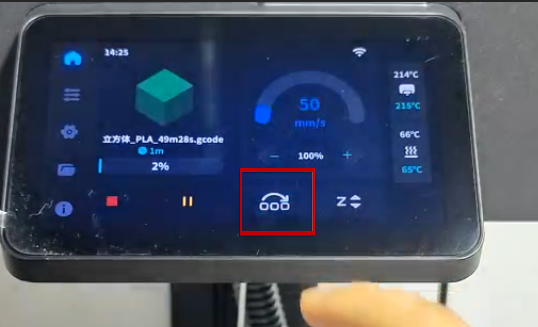
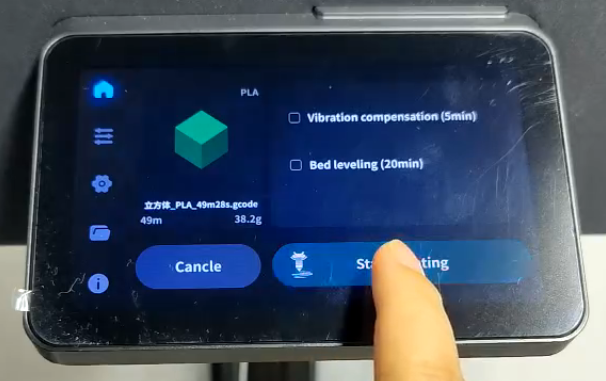
- Return to the home screen, select Print, choose a model, and start the first print.
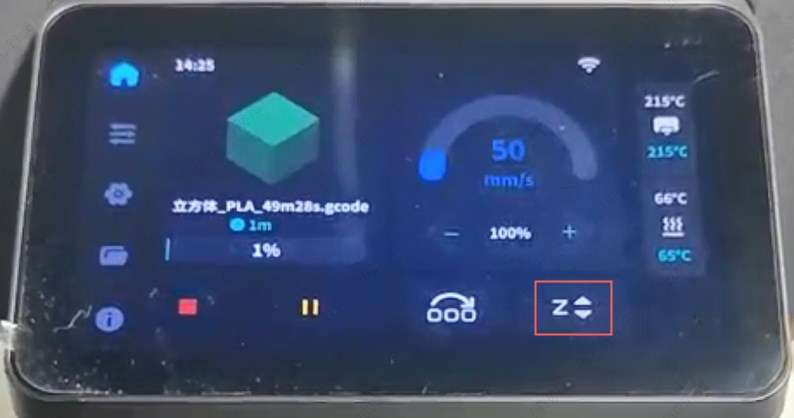
Note: You can adjust the Z-offset based on the first layer’s printing result.
If you’re printing multiple models and one fails, you can skip the failed one.