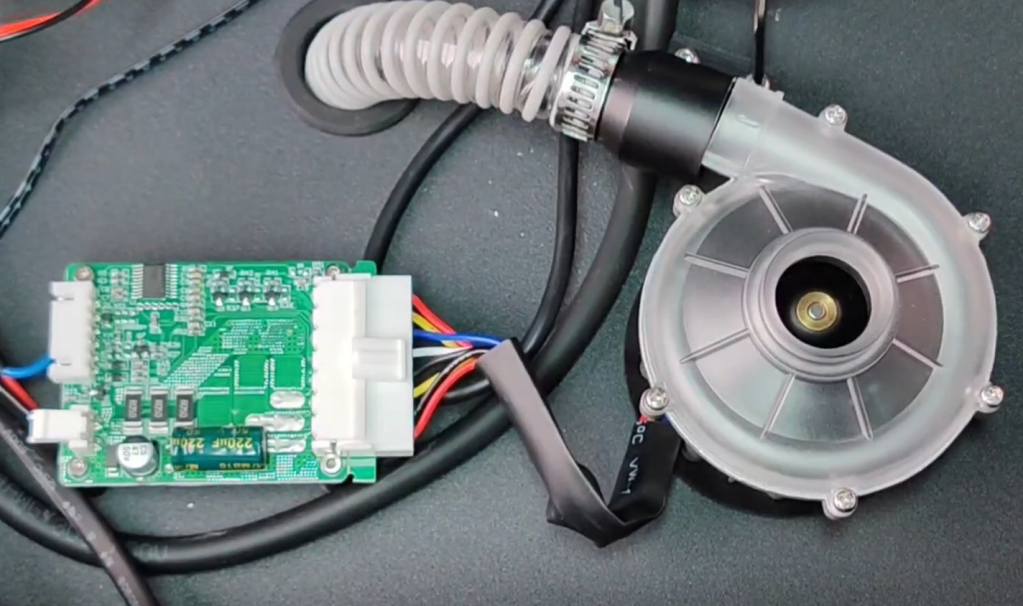
¶ 1.Turbo fan kit
Turbo fan kit: Turbo fan + drive, remote air supply, dissipating heat for the model, allowing the model to cool and finalize in time.
¶ 2.When to replace
¶ (1). The fan does not rotate or makes abnormal noise that cannot be repaired;
¶ (2). The driver is damaged.
Tools and materials needed
H2.0 Allen wrench
New turbofan kit
¶ 3.Replacement steps:
Note: The disassembly operation needs to be carried out when the machine is powered off.
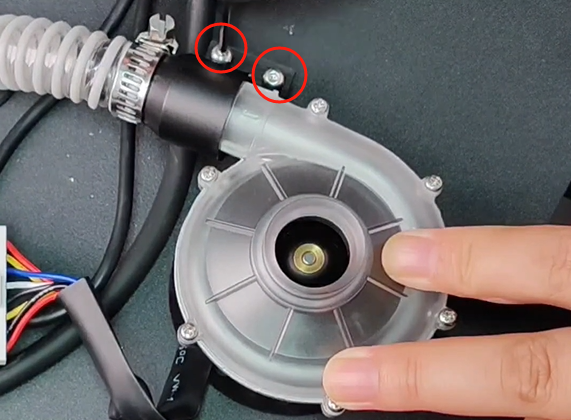
¶ (1). Use the H2.0 Allen wrench in the accessory box to remove the two screws connecting the blower air guide and the turbo fan.
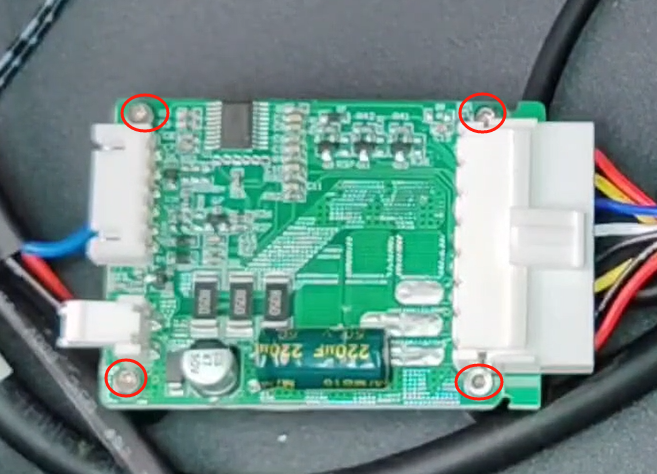
¶ (2). Use the H2.0 hexagonal wrench in the accessory box to remove the four screws that fix the drive.
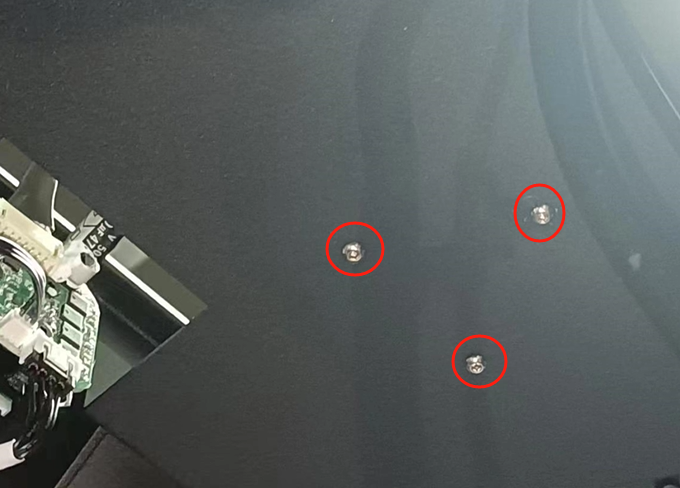
¶ (3). Remove the three screws securing the turbofan.
Note: The screws are located inside the box
¶ (4). Unplug the drive terminal on the motherboard and replace it with a new fan and drive.
¶ (5). Place the shock-absorbing pad and plug in the driver port.
